
The complete guide
How To Choose And Place Solar Spot Lights In Your Garden
The problem with a dark garden
Most people do not light their garden because the job sounds like a project. Trenching cable across a lawn, finding a weatherproof outlet, booking someone to sign it off, all of that stacks up fast. So the garden stays dark, the back door becomes a wall of black glass after dinner, and anyone walking to the bin does it by phone torch.
Solar spot lights exist to break that stalemate. Each unit is self-contained. Panel, battery, sensor and LEDs live in one body, so there is no cable to run and nothing to connect to your house. You pick a spot, push in a stake or drive two screws, and the light handles its own schedule from then on.
That independence is the whole point. It is also the thing that shapes every decision you make about where the lights go.
How these lights work
The panel on top of each unit collects daylight through the day and stores that energy internally. When light levels fall in the evening, a sensor trips and the LEDs come on. In the morning the light shuts off and the panel goes back to charging.
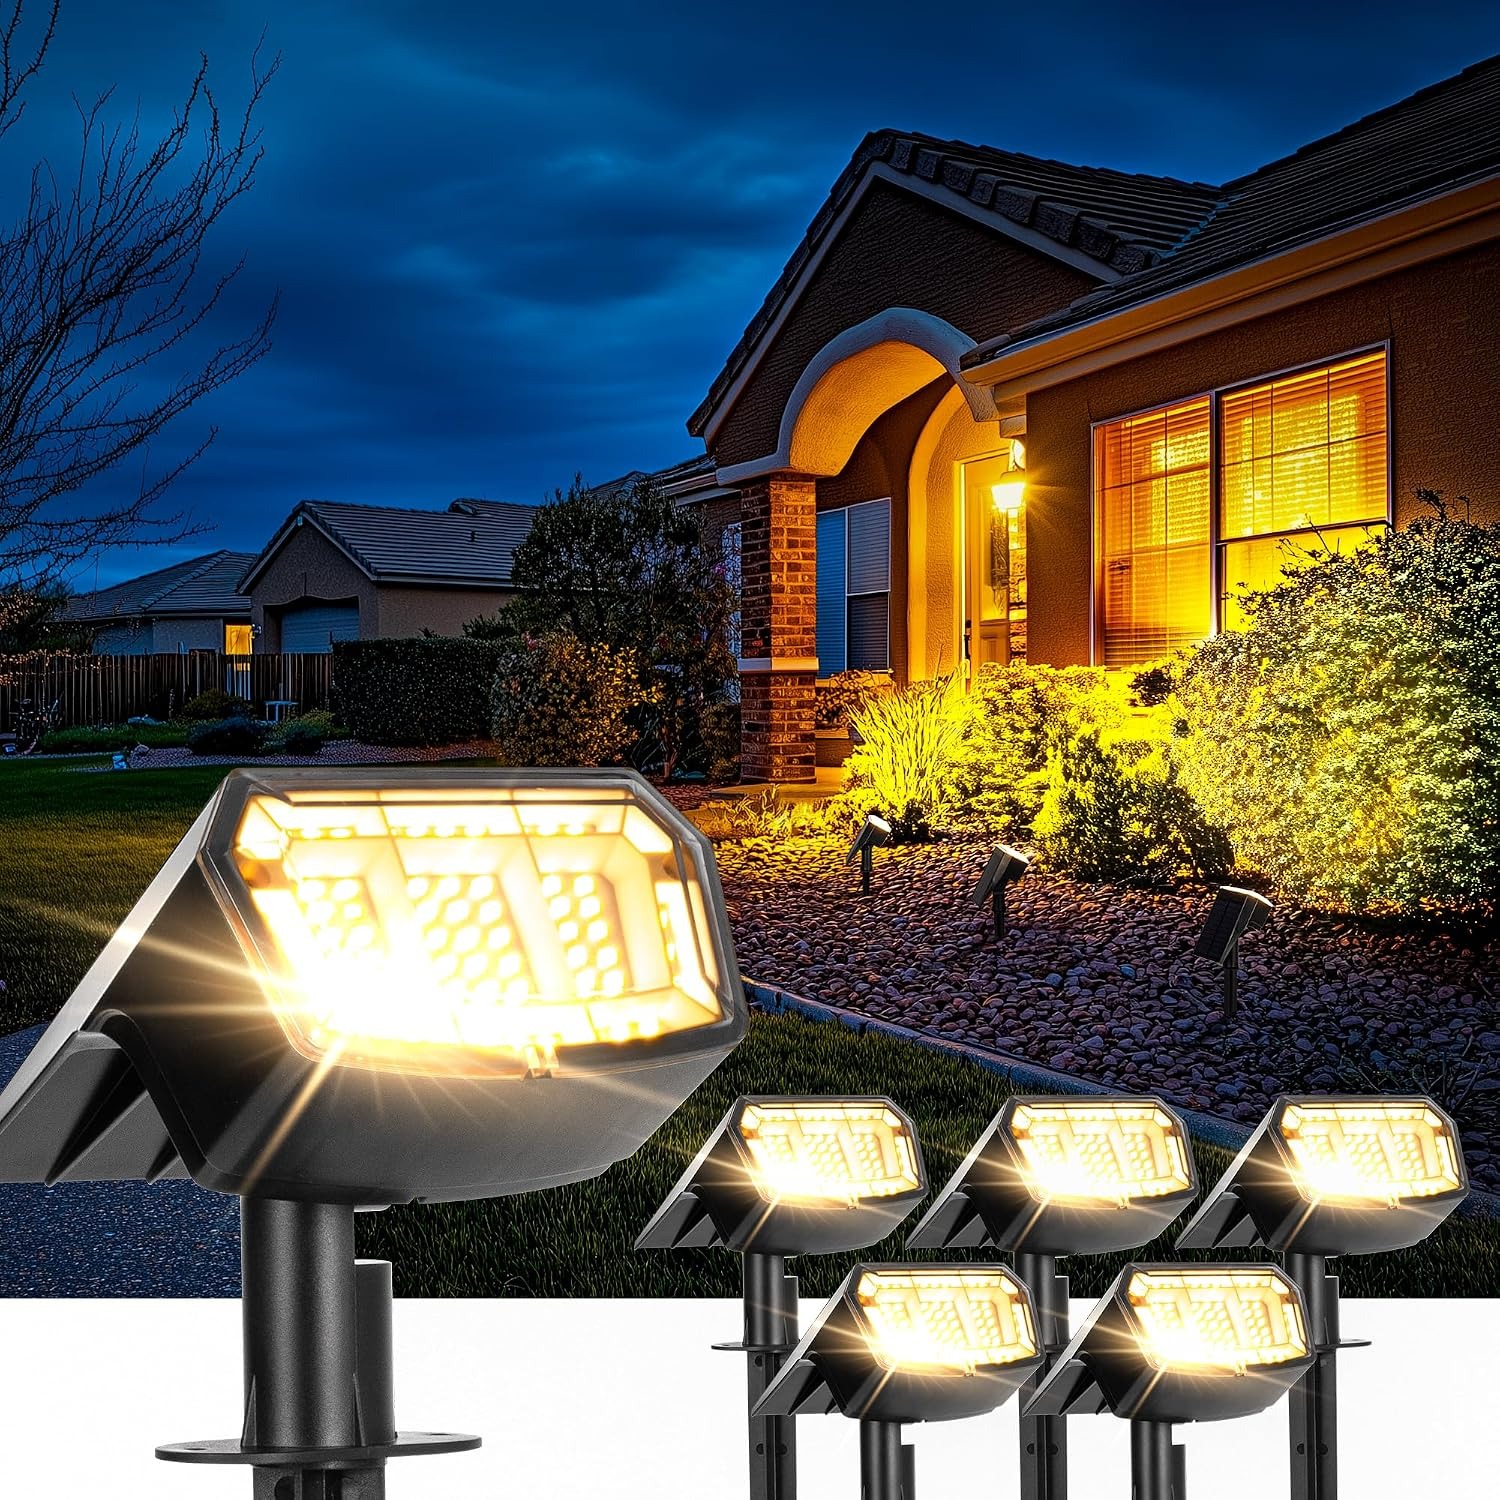
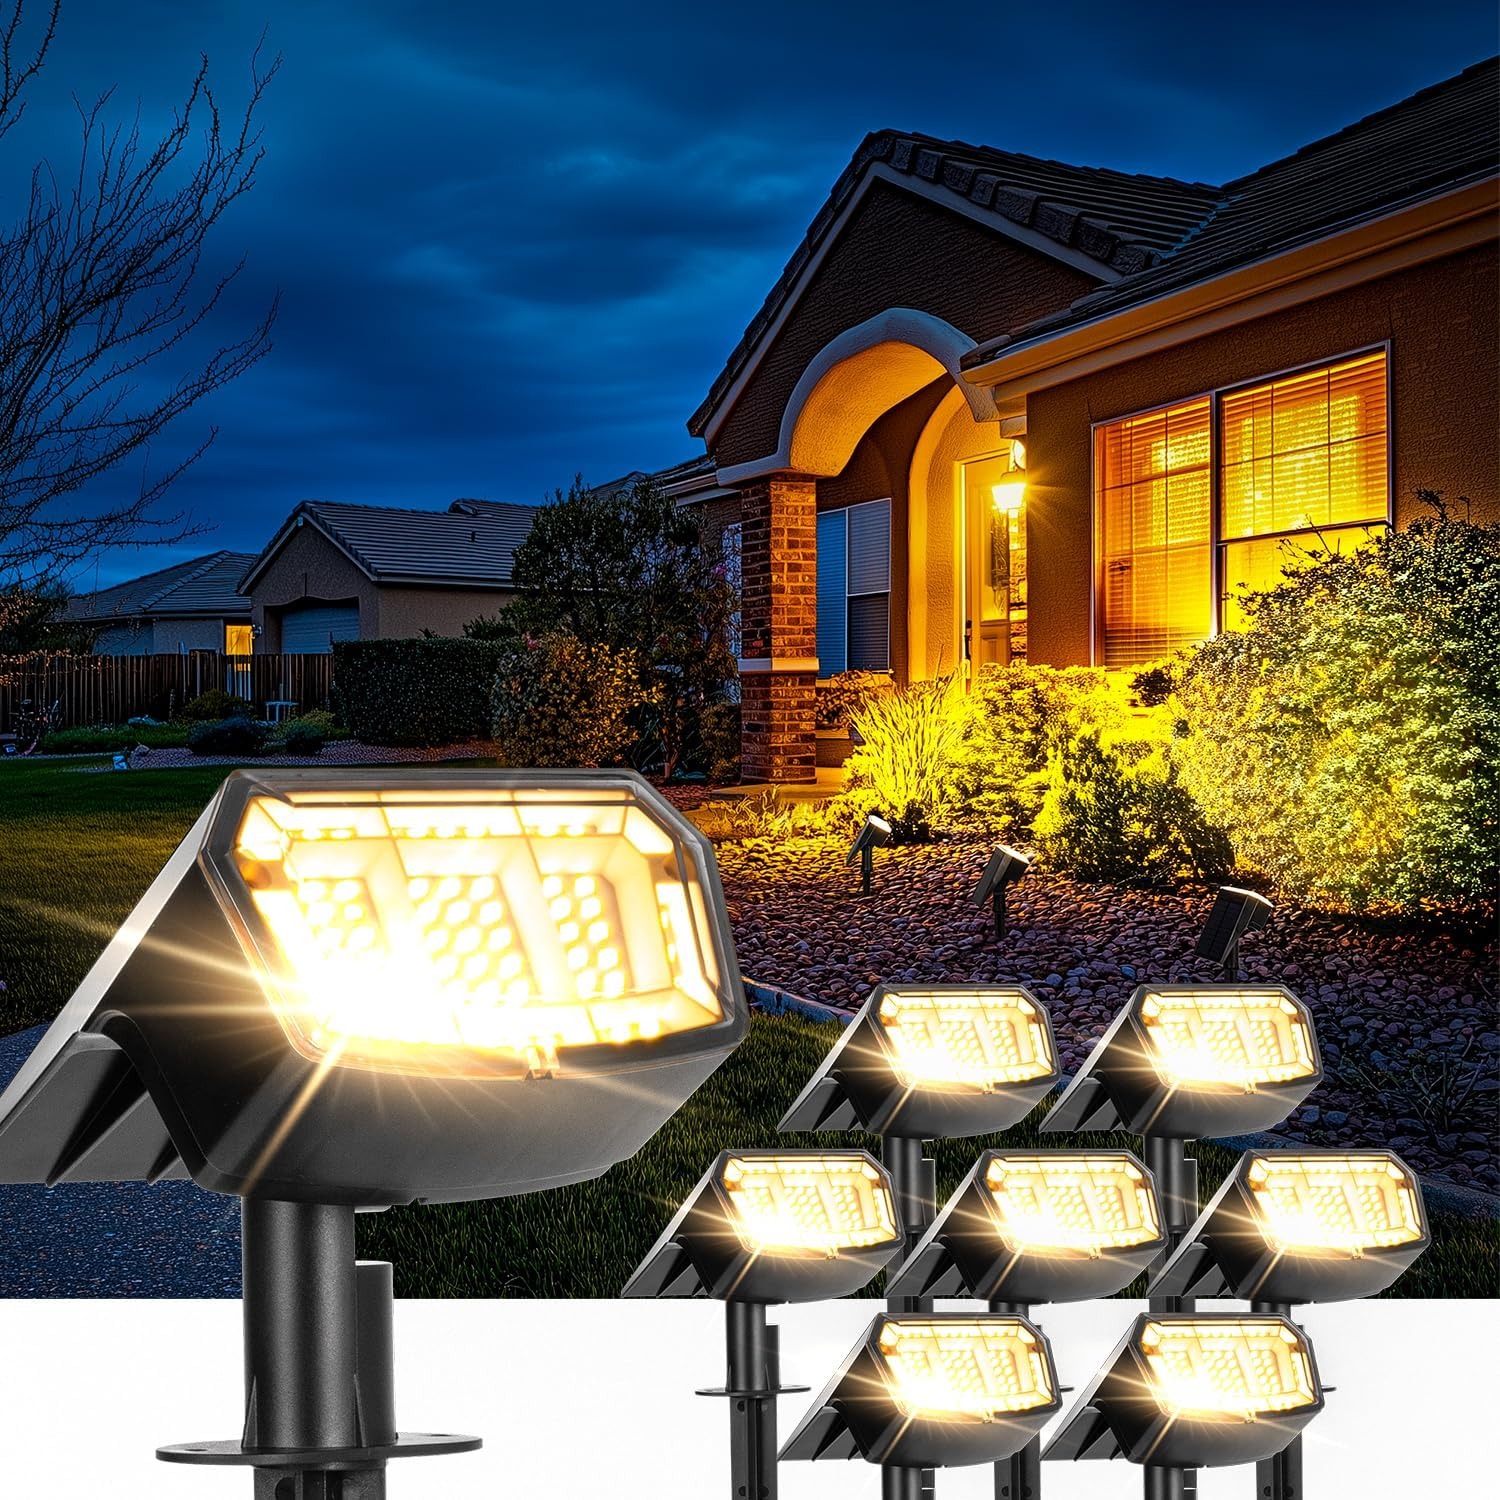
This set uses 63 LEDs per light behind a lens, which makes the beam directional. That matters. A soft decorative garden light glows where it stands. A spotlight throws light somewhere else, which is what you want if the job is lighting a tree trunk, a wall, a gate or a number plate on the front of the house.
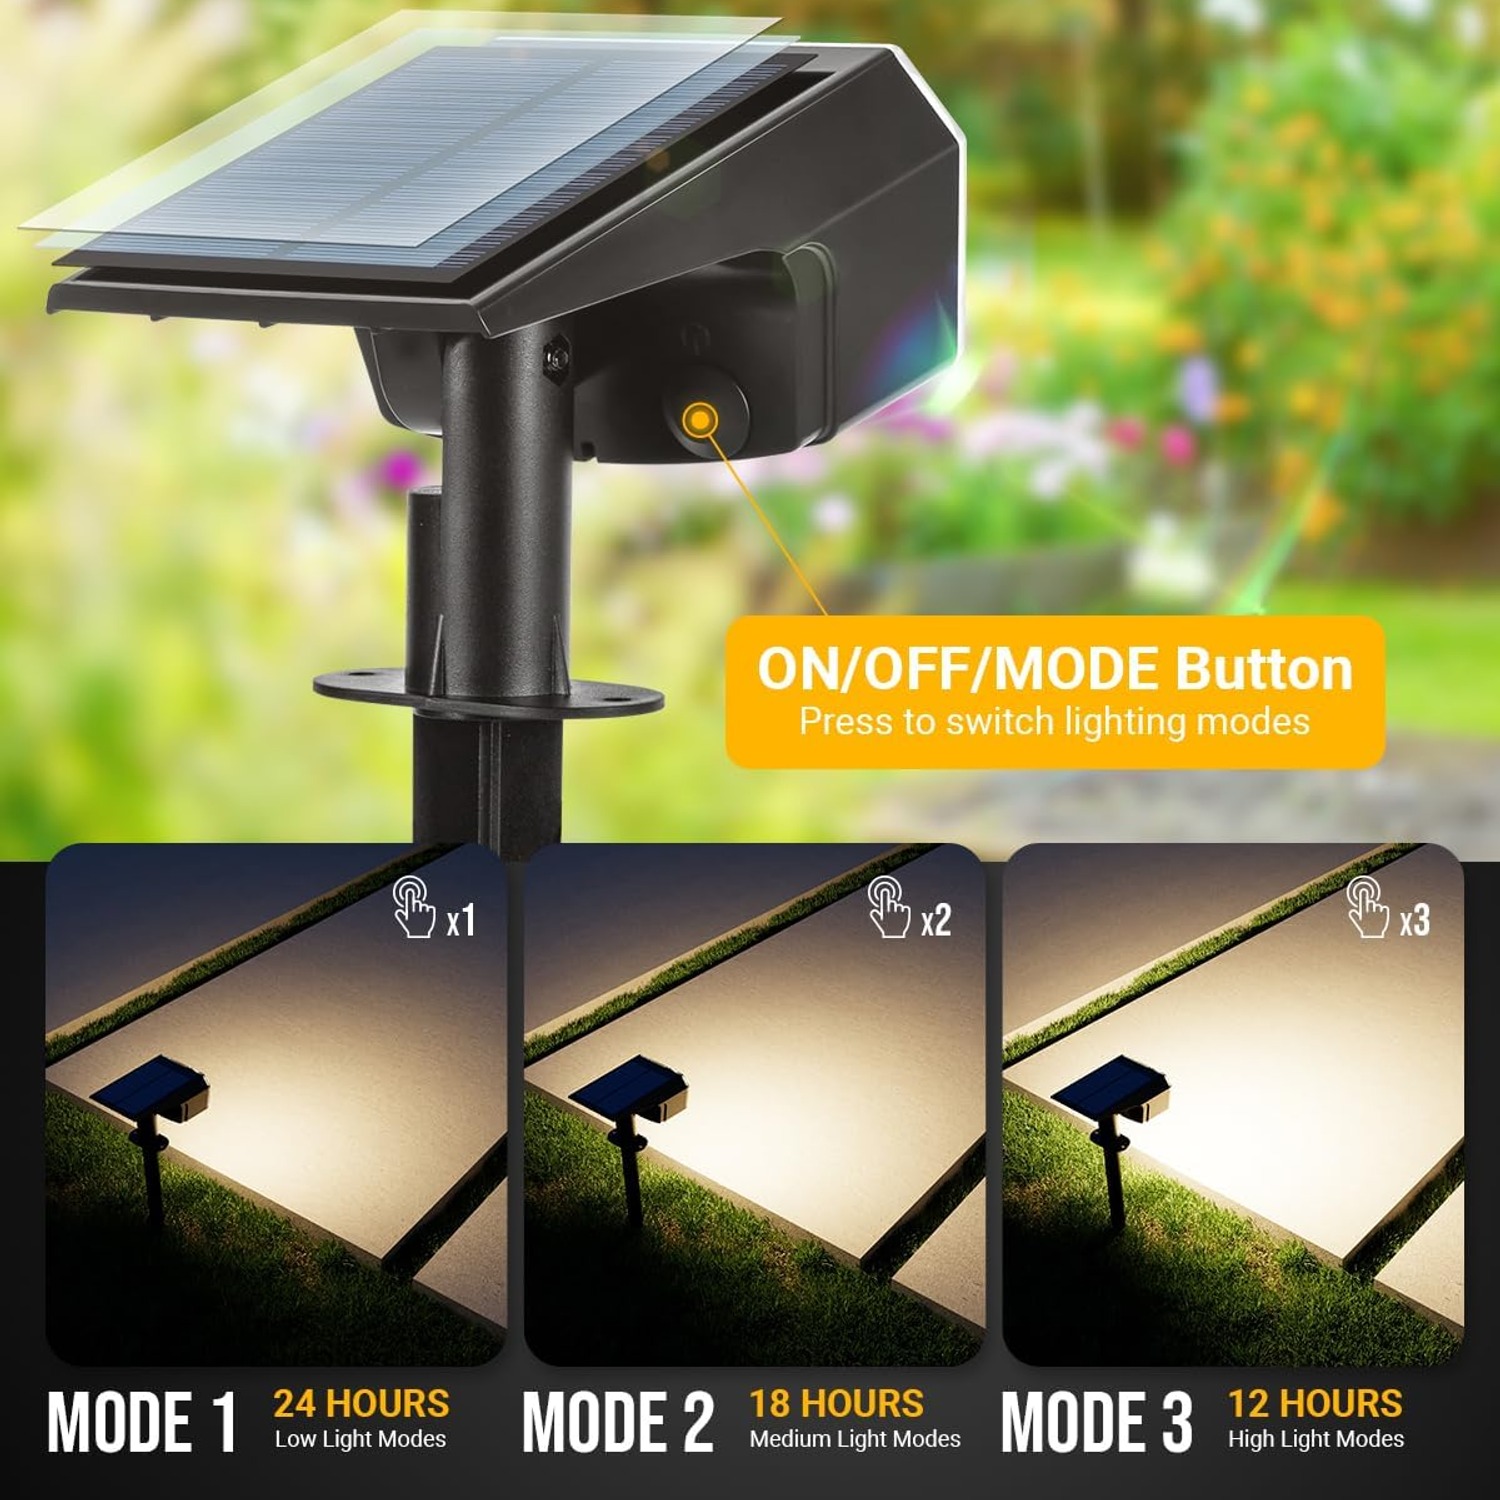
There are three brightness modes. The trade is simple. Higher output means the stored charge drains faster, so you get a shorter run. Lower output gives you less light but keeps going longer. Nothing about that is a flaw, it is just physics, and the modes exist so you can decide which side of the trade suits each position.
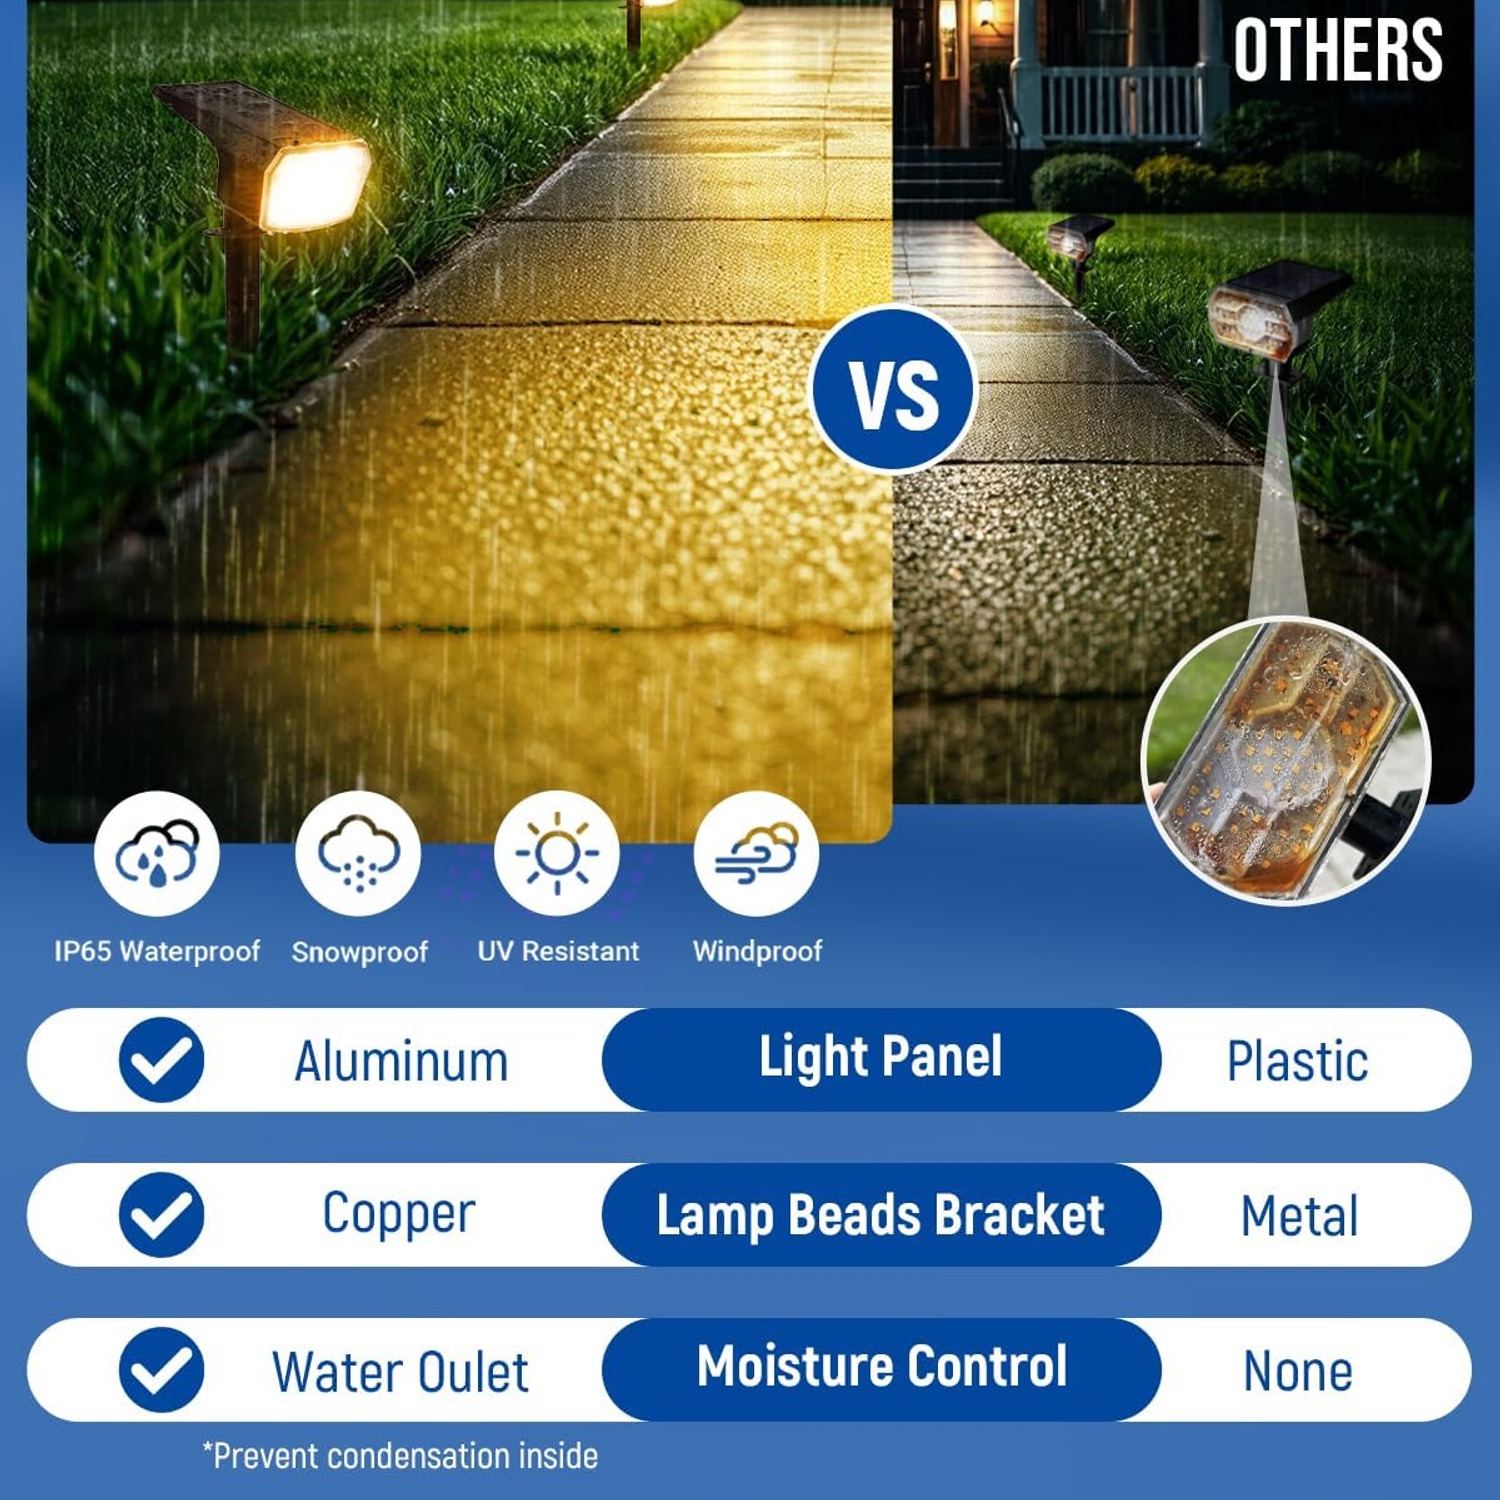
The housing is ABS plastic with an IP65 rating. In plain terms, dust cannot get in and water sprayed at the unit from any direction will not either. These are made to stay outside through a full year of weather, not to be packed away each autumn.
Who these suit
They suit anyone who wants light in a spot where there is no power and no appetite for digging a trench. Renters are an obvious case, because nothing is permanent and the whole set comes with you when you move. So are people with long side returns, back fences, sheds and carports sitting well away from the house.
They also suit anyone lighting features rather than rooms. A gum tree, a stone wall, a hedge, a front door surround, the edge of a deck. A focused beam is exactly the right tool for those.
Where they are less ideal is any spot that genuinely never sees sun. Under a dense canopy, down the shaded south side of a tall wall, inside a covered porch with no sky view, the panel will never get what it needs. In those positions, the better move is to mount the light somewhere sunnier and aim the beam into the dark area instead.
Picking positions that actually work
Before you install anything, walk the garden at dusk and look at what you want to see. Not what you want to stand in, what you want to look at from the kitchen window or the back step. That list is your plan.
With six lights, a common split is two at the front for a tree or the facade, two on feature planting or a wall, and two at the back for steps or a shed door. You can shuffle that however you like, but spreading the set across front and back usually beats clustering everything in one place.
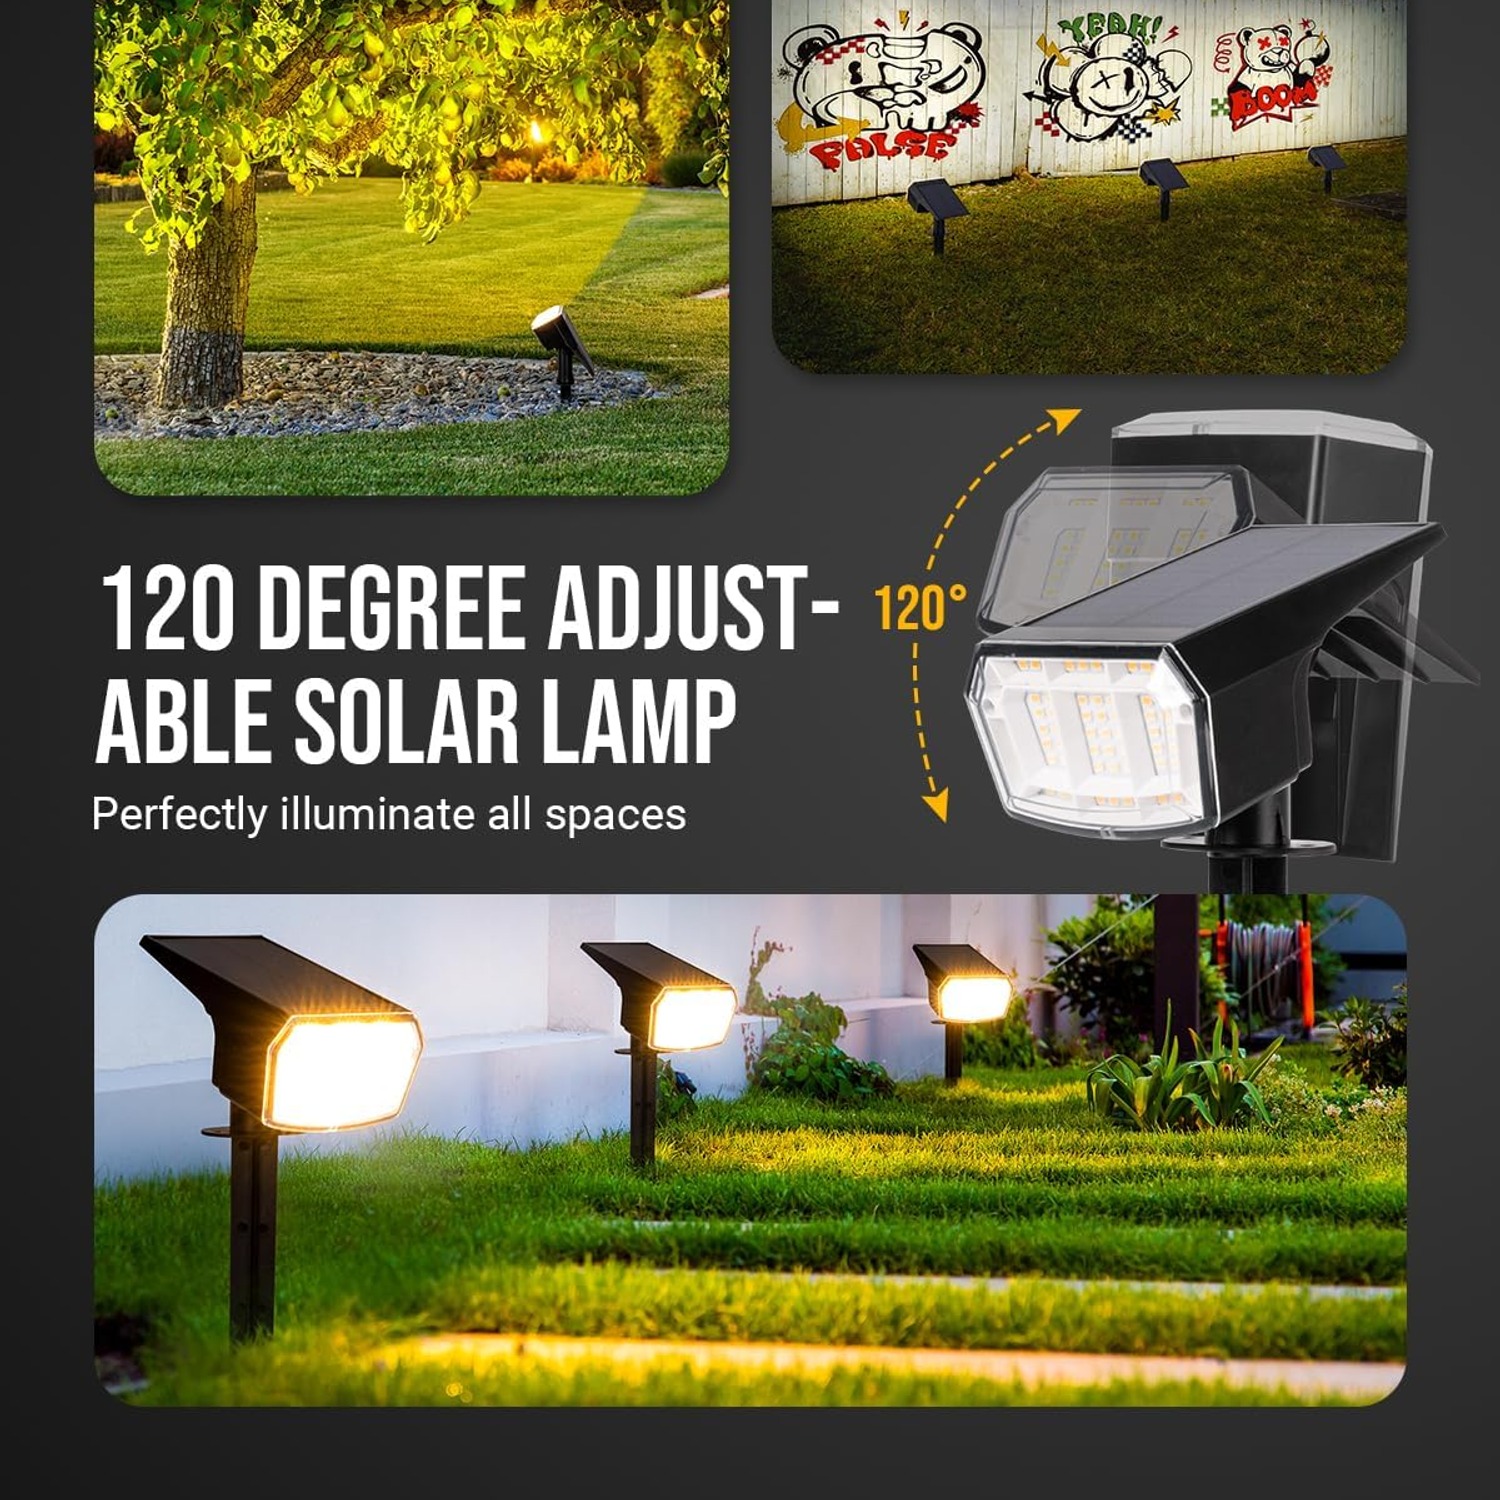
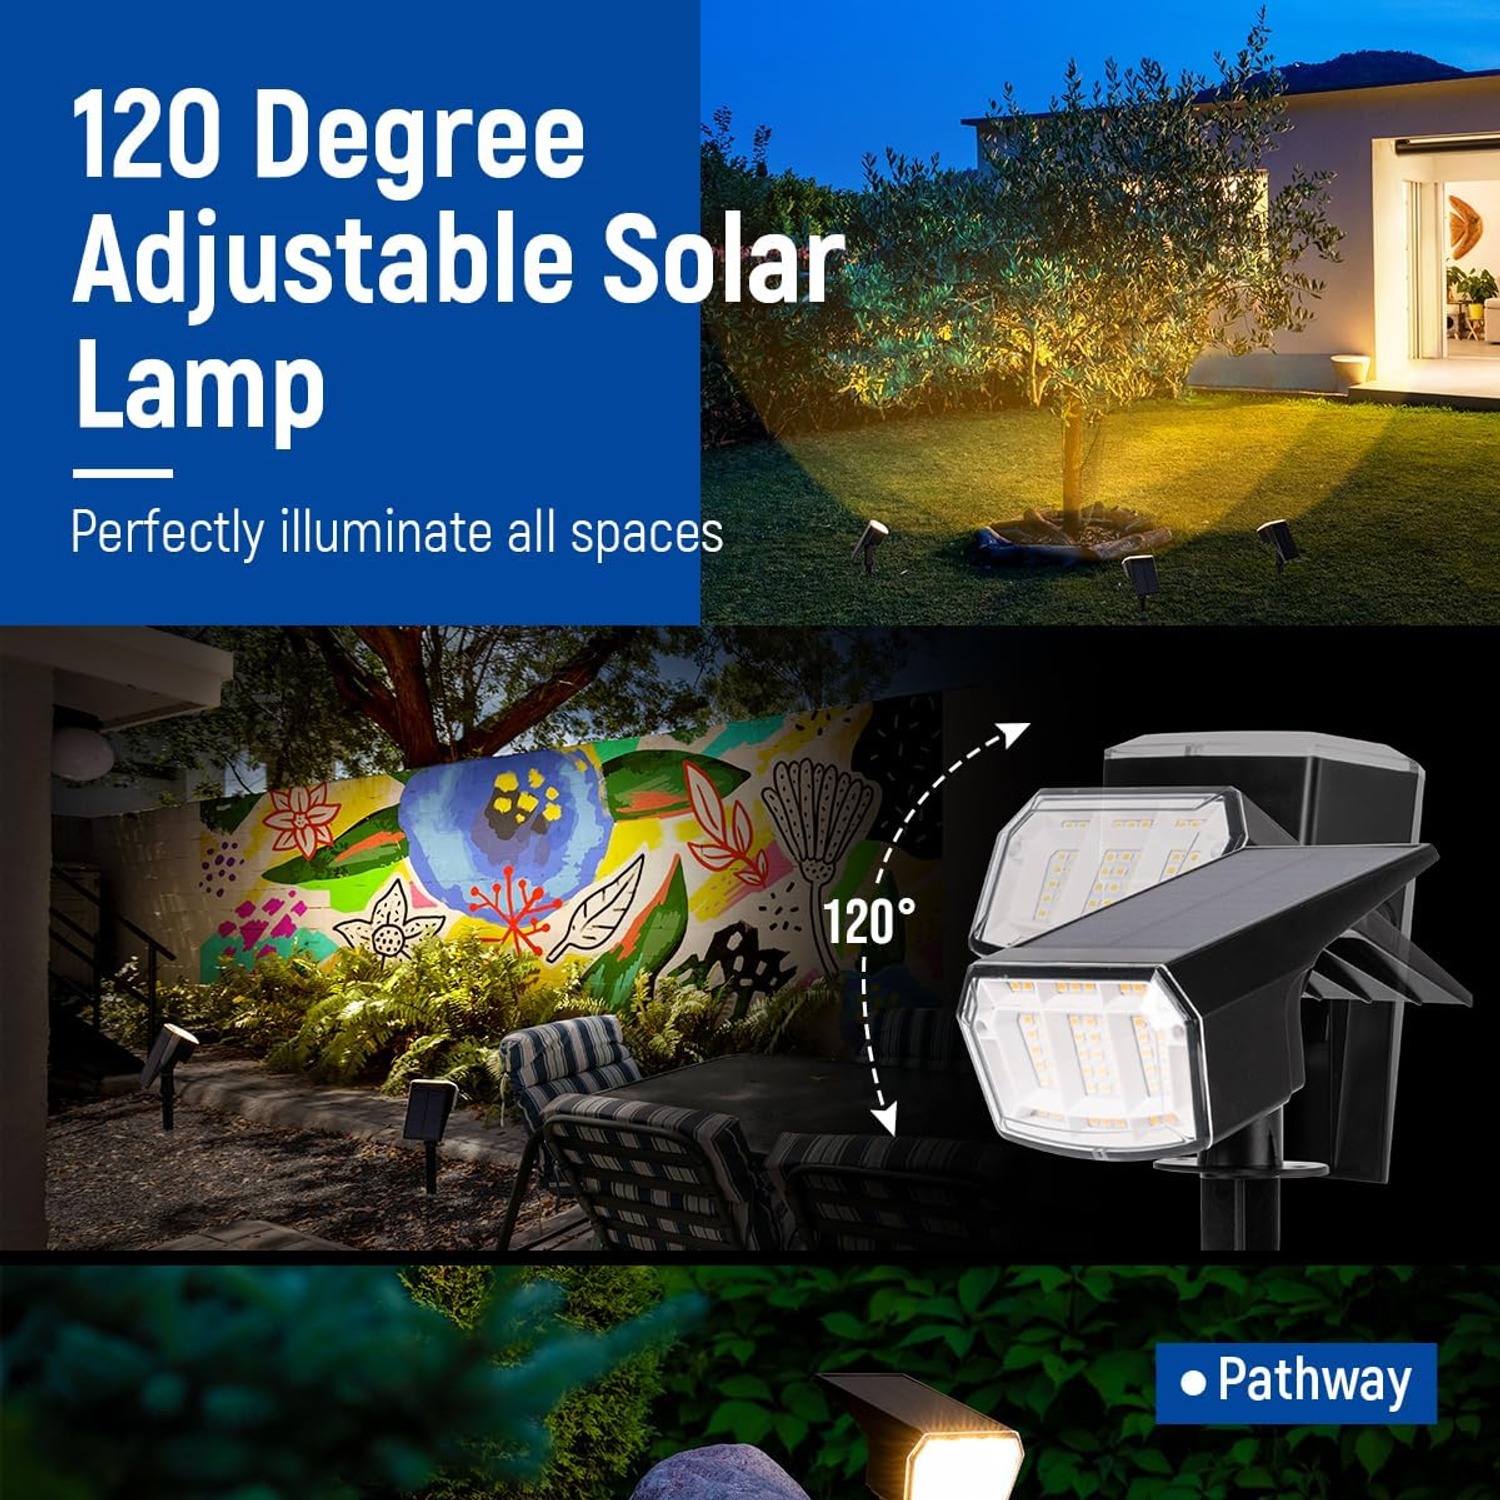
For uplighting a tree, set a light roughly half a meter from the trunk and angle the head up into the branches. Two lights on opposite sides read better than one, because a single beam leaves half the trunk flat and dark. For a path, space units about three to four meters apart along one side and angle the beam across the surface, not straight down the walkway into people's eyes.
For a fence or a wall, mount the unit high and aim down. You get a wash of light across the surface and far less glare. This is also the polite option when a boundary is involved, since the light lands on your side of the fence instead of in someone's bedroom.
Whichever you pick, check the panel afterwards. If a branch, a gutter or a trellis sits over it, you have just built a light that cannot charge.
Stake or wall, choosing the mount
The 2-in-1 design means the same unit does both jobs. The ground stake is faster, needs no tools and suits soft soil, garden beds and mulch. Push it in firmly, give it a wiggle to check it holds, then set the angle.
Wall mounting takes a few minutes longer but gives you a fixed, tidy position that mowers and dogs cannot knock over. Use the right fixing for the surface, a masonry plug in brick or render, a decent screw into a timber post. Once it is on, adjust the head angle. A spotlight aimed two degrees too high lights the sky and nothing else, so always check the result after dark and nudge it.
If the ground is hard clay or full of stone, do not force the stake. Water the spot first, or switch that light to a wall or post position nearby.
Setting brightness mode sensibly
Treat the modes as a zoning tool rather than a single global setting. Lights near the back door, the steps or the gate are the ones you want on a higher mode, because that is where you need to see properly. Lights marking a fence line or a far garden bed can sit on low, since their job is orientation and atmosphere.
Be realistic about seasons too. A long clear summer day puts far more into the battery than a short overcast winter one. If runtime drops off in midwinter, that is expected behaviour for every solar product, not a fault. Dropping those units down a mode usually restores a full evening of light.
Keeping them working
Maintenance here is close to nothing, but the little that exists matters a lot.
Clean the panel. Dust, pollen, salt spray and bird mess all cut the charge, and a hazy panel on a bright day performs like a clean panel on a dull one. A damp cloth every few weeks is enough. No solvents, no scouring pads.
Trim what grows over them. A garden changes shape across a season, and the shrub that sat below a light in spring can be leaning over its panel by midsummer.
Rinse mud off the lens with plain water after heavy rain or mowing. Dry it with something soft.
If a light goes dark, run the simple checks first. Is the switch on, is the panel dirty, is something shading it, has it had a full day of sun since. Those four questions solve the large majority of problems people report with outdoor solar spotlights.
The short version
These are six self-contained LED spotlights, 63 LEDs each, that charge by day and switch themselves on at dusk. Three brightness modes let you choose between more light and longer runtime. The IP65 ABS body stays out through rain, frost and heat. Each one works as a ground stake uplight or a wall-mounted downlight, and setup needs no wiring, no transformer and no electrician.
Give the panels real sun, aim the beams at something worth looking at, and keep the glass clean. Do those three things and the lights will handle the rest on their own, night after night.