

The complete guide
Solar Pathway Lights Buyer's Guide
The problem with a dark path
Most gardens have one stretch that is genuinely awkward after dark. It might be the few meters between the car and the front door, the step down off the deck, or the curve of a path that disappears into planting. You know it is there in daylight. At nine at night with your hands full of shopping, you are guessing.
The obvious fix is wired garden lighting. It is also the expensive one. Mains outdoor lights mean trenching a cable, getting the work signed off, and committing to the layout forever. If you rent, or if your path might move next year, that is a lot of effort for something you may undo.
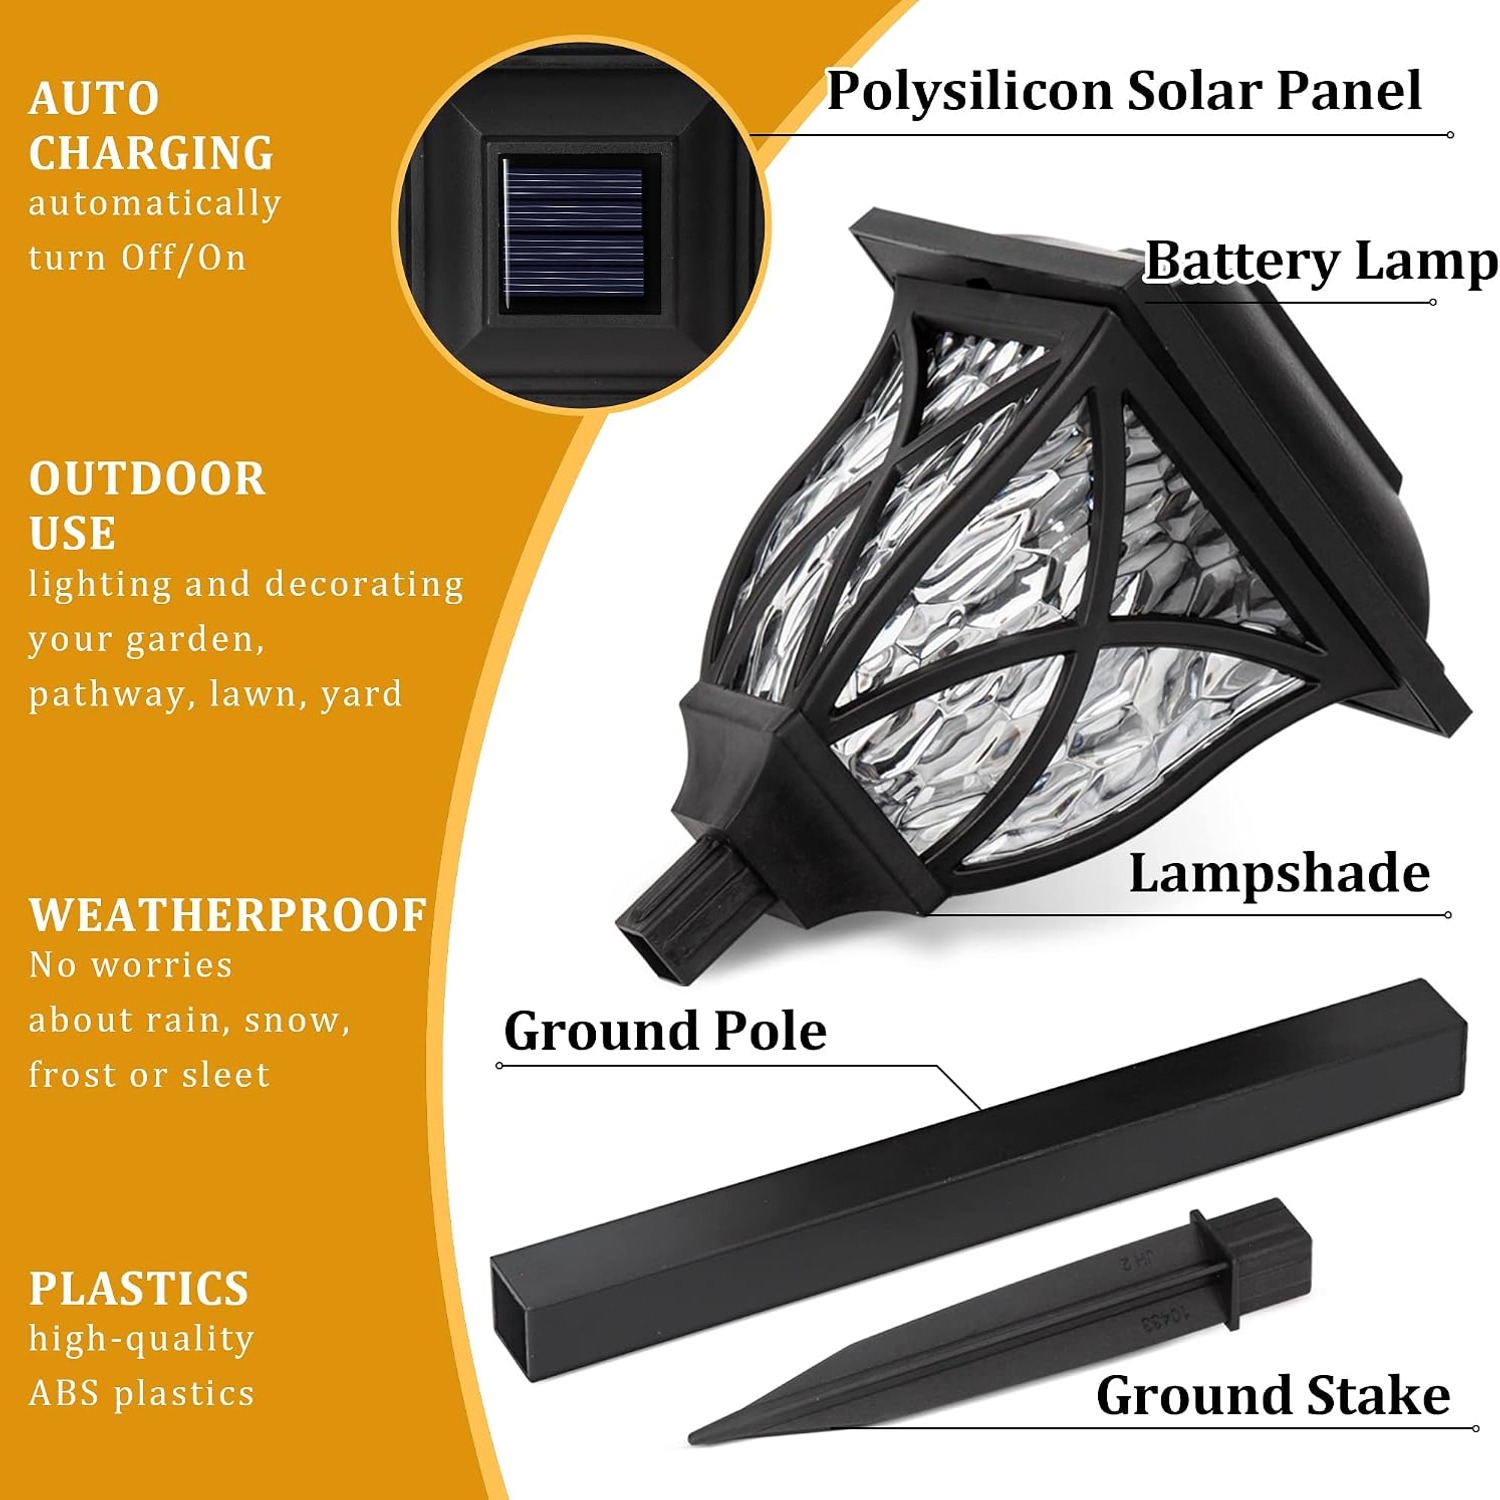
Solar pathway lights exist for exactly this gap. Each light is a self-contained unit. A small panel on top collects daylight, a battery stores it, and an LED turns on when the ambient light drops. You push the stake into the ground and walk away. That is the whole installation.
How they actually work
The mechanics are simple and worth understanding, because they explain most of the questions people have later.
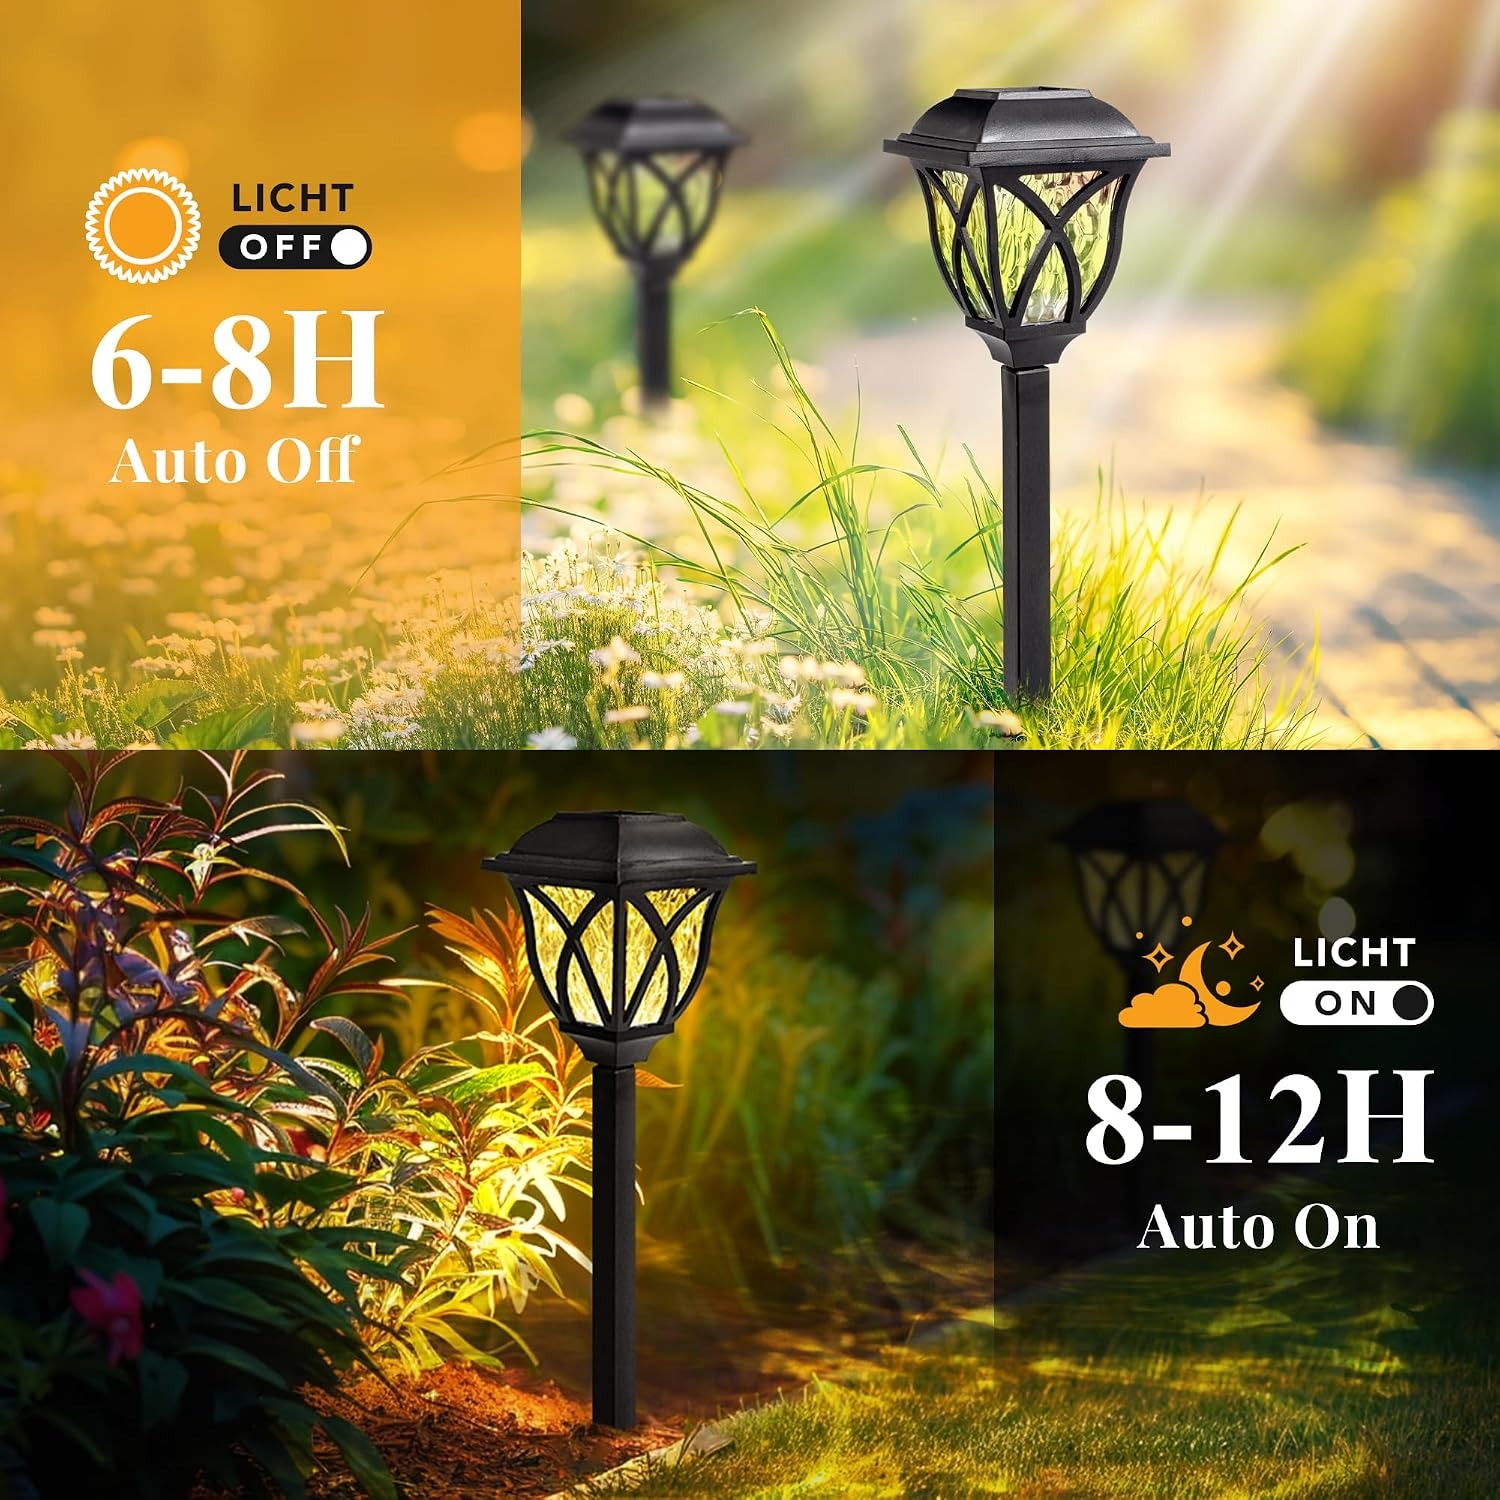
During the day, the panel converts sunlight into a trickle charge that fills a small rechargeable cell inside the light. When darkness falls, a light sensor closes the circuit and the LED comes on, running off that stored charge until either dawn arrives or the battery is spent.
That means two things. First, these lights have no running cost at all. Nothing is drawn from your meter. Second, the light you get at night is capped by the sun you got that day. A panel sitting in full afternoon sun will store far more than one under a fence line in permanent shade. Winter gives shorter, weaker days, so evening run times shorten too. This is not a defect, it is just physics, and it applies to every solar light on the market.
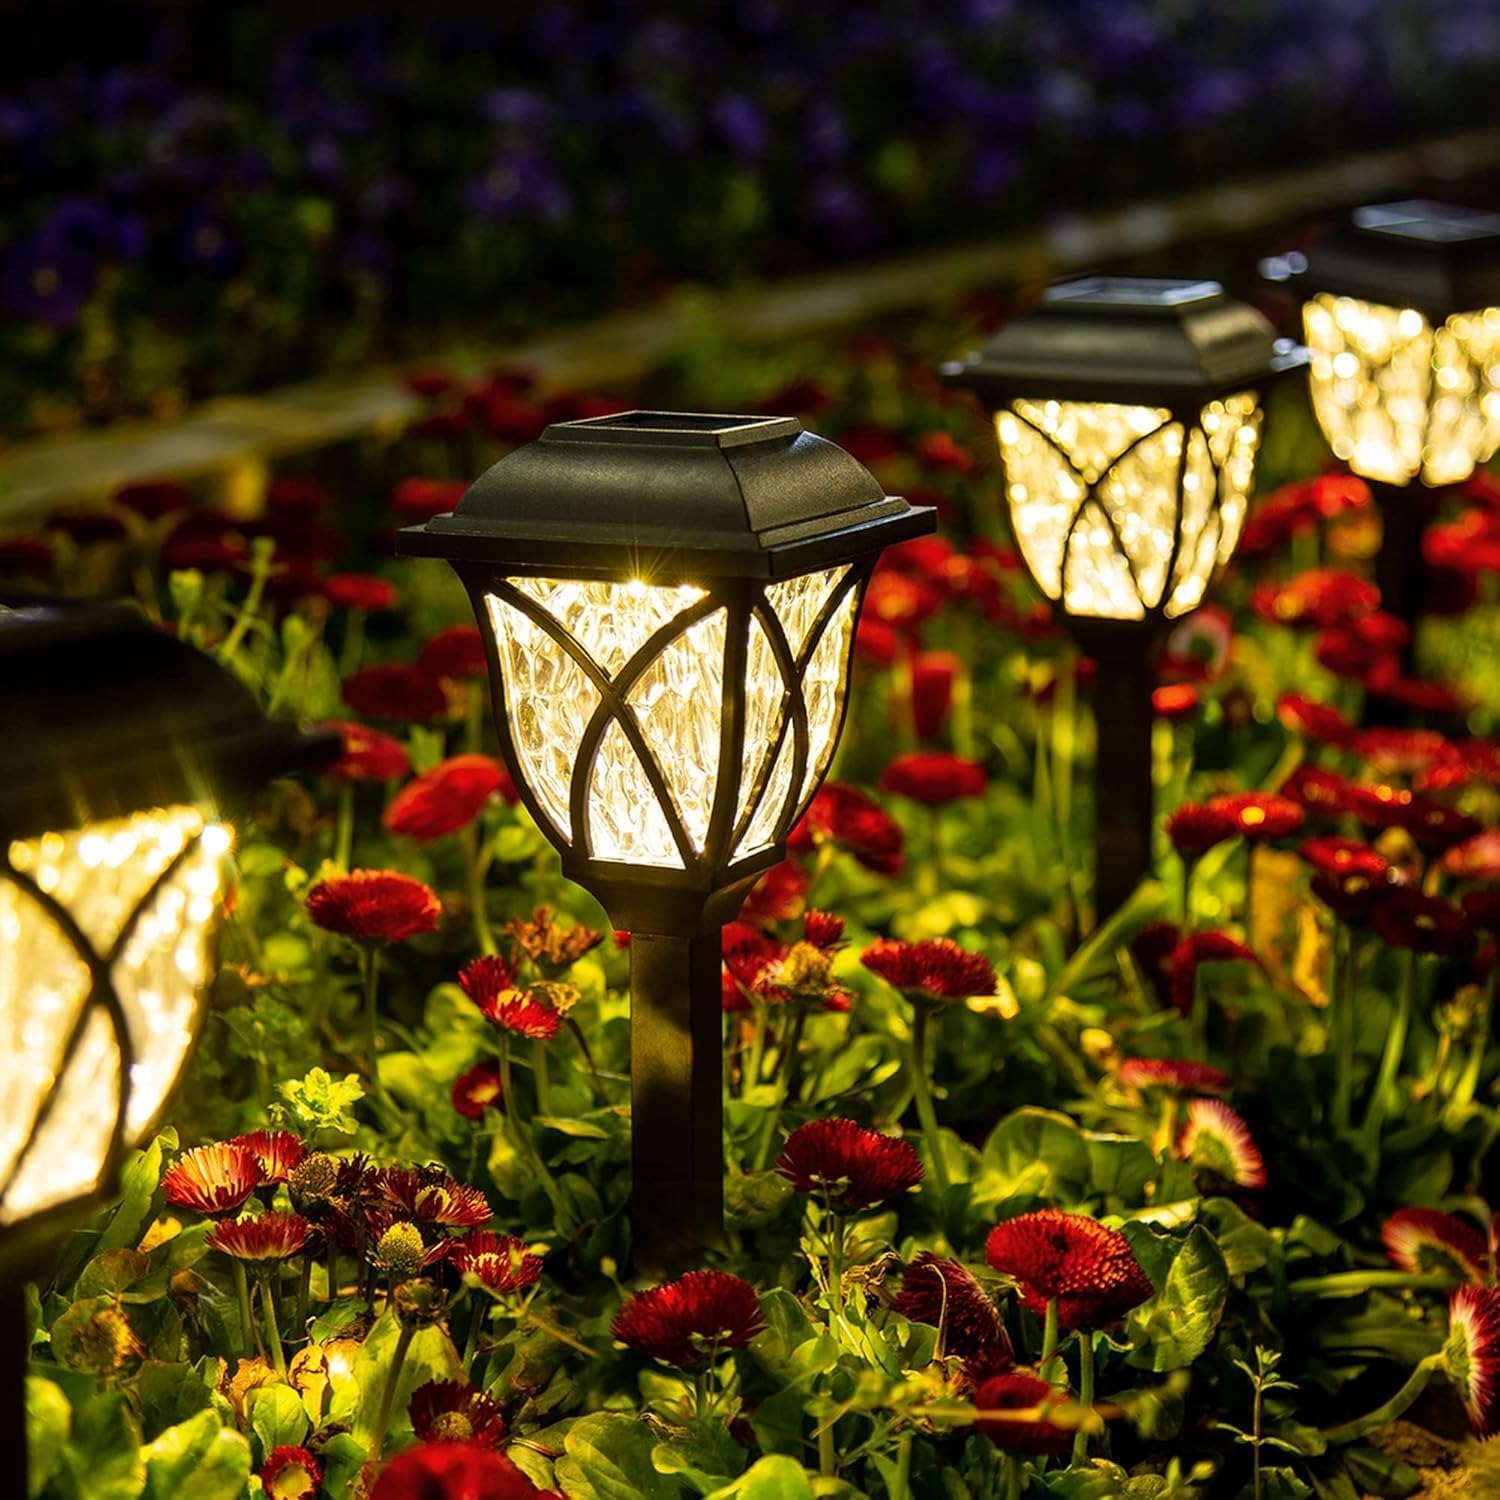
This particular set uses a warm white LED at 3000 Kelvin with a listed maximum of 6 lumens per light. Treat that number honestly. Six lumens is a soft glow, not a beam. The job of a path light is to mark a line and give your eyes something to follow, not to replace a security floodlight. Side by side, people usually find a run of low warm lights looks better than one harsh bright one, and warm white is kinder to foliage and brickwork than cold blue-white.
Who this suits
A six pack covers most ordinary front gardens. If you have a path from the gate to the door, six lights spaced a meter or two apart will mark it neatly end to end.
They work well for renters, since nothing is permanent and the whole set lifts out in minutes when you move. They suit anyone with garden beds either side of a walkway, because the stake needs soil rather than concrete. They are a sensible choice for a driveway edge too, marking where the hard surface ends so nobody clips the lawn reversing out.
They are less suitable if you need serious brightness for security, if your only mounting surface is paving or timber decking with no soil nearby, or if the whole area sits in deep shade from trees or a tall fence. In that last case, any solar light will struggle, and a low-voltage wired system is the better answer.
Choosing the right spot
Placement is the single biggest factor in how happy you will be with solar lighting, and it costs nothing to get right.
Walk the area at about midday and look for where the sun actually lands. North-facing beds in the southern hemisphere, or south-facing in the northern, usually get the longest exposure. A light does not need sun all day. A solid block of three or four hours of direct light makes a real difference compared to dappled shade.
Watch out for things that cast shadow later in the season. A deciduous shrub that looks small in winter can swallow a light by midsummer. Overhanging eaves, parked cars and washing lines all cost you charge time.
Think about spacing before you commit. Lay the six lights on the ground first, stand back, and look from the angle you normally walk. Even spacing reads as deliberate. Random spacing reads as an afterthought. One to two meters apart is the usual sweet spot for a path, a little wider if you are just marking a boundary.
Getting them in the ground
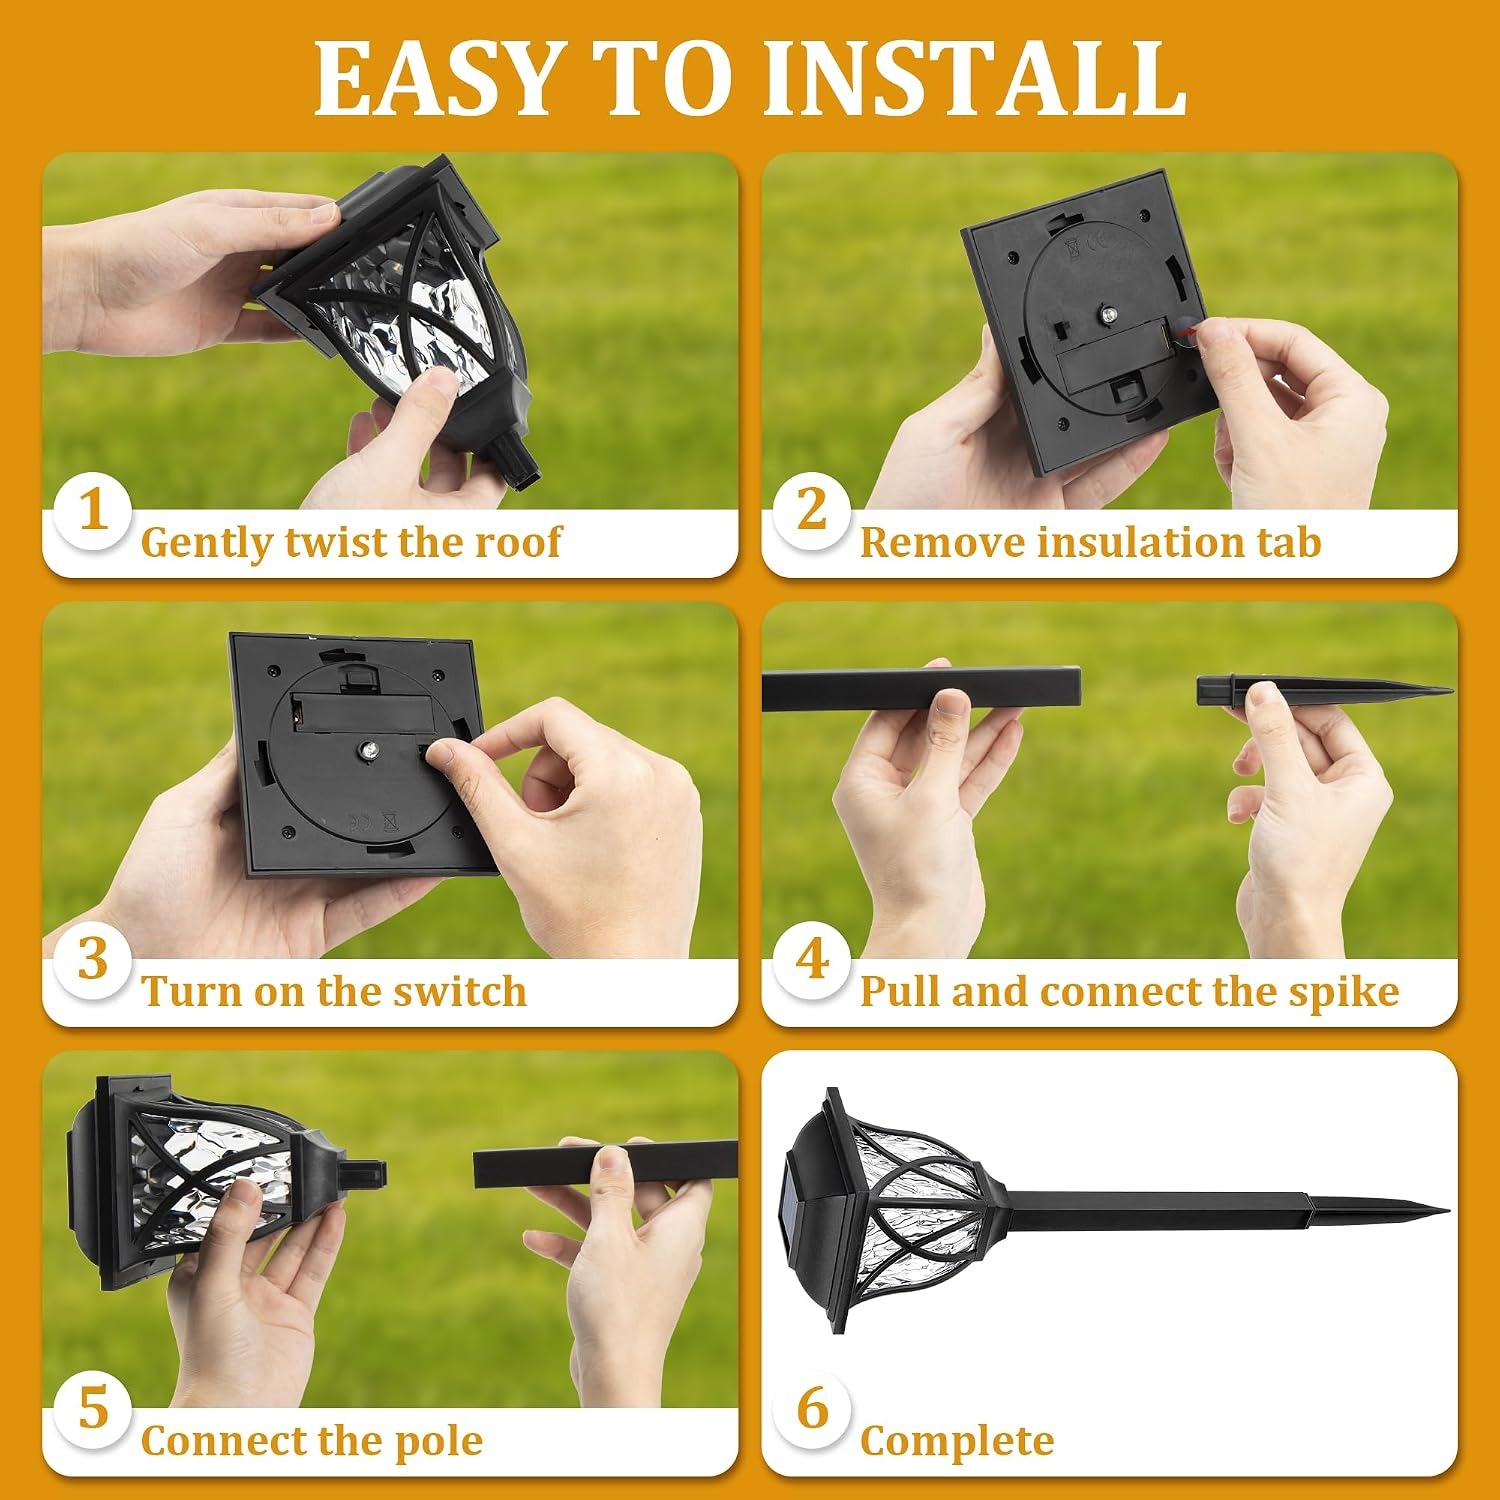
Assembly is required, but it is the push-together kind. Each light has a head and a stake section that join, and then the whole unit goes into the soil.
The one thing worth doing properly is the hole. Dry, compacted soil fights back, and plastic stakes do not win that fight. Water the spot the evening before, or push a trowel or an old screwdriver into the ground first to open a pilot hole. Then press the stake in with steady pressure on the collar rather than levering on the light head.
Push them in far enough that they stand straight without wobbling. A leaning path light looks worse than no path light. If the ground is loose, firm the soil back around the stake with your foot.
Looking after them
Solar lights ask for very little, but the little they ask makes a real difference.
Keep the panel clean. Dust, pollen, bird mess and leaf litter all sit on the glass and cut the charge. A wipe with a soft damp cloth every few weeks is enough. In autumn, check them more often, since one leaf can cover a small panel completely.
Rinse the lens if mud splashes up from heavy rain, then dry it so you are not looking through a gray film. Pull the stakes out before mowing or edging and put them back after, which also gives you a chance to brush the panels.
If one light seems dimmer than its neighbors, swap it with one in a sunnier position for a few days before assuming it has failed. Nine times out of ten it was a charging problem, not a hardware problem. In a long run of gray weather, expect shorter nightly run times across the whole set.
A few realistic expectations
It is worth being clear about what a 6 lumen warm white LED does and does not do. It will show you the edge of the path. It will make a garden look finished and welcoming from the street. It will stop guests stepping into the flower bed.
It will not light up a face from three meters away, read as a security measure, or stay at full brightness from dusk until sunrise in midwinter. If any of those are your actual requirement, buy a motion-sensor flood or a wired low-voltage system instead and keep these for atmosphere.
Used for what they are, they are among the easiest upgrades you can make to a garden. No trench, no electrician, no power bill, and you can change your mind about the layout next weekend.
The short version
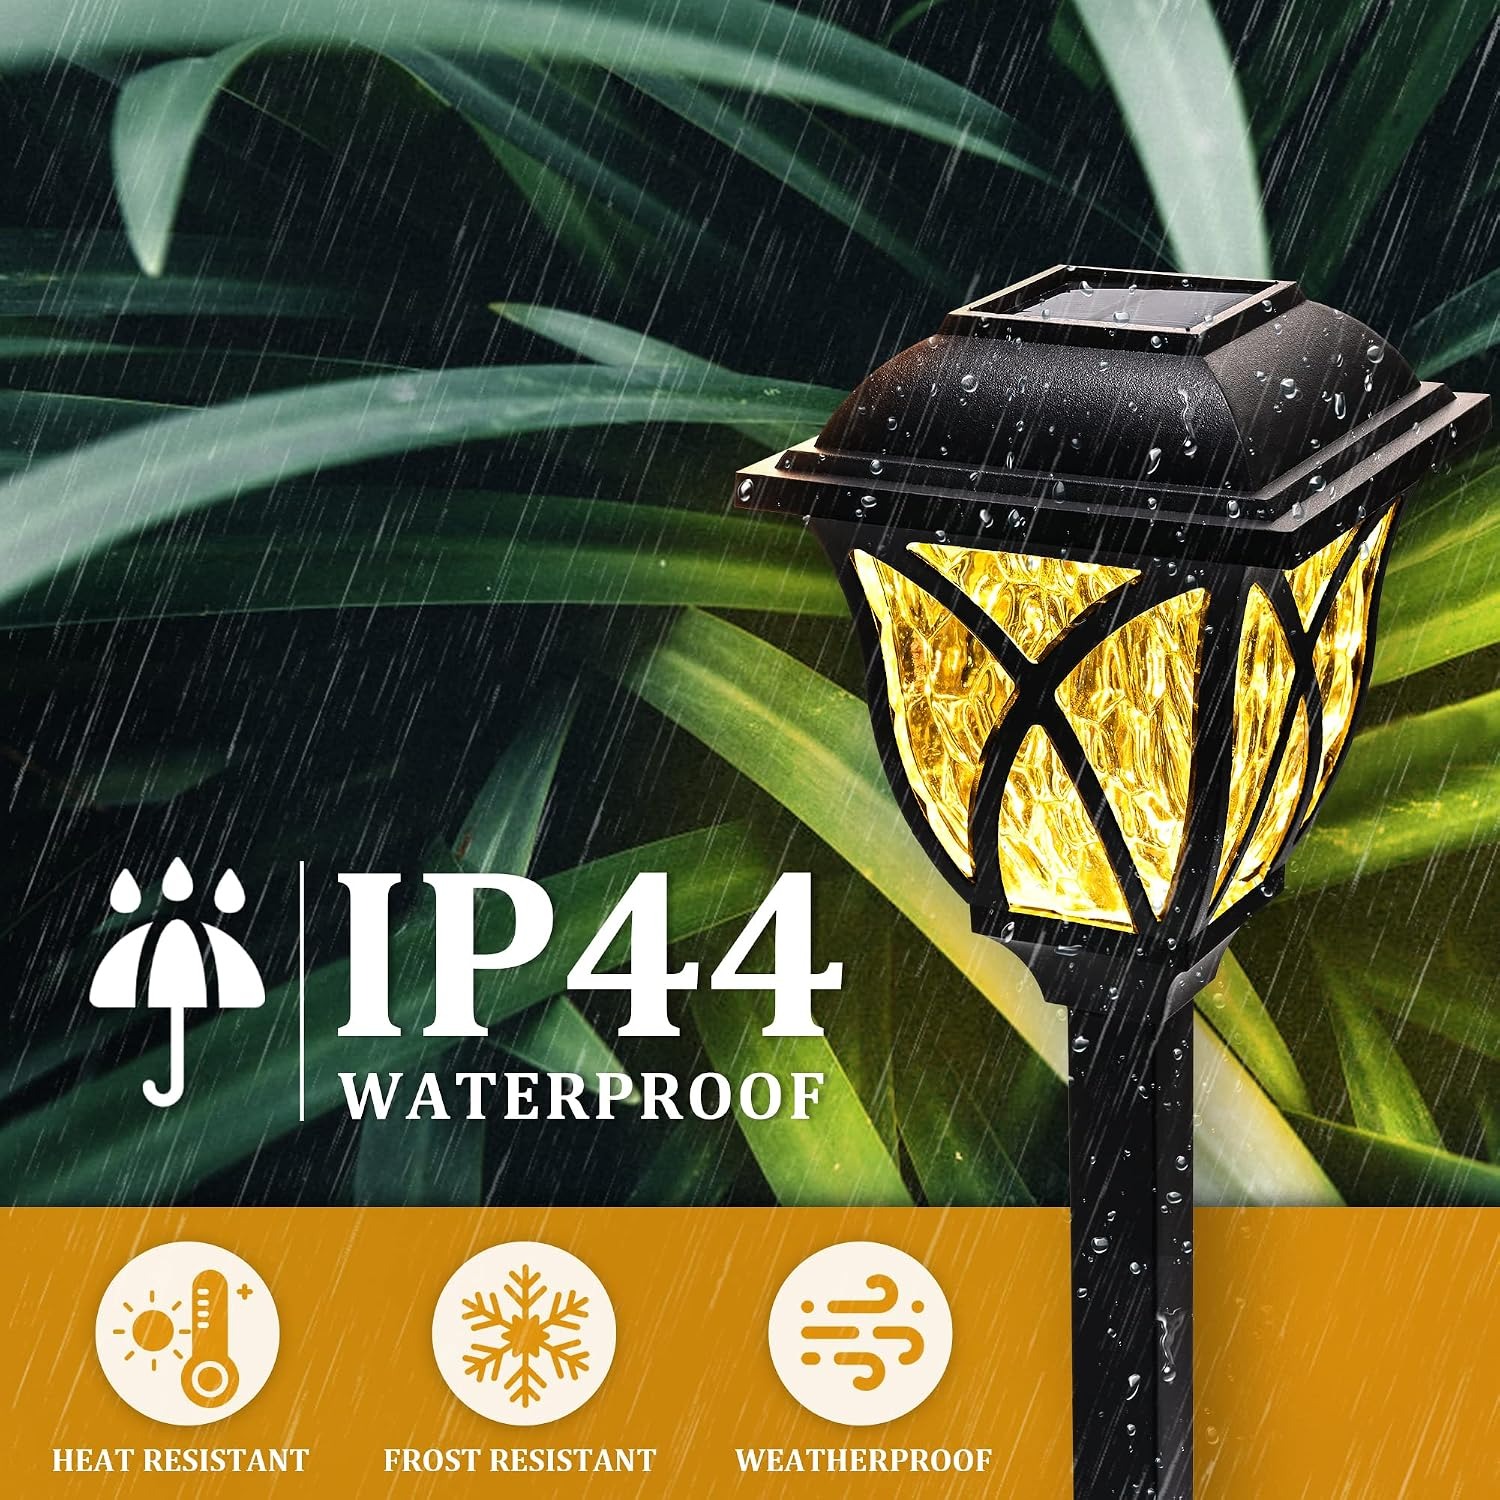
Six self-contained solar path lights, warm white at 3000 Kelvin, cone-shaped with a black plastic shade and a downward throw. Each one is 42.9 cm tall, waterproof, freestanding on a ground stake, and removable whenever you want to move it. Assembly takes minutes and involves no wiring at all.
Give each light a clear view of the sky, space them a meter or two apart along the path, keep the panels clean, and they will mark your walkway every night without costing you anything to run.