
The complete guide
The Practical Guide to Solar In-Ground Lights
The dark stretch every garden has
There is usually one part of a garden that behaves differently after sunset. By day it is just a path, a gravel edge or a step down to the lawn. By night it becomes a guessing game, the place where visitors slow down and put a hand out, where you carry the bins by feel, where a step you have walked a thousand times suddenly needs thinking about.
The obvious fix is mains lighting. The obvious problem with mains lighting is everything that comes with it. A cable run, a trench across the lawn, a weatherproof junction, a qualified electrician and a bill that makes you think twice about whether the path was really that dark.
Solar in-ground lights exist for exactly this gap. Each fixture is self-contained. The panel on top gathers daylight, the battery inside stores it, and the LED runs off that store once the light drops. You put the stake in the ground and walk away. That is the entire installation.
How they work, in plain terms
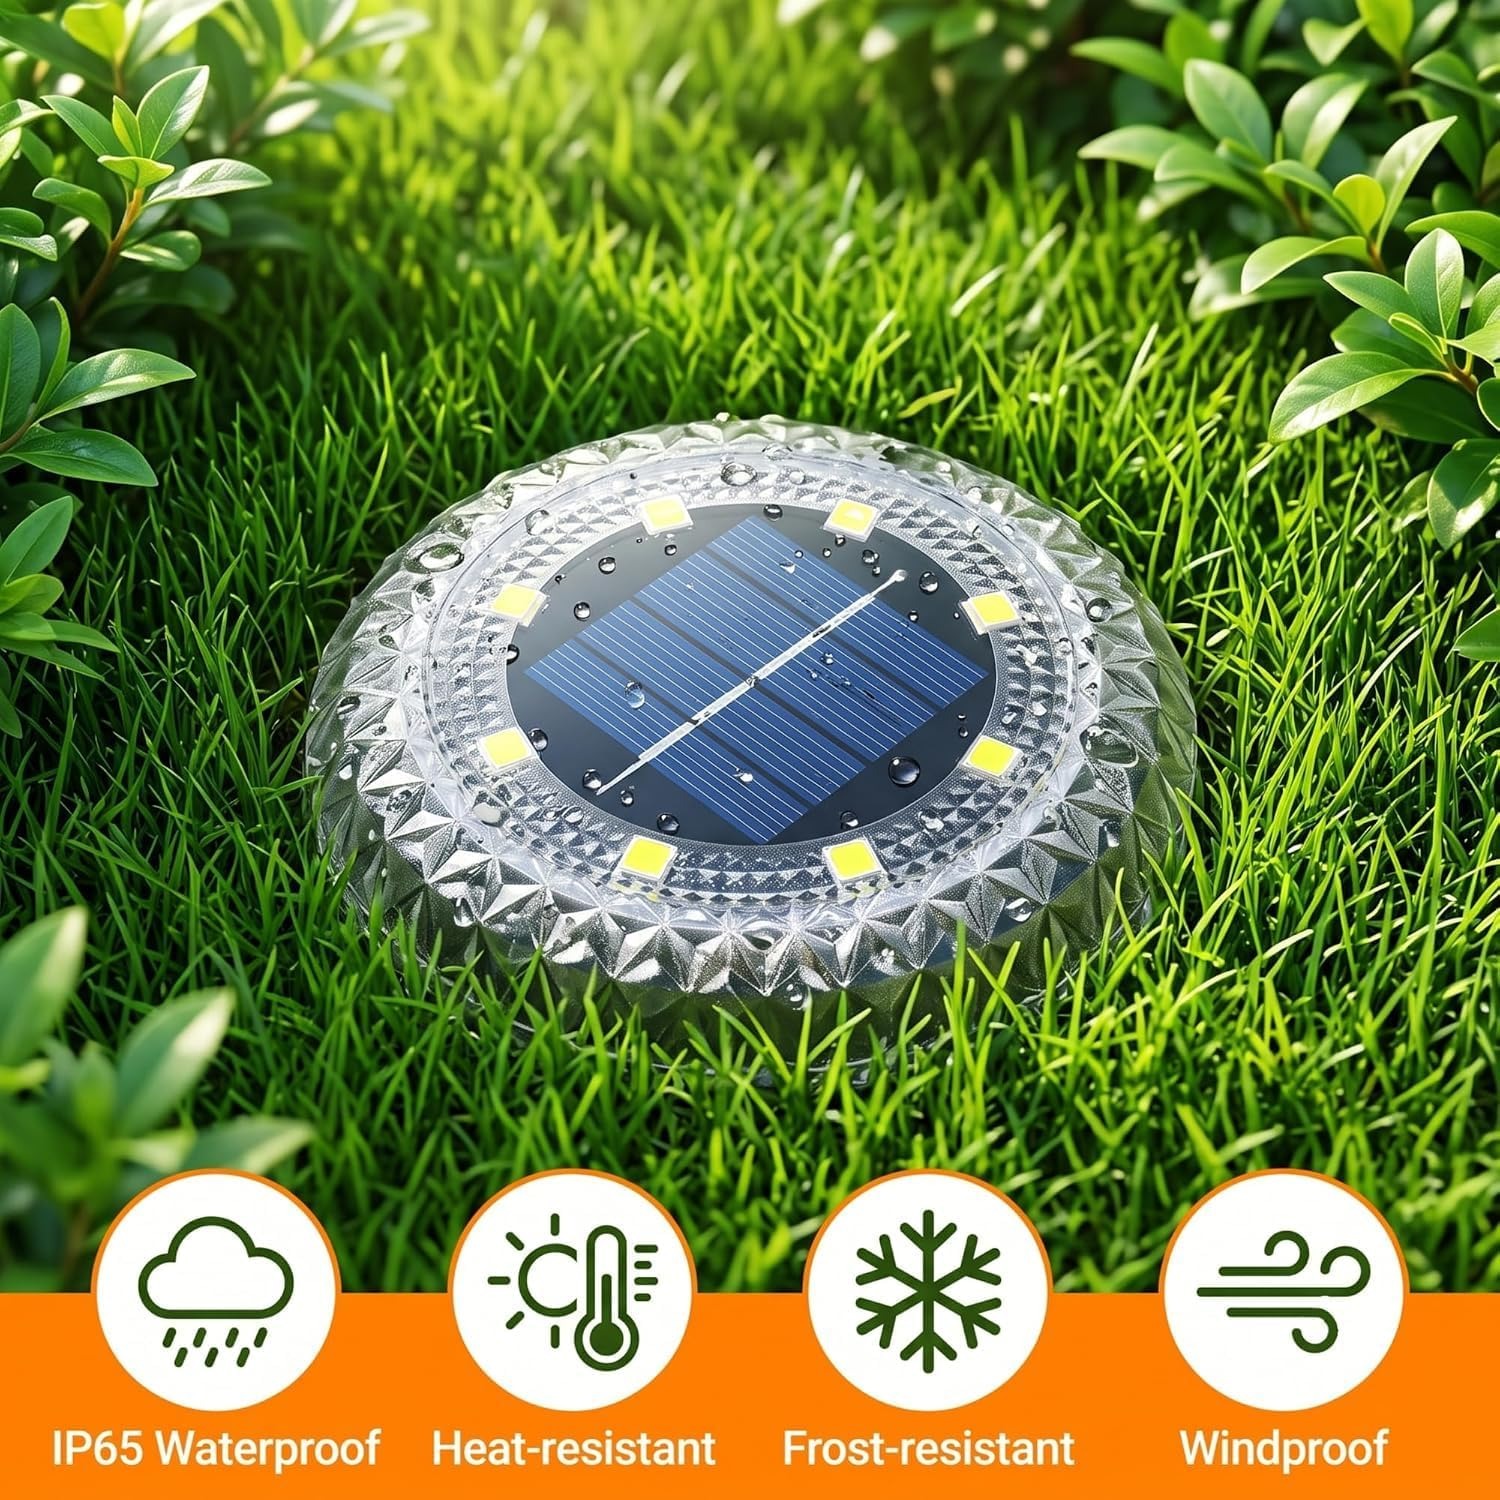
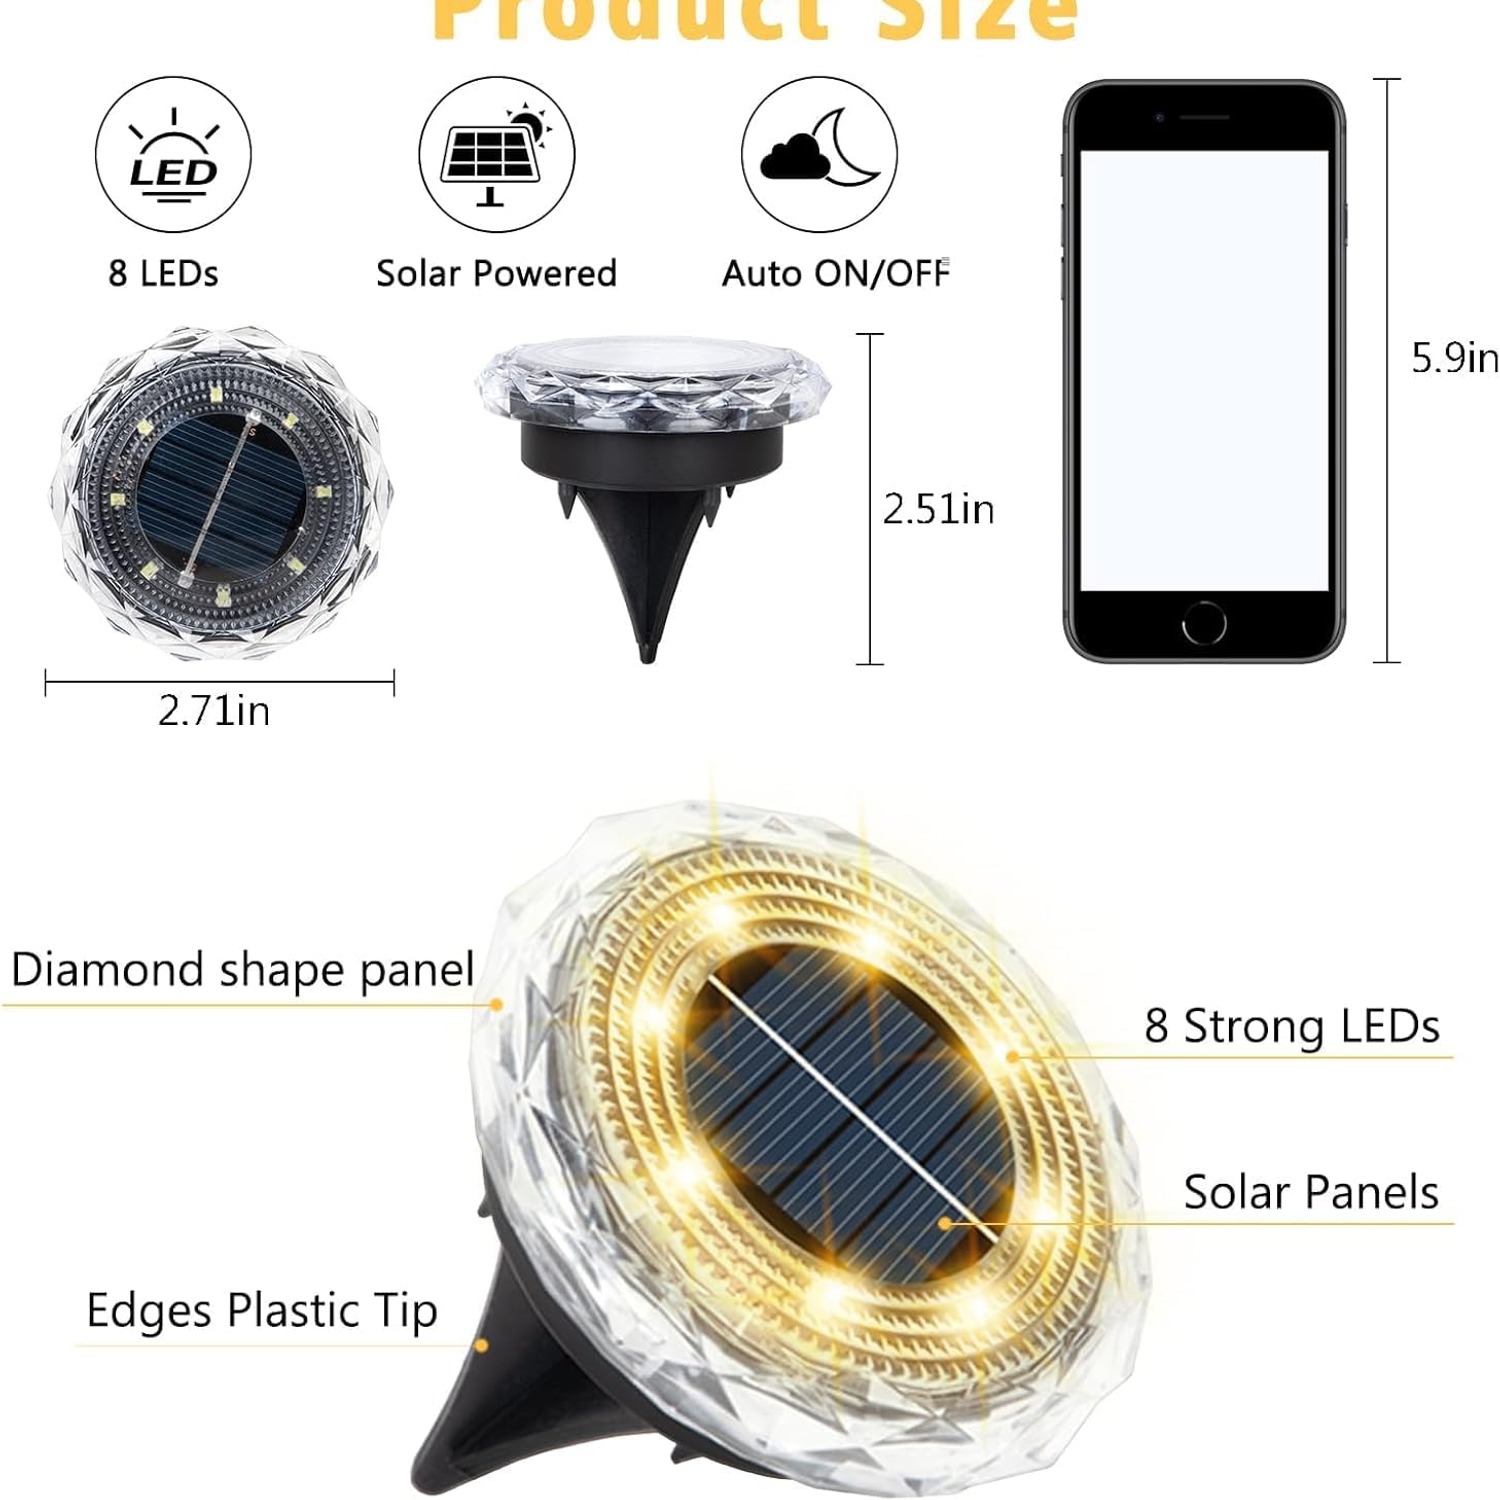
Three parts do all the work. A small photovoltaic panel sits on the top face of each light. Underneath it is a rechargeable battery. Below that is the LED unit and a light sensor.
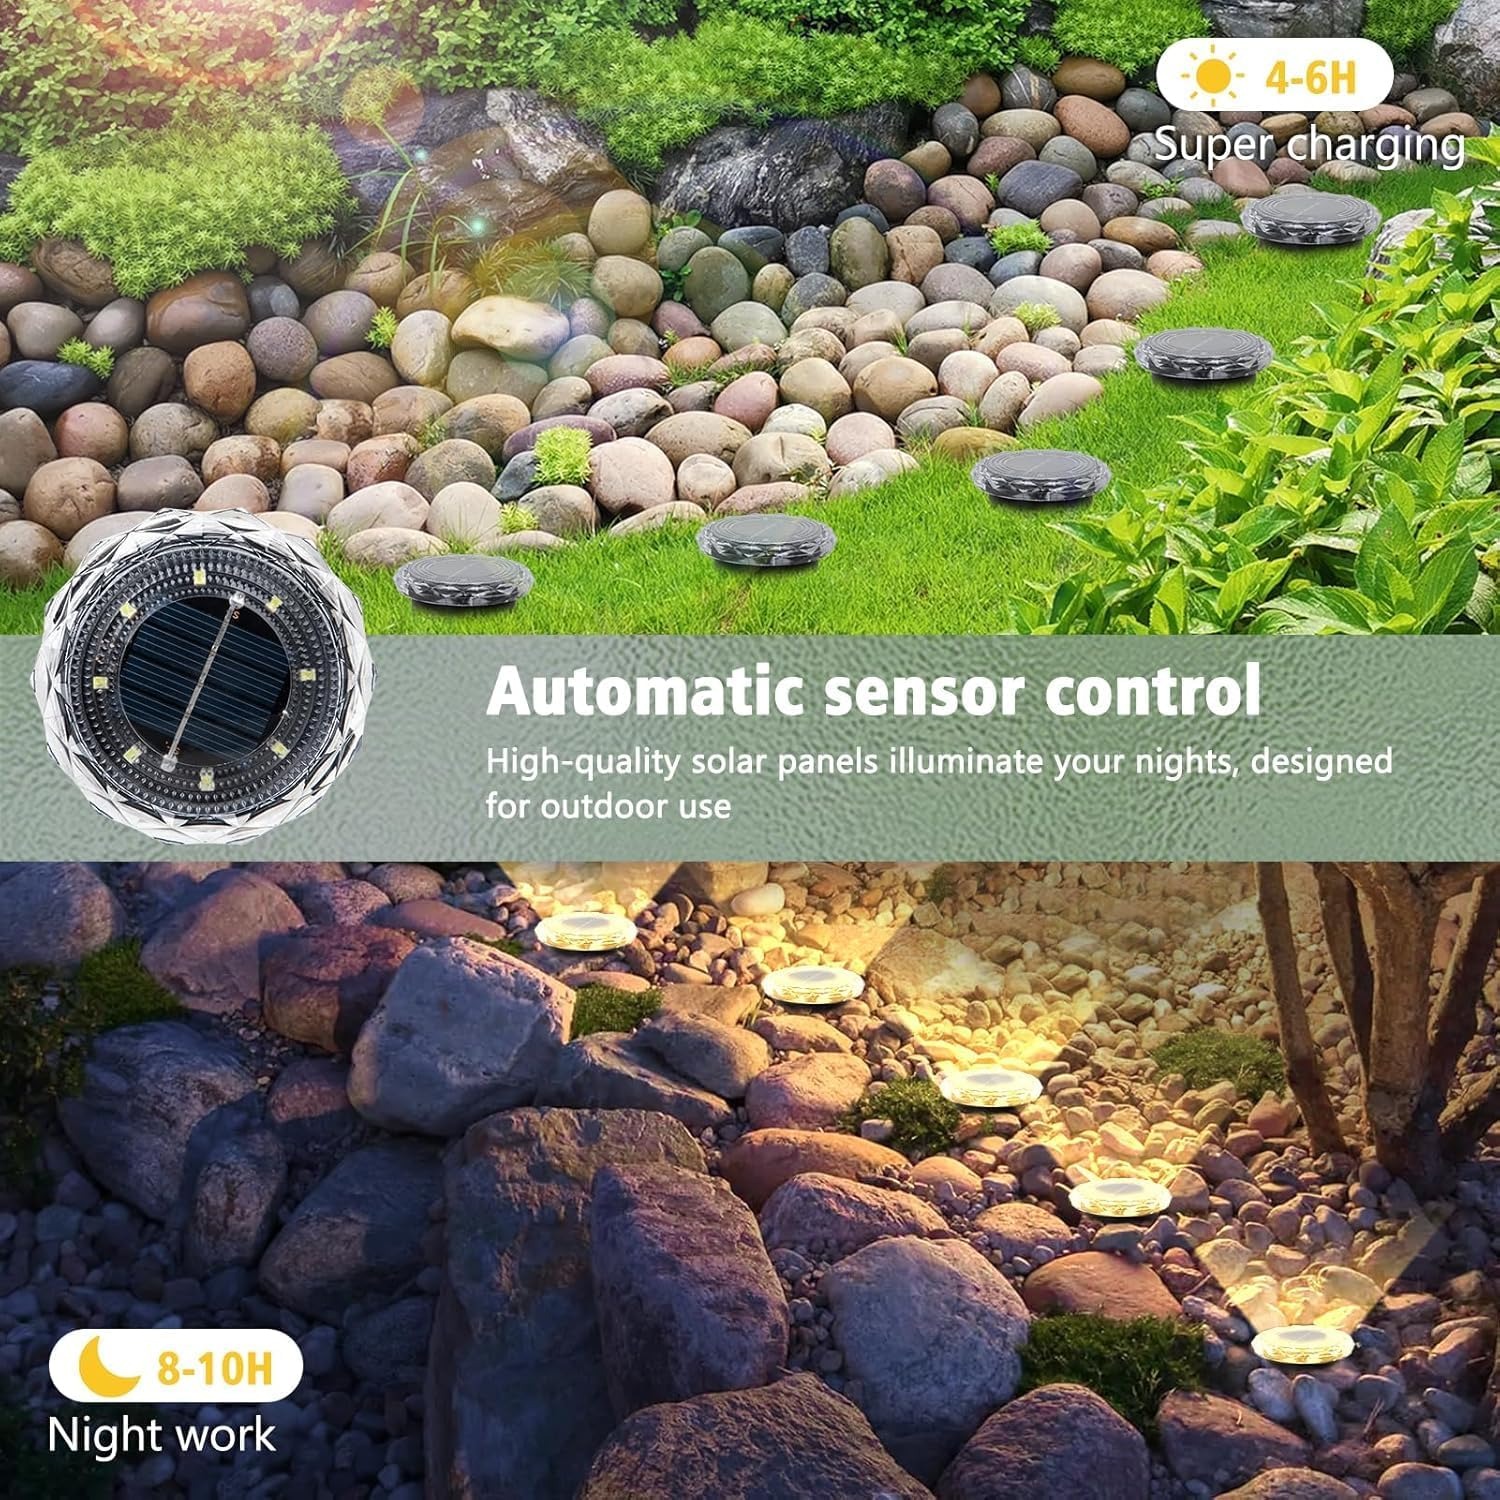
Through the day the panel feeds the battery. When ambient light falls past a threshold, the sensor closes the circuit and the LED comes on. In the morning the sensor opens it again and charging resumes. There is no timer to program, no switch to remember and no app to pair.
The one thing this system cares about is daylight hitting the panel. Everything that goes wrong with solar garden lights traces back to that. A panel in shade all afternoon, a panel under a film of pollen, a panel sitting beneath a shrub that has grown twenty centimetres since spring. Keep the panel in the sun and clean, and the lights do their job.
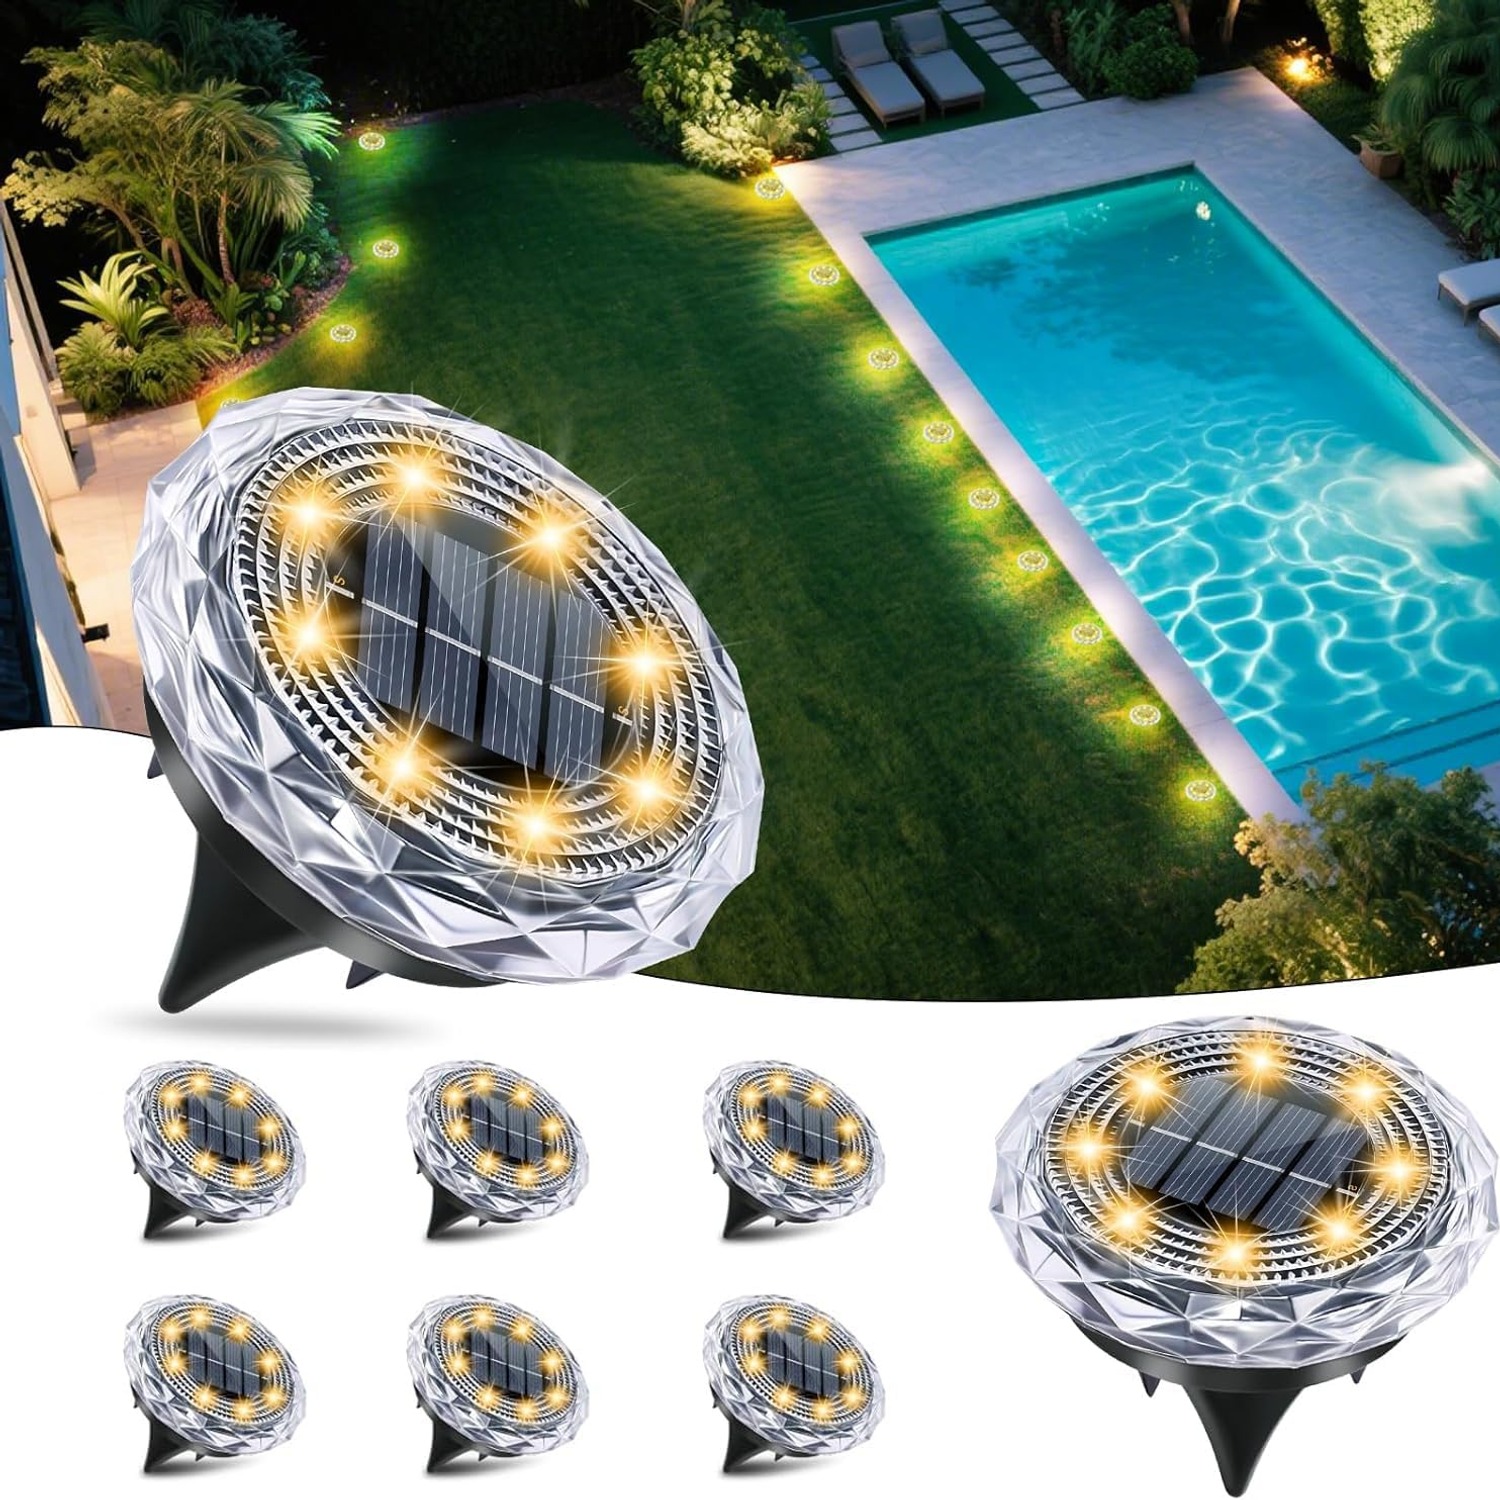
In this set the LEDs are warm white, and the housing carries a diamond texture rather than a plain lens. The texture matters more than it sounds. It scatters the output so you get a patterned halo on the ground instead of one glaring point. At ankle height, scattered light is what you want. A bare bright source down there catches the eye in an unpleasant way every time you walk past it.
Who this set suits
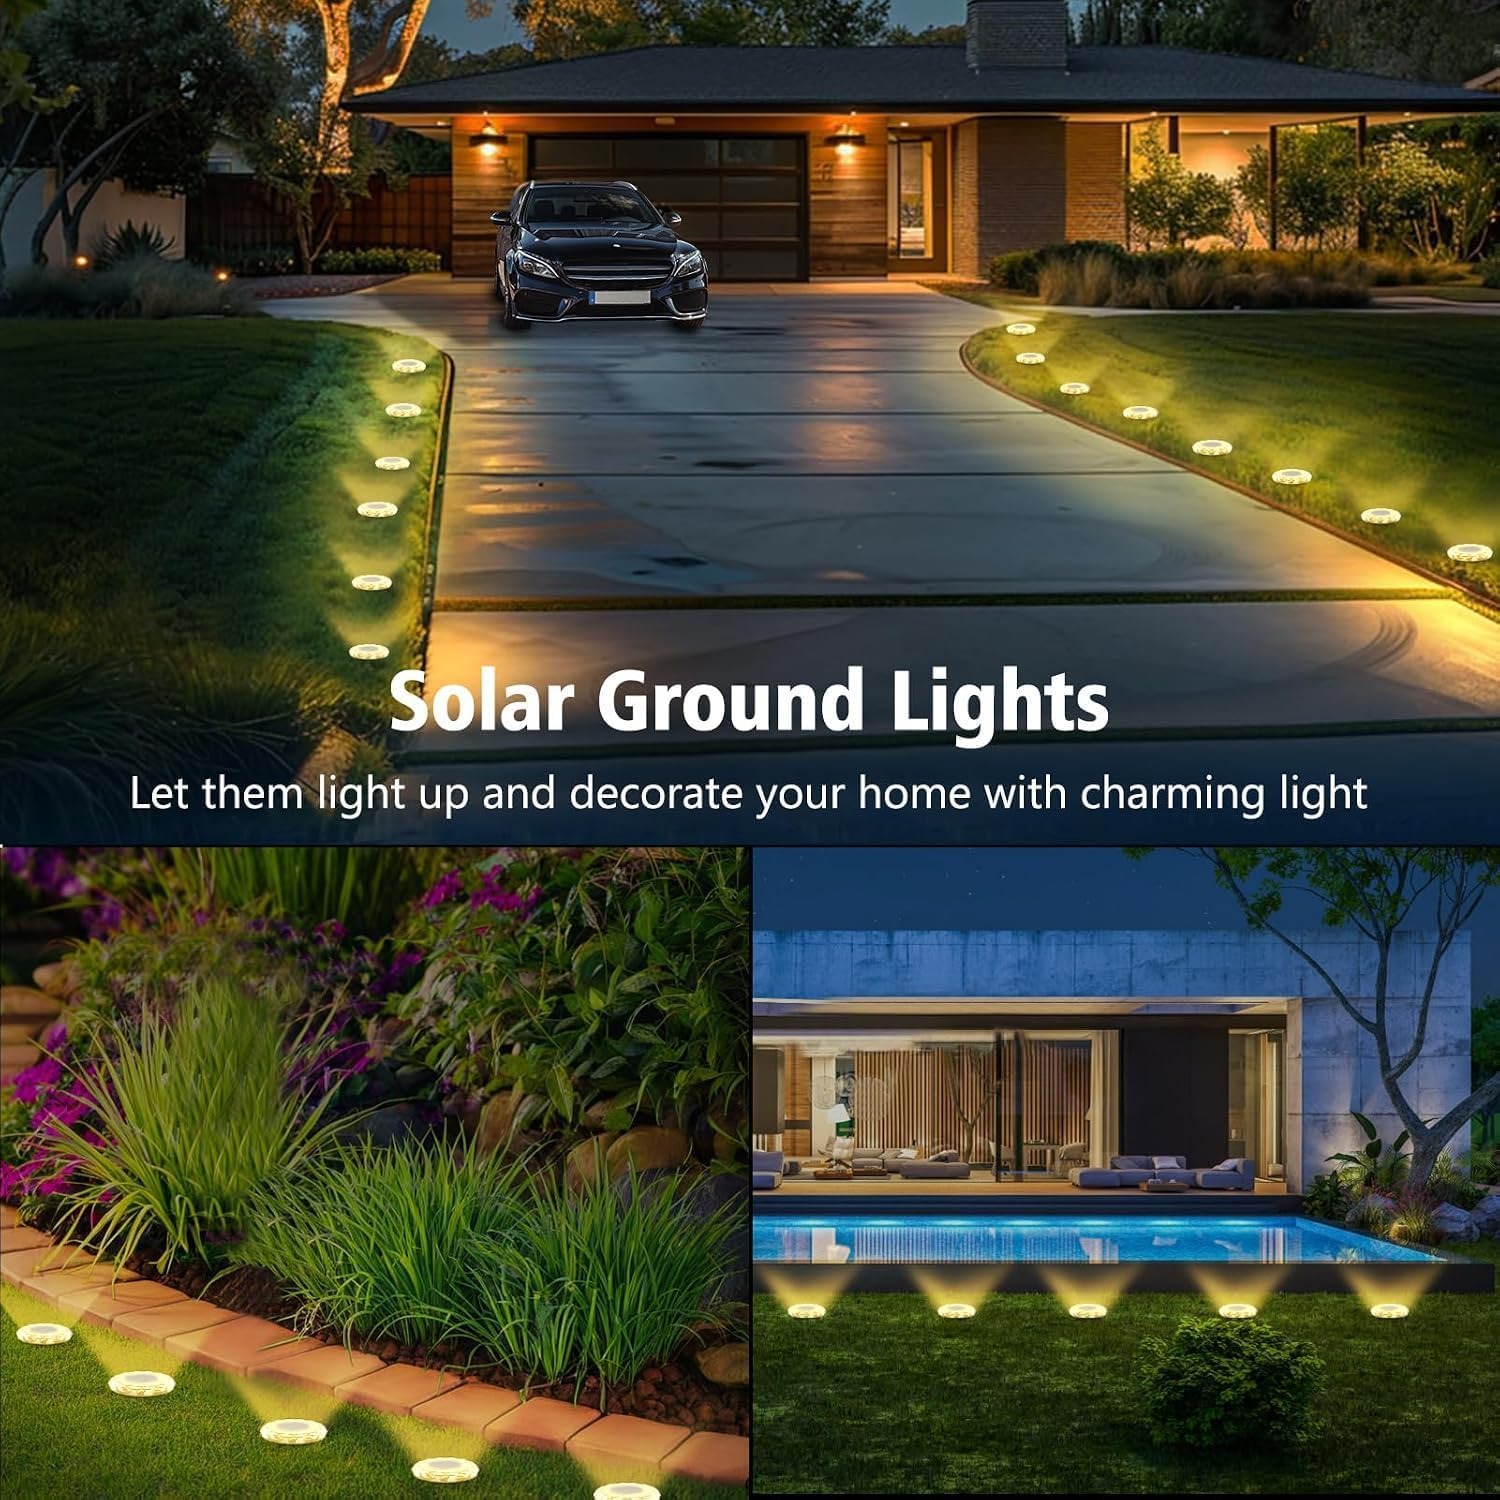
This eight-pack suits someone who wants a run of lighting rather than a single feature. Eight fixtures is enough to line a front path, frame a garden bed, mark both sides of a short driveway or walk a visitor from the gate to the door.
It suits renters especially well. There is nothing permanent here. No holes drilled, no cable buried, no fitting screwed to a wall. When you move, you pull eight stakes out of the soil and take them with you.
It suits anyone with soft ground. The stake mount needs soil it can push into. Lawn, garden beds, the earth strip beside a path, a deep planter, all fine. Solid concrete, a timber deck with no gaps, or deep gravel over a weed membrane, not so much.
It is less suited to someone who wants security lighting. These are ambient, marker-level fixtures. They show you where the edge of the path is and make the garden look considered after dark. They will not flood a back yard or trigger when someone walks past. If that is the brief, you want a motion sensor floodlight instead, and perhaps a few of these for the softer work.
Choosing where to put them
Spend five minutes on layout and the result looks twice as good.
Start by walking the route in daylight and noting where you actually need help. The top and bottom of any step. Any point where the path changes direction. The spot where the surface changes from paving to gravel. Those get a light each, no debate.
Then fill in the straight runs. Spacing around 60 to 100 centimetres gives a more or less continuous ribbon of light. Pushing them further apart, say a meter and a half, gives separate pools of glow with shadow in between. Both look good, they just look different. Continuous reads as functional and tidy. Spaced reads as decorative and relaxed.
Alternating sides of a path is worth trying. Four lights on the left, four on the right, staggered. It uses the same eight fixtures but lights a wider corridor and avoids the runway effect of a single straight row.
Check the sun before you commit. Stand at each proposed spot in the early afternoon and look up. If something is blocking the sky for most of the day, move the light or trim whatever is in the way. A fixture in good sun will outperform a brighter fixture in shade every time.
Getting them in the ground
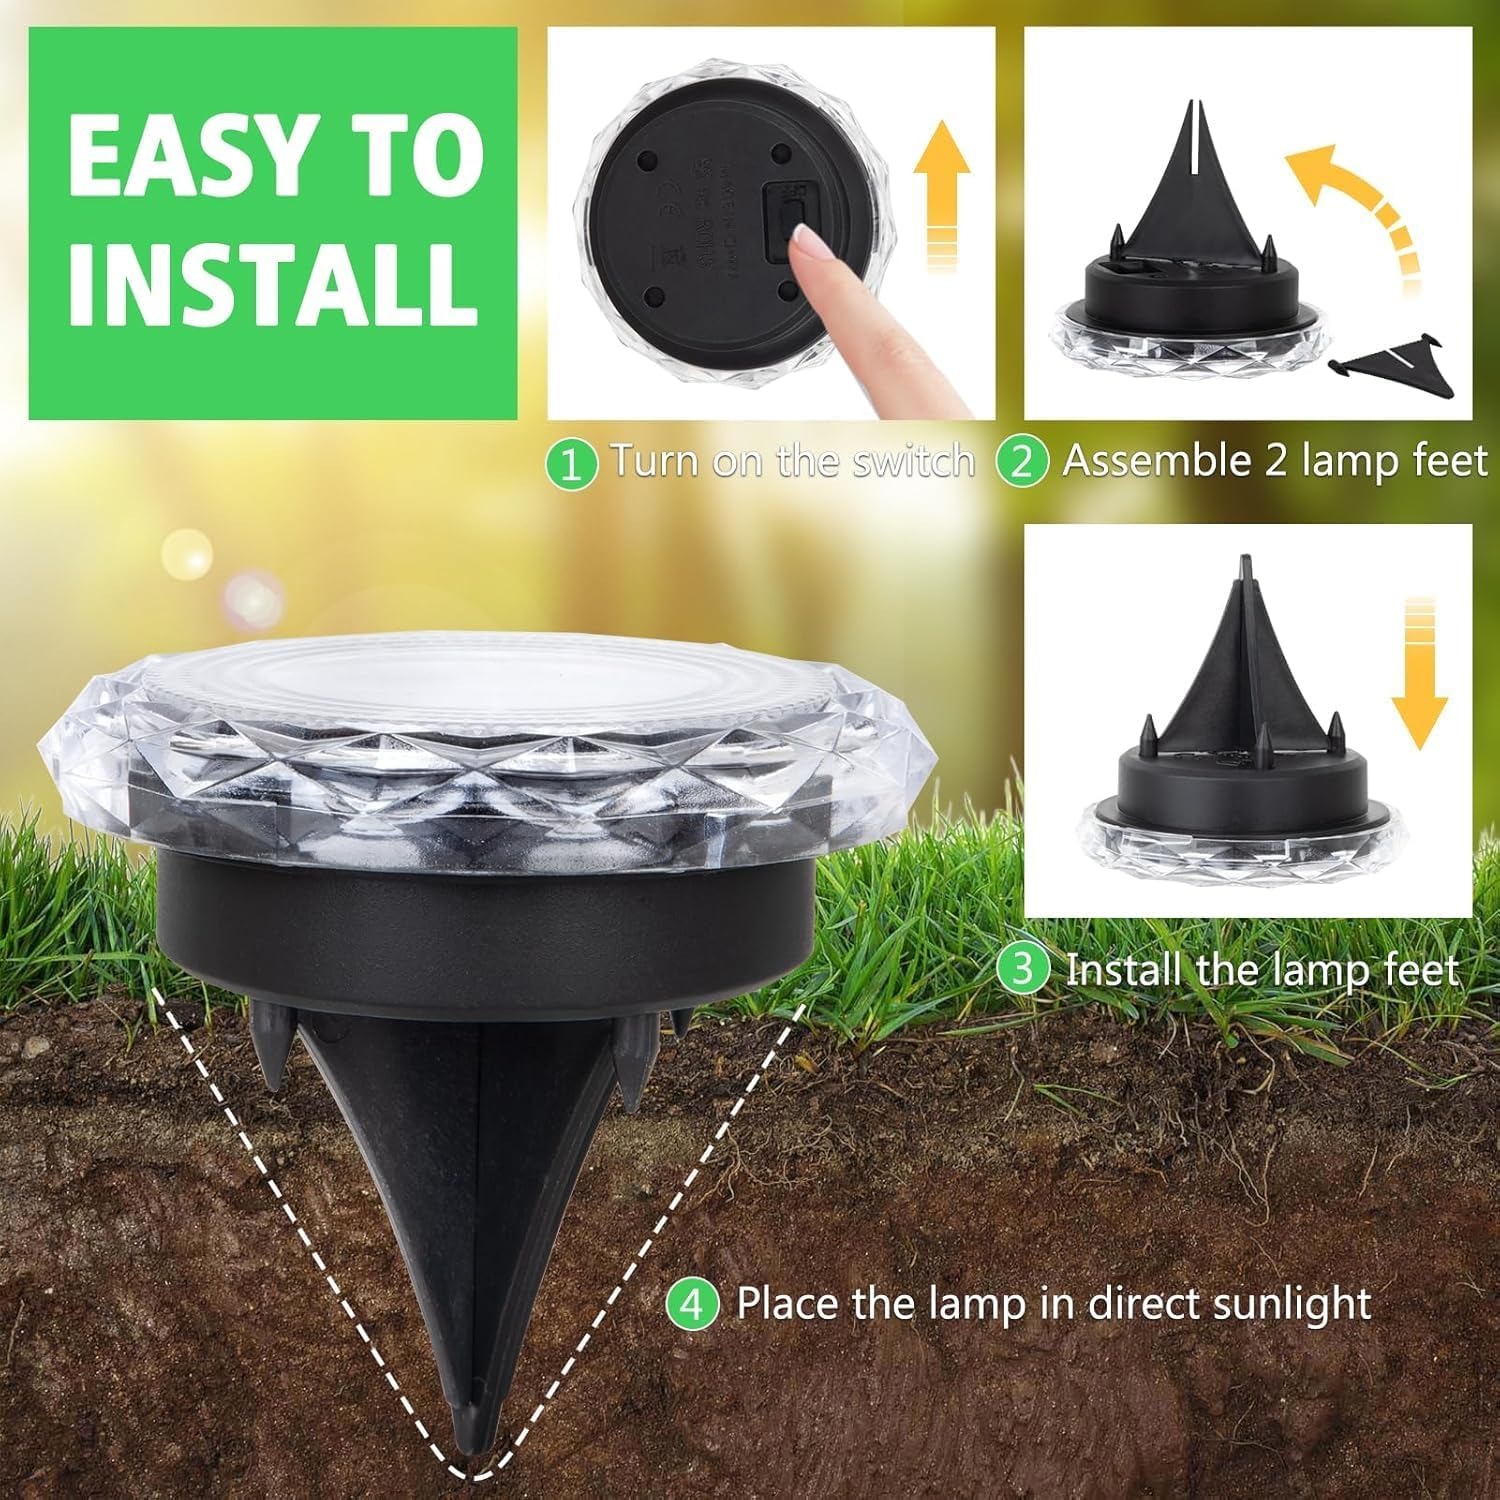
The install is genuinely simple, but two small habits make it better.
Water the ground first if it has baked hard. An hour with a hose turns a fight into a push. Forcing a dry stake can stress the joint between the stake and the body.
Hold the body, not the panel, when you press down. Push straight rather than at an angle so the fixture ends up level. A row where every light leans a slightly different way looks careless even when the lighting itself is lovely.
After that, let them charge. A new set often needs a couple of full days in daylight before it hits normal runtime. If the first night is disappointing, that is usually why, not a fault.
Looking after them
Maintenance on outdoor solar lighting comes down to one job done occasionally. Wipe the panel.
Dust, pollen, bird mess, lawn clippings from a mower pass, salt haze near the coast. All of it builds a film that cuts the charge well before you notice the light getting dimmer. A damp cloth every few weeks keeps the set running at its proper output. It takes a minute for all eight.
Rinse mud off the housing with plain water when the beds get splashed in heavy rain. Skip solvents and abrasive pads, since a scratched panel scatters light before it can be absorbed.
Keep grass and ground cover trimmed back around the base. Plants grow faster than you expect, and a fixture that sat in full sun in April can be half shaded by June.
For long off-seasons with very short days, many people lift their solar path lights, bring them inside and store them somewhere dry. Cold reduces battery performance and short days reduce charging, so a winter rest can be kinder to the batteries than leaving them out to struggle.
What this set actually is
Eight stake-mounted outdoor fixtures. LED, warm white. Diamond-textured modern housing with a textured finish. Each one 19.5 cm tall and 5.7 cm wide, with the set weighing 650 g. Waterproof construction, no assembly required, model SPQ-31V-0008 from Toodour, made by Shenzhen Shensi Technology.
Some details are not published in the product record we work from, and we would rather say so than guess. Battery capacity, charge time, runtime hours, housing material and the exact finish color are not stated here.
The short version
If you have a dark path, a border that disappears at night or a driveway edge nobody can see, and you do not want a trench across your lawn to fix it, this is the straightforward answer. Eight lights, a few minutes of pushing stakes into soil, and a warm glow that turns itself on and off without you.
Put them where the sun reaches. Wipe the panels now and then. That is the whole commitment.