
The complete guide
A Practical Guide to Choosing Solar Post Cap Lights
Bring light to posts without running wires
A fence or deck can look finished during the day, then fade into the dark at night. Adding light to the post tops can give the space a more welcoming feel. The challenge is finding a fitting that suits your posts without turning a small garden update into a wiring job.
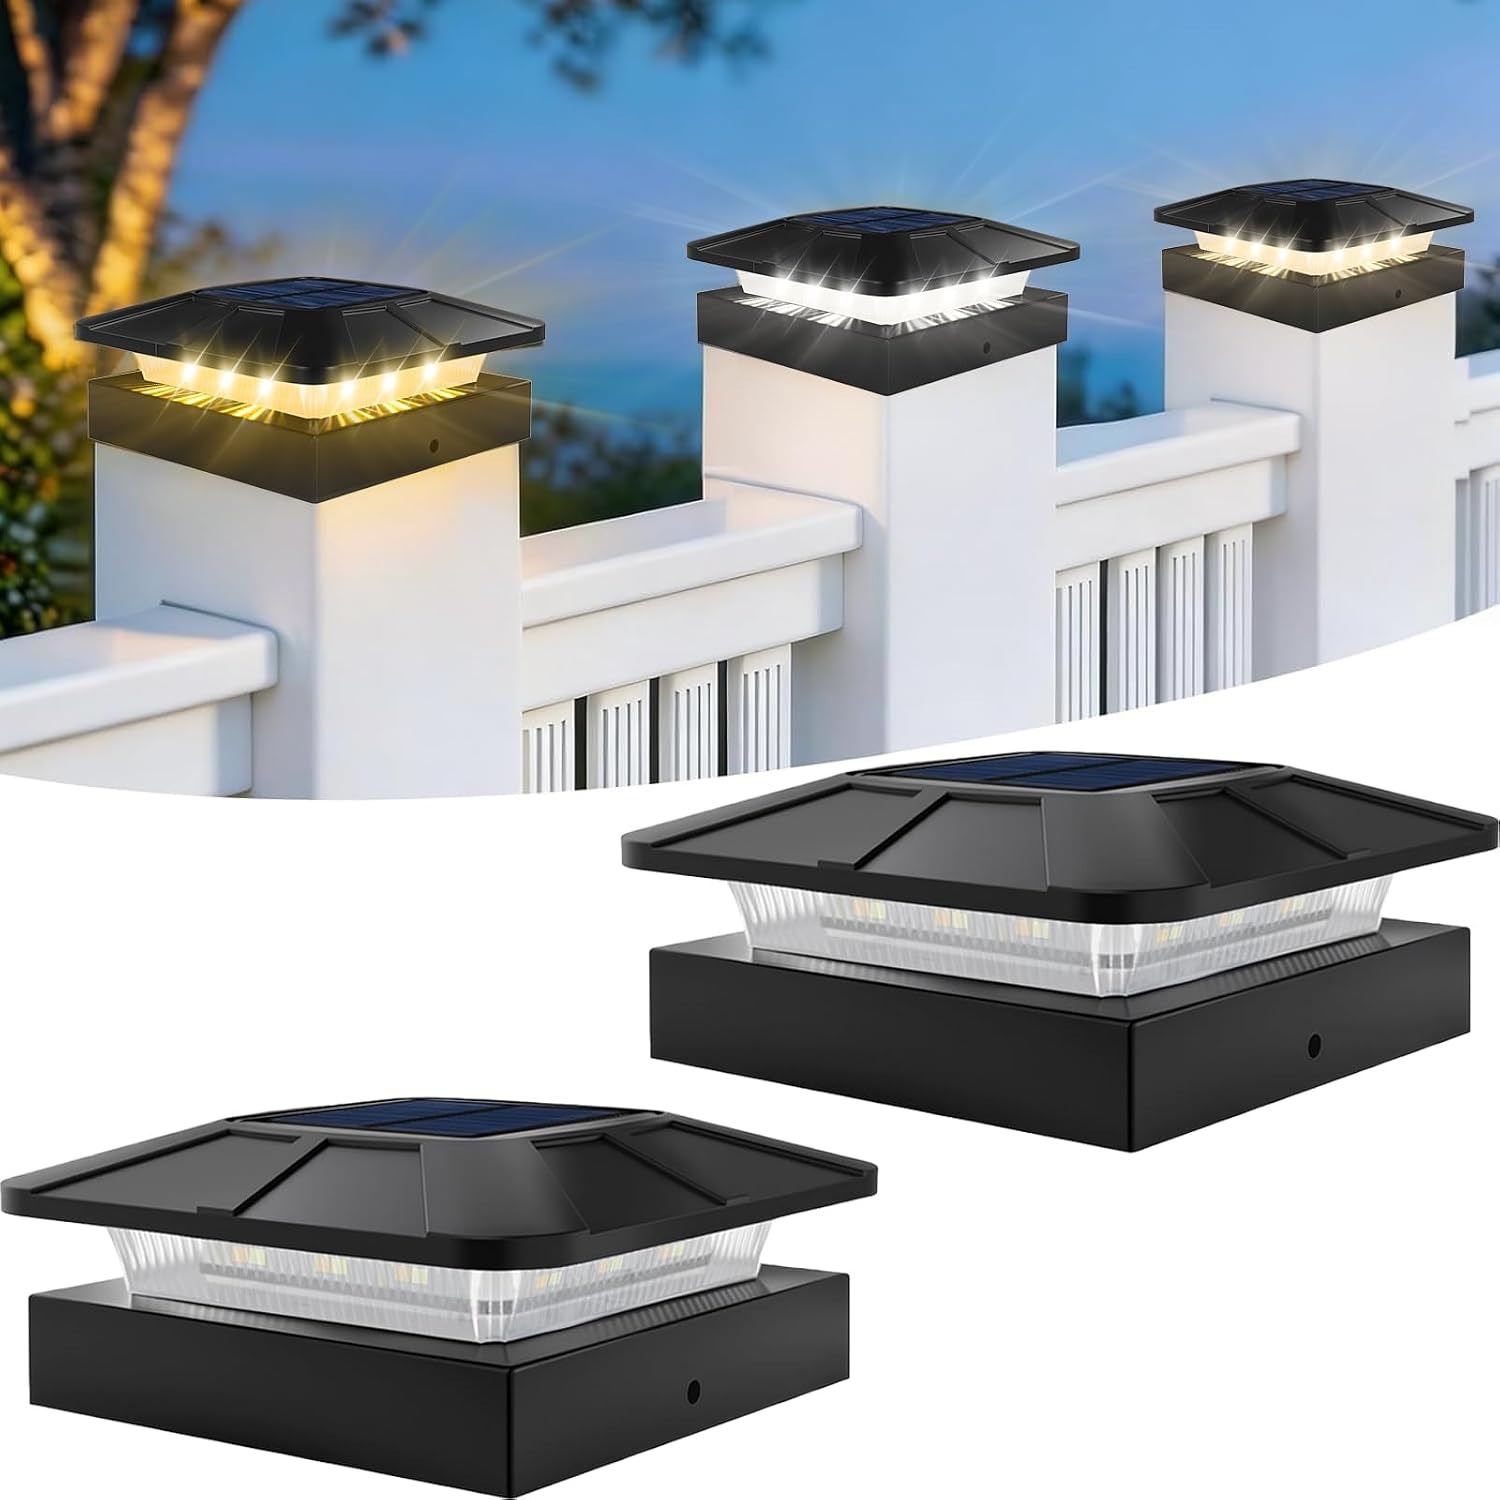
These ROMANJOY solar post cap lights use sunlight to charge a battery, so they do not need a wired electrical supply. The two-pack gives you a matching pair for suitable posts, with a black striped housing and a choice of white light tones.
The important checks come before installation. Your post dimensions, the amount of daylight and your lighting needs all matter. A fitting can look right in a photo yet be a poor choice for a shaded corner or an unusual post size.
How the solar lighting works
Each light combines a solar panel, a battery and LED lighting. During daylight, the panel collects solar energy to charge the battery. After dark, that stored energy powers the light.
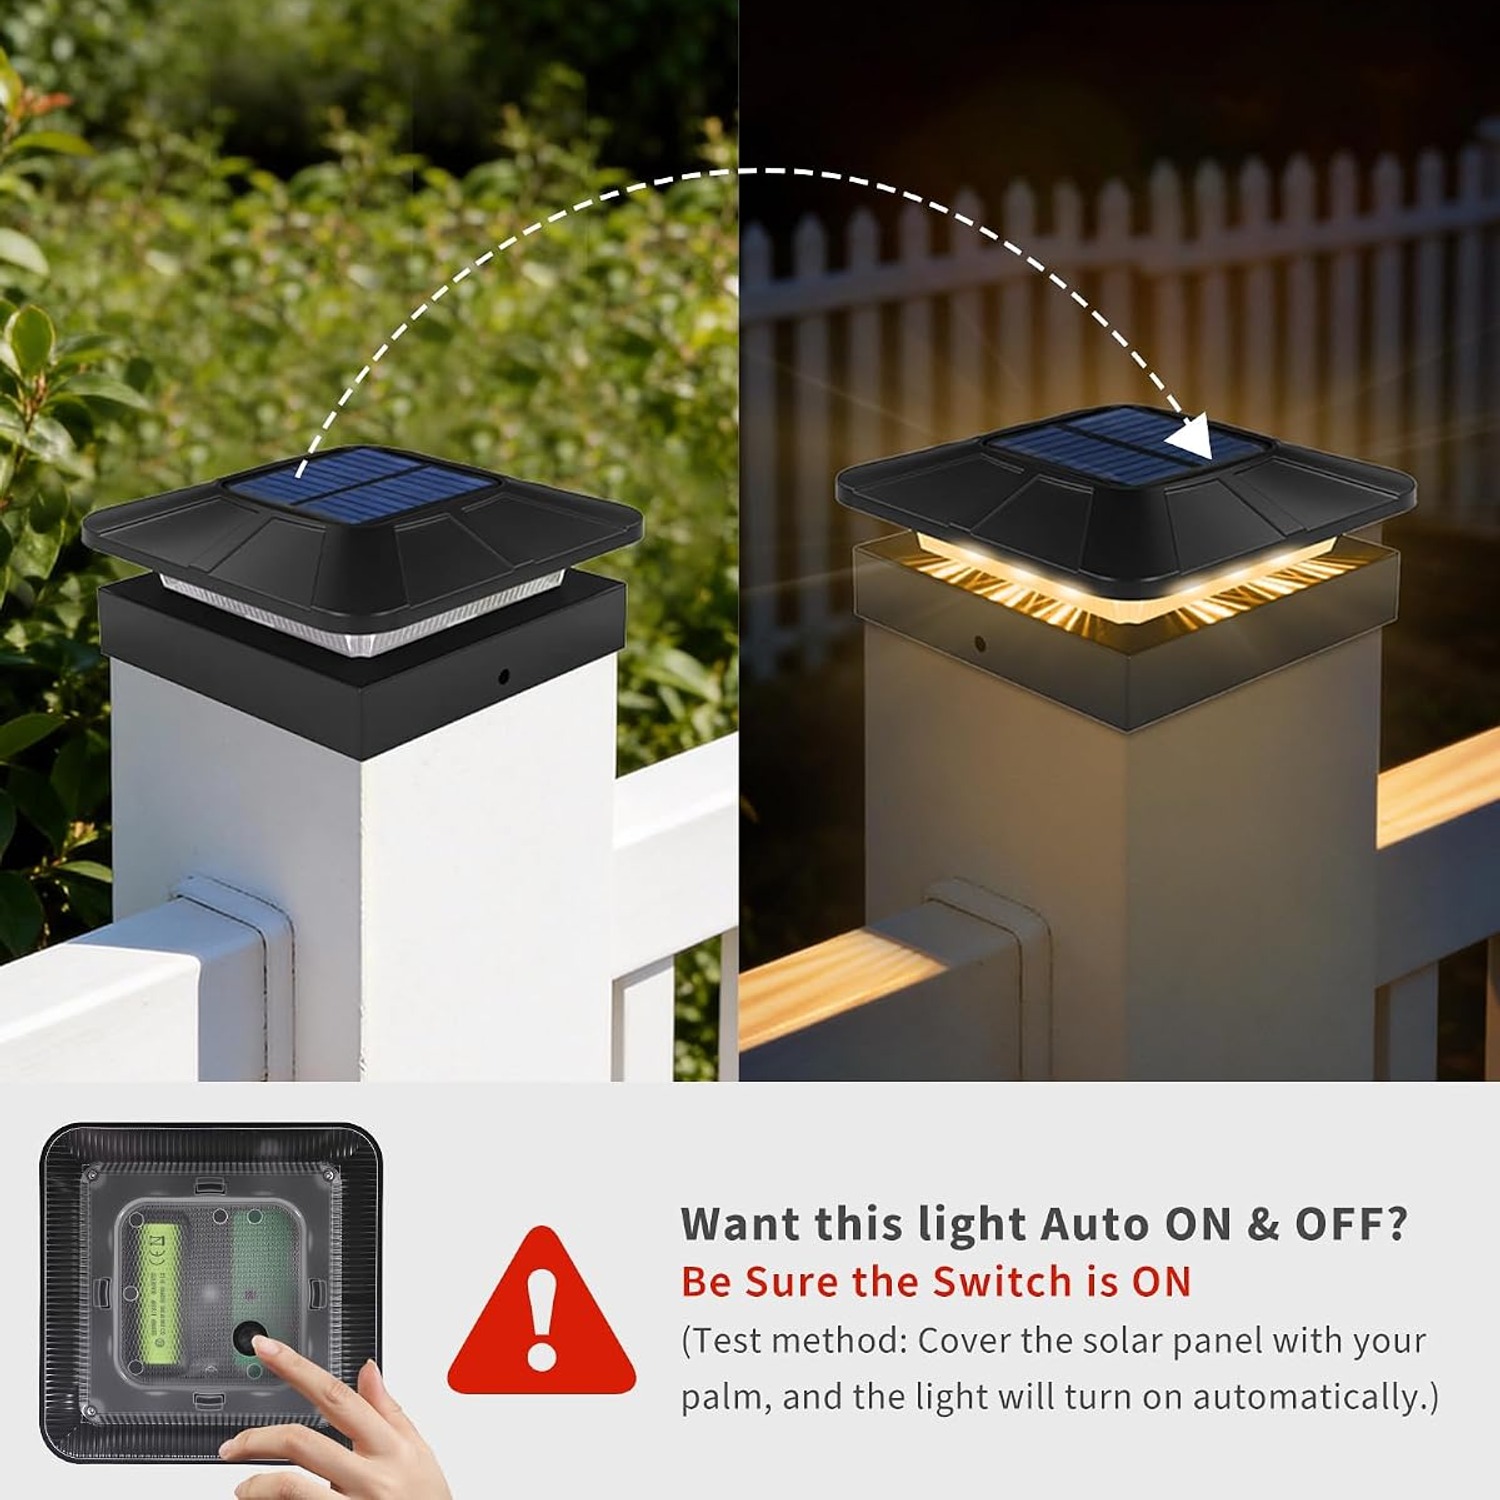
A built-in sensor turns illumination on at dusk and off at dawn. This makes everyday use simple once the lights are mounted and set. You do not need to walk outside each evening to switch them on.
There is a limit, though. Solar lighting relies on the energy collected that day and any charge already stored. A position with weak daylight may not support the same lighting time as an open, sunny spot. Think of the solar panel as part of the light's placement needs, not just a feature on top.
Measure the post, not just its name
The phrase “4x4 post cap lights” is a useful starting point, but it is not a substitute for measuring. Posts sold under similar size names can have different actual dimensions. Existing caps, trim or uneven tops can also affect fit.
The supplier lists the inner base opening as 4.06 x 4.06 inches. It describes the lights as designed for 4-inch wood or vinyl posts, using side-mounted screws. Measure the width and depth of each post top and compare those measurements with the base opening.
The supplier also describes installation on 3.5-inch posts. This leaves a slight gap and uses fixing from the top of the base. If a close-fitting appearance matters to you, consider that gap before buying rather than after mounting.
The listed overall item size is 12 x 12 x 5 cm. That measurement describes the light, not the opening that fits around the post.
Choose a place with good daylight
Solar garden post lights need a location that works during the day as well as at night. A post beside a seating area may seem ideal, but a roof, tree or tall hedge could shade its panel for much of the day.
Look at the proposed position at different times. Check whether a nearby fence casts a long shadow or whether plants may grow over the panel. Seasonal changes matter too. A sunny summer position can receive much less light when the sun sits lower in winter.
The supplier also advises avoiding strong lighting at night. A nearby lamp may affect the light sensor and prevent the expected switching behaviour. Before making permanent fixing holes, consider both daylight access and the lights already used around the property.
Pick the white tone that suits the space
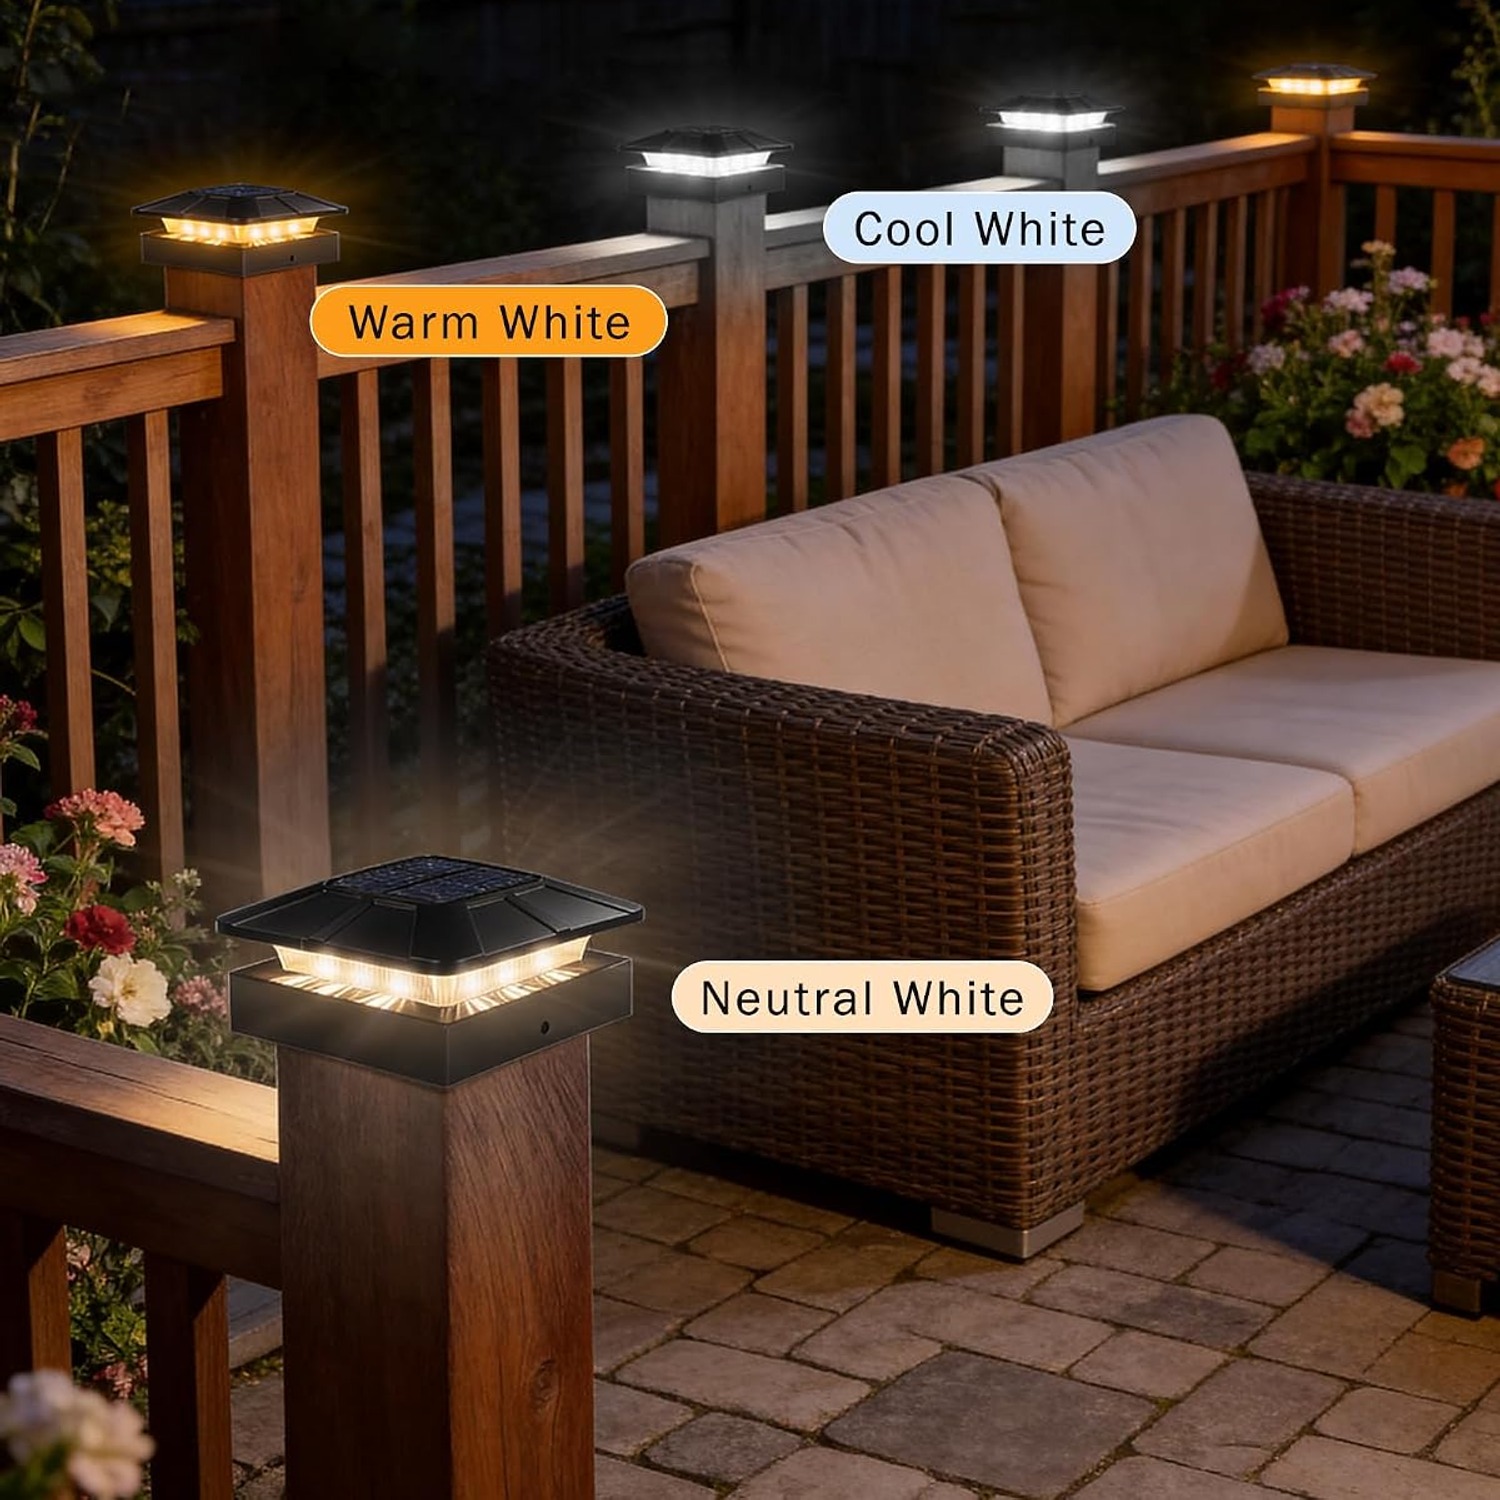
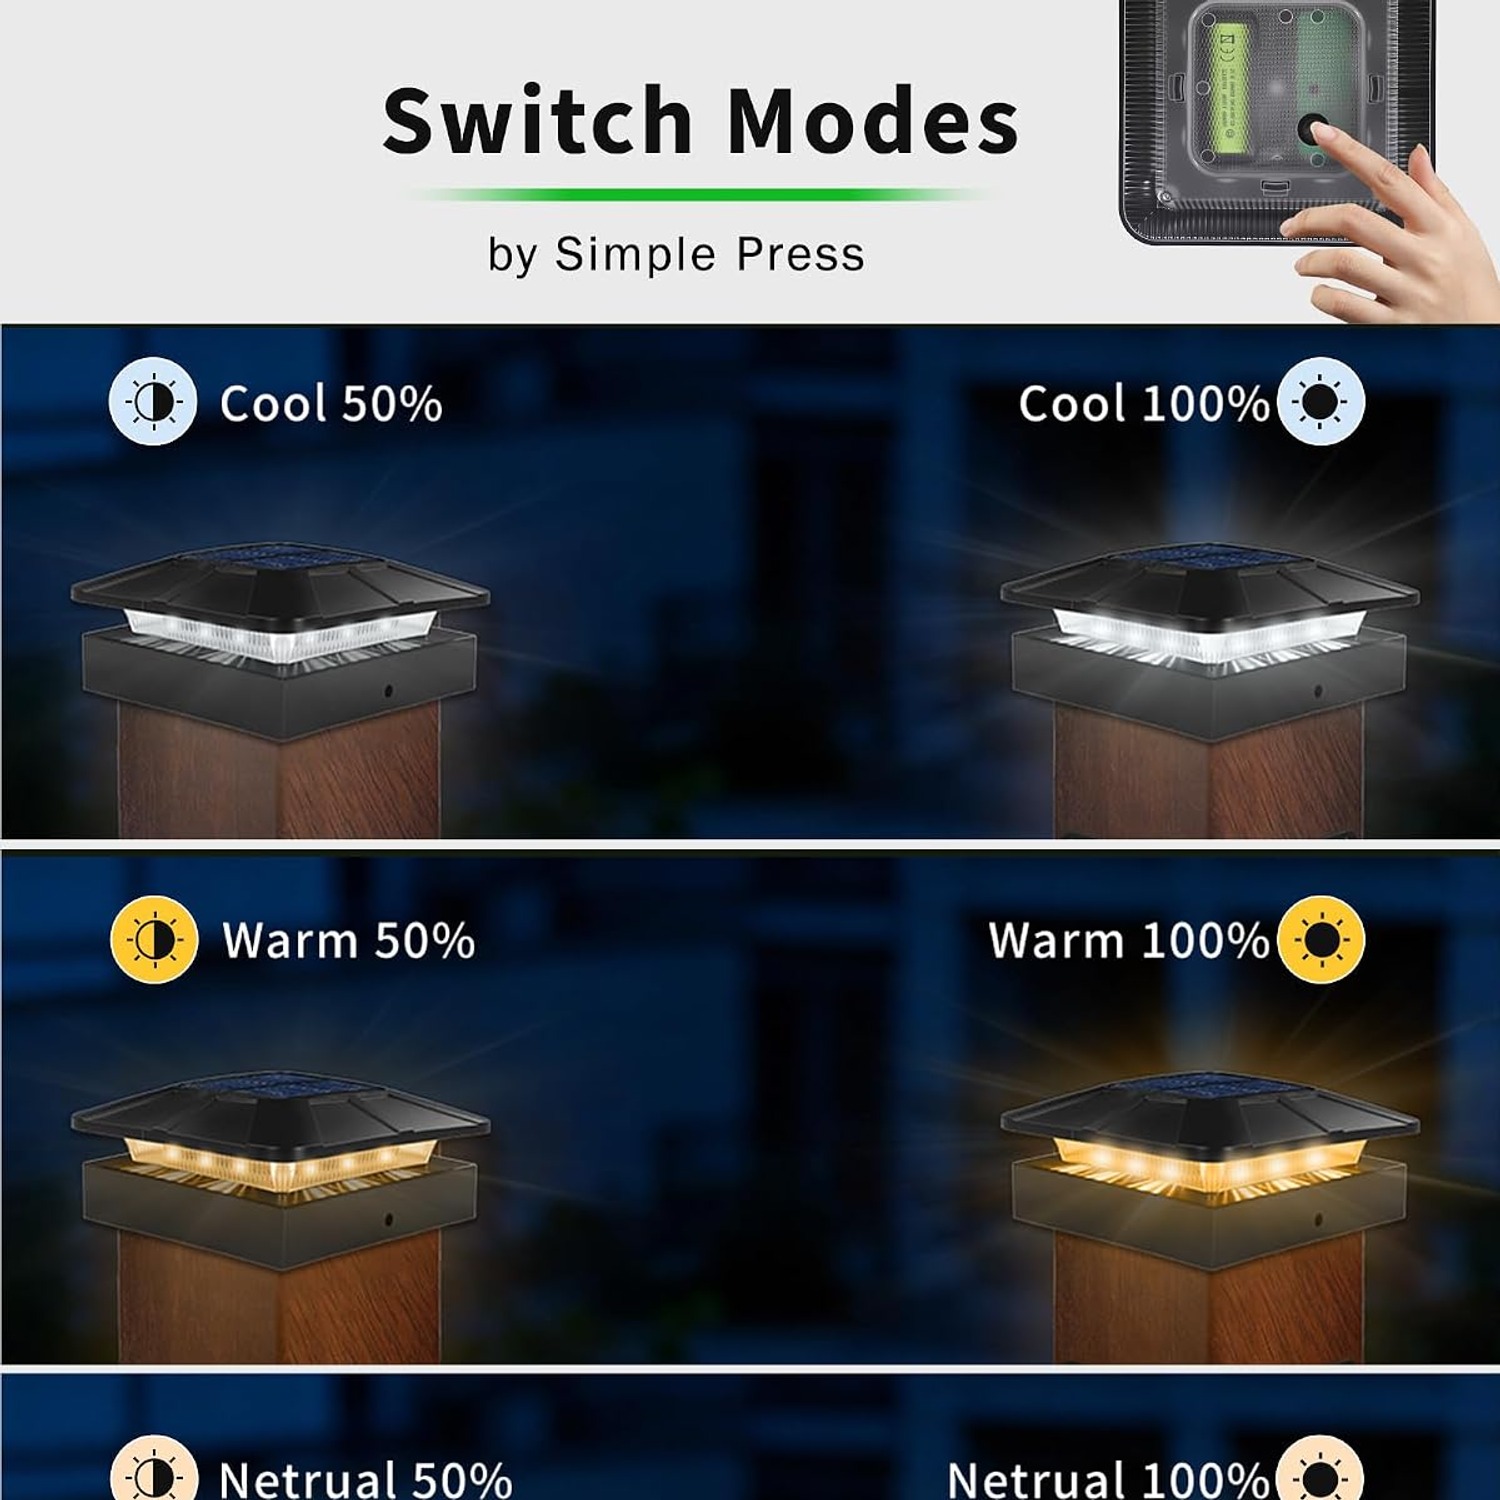
These adjustable solar post lights offer warm white, neutral white and cool white. Each gives the same outdoor area a different feel, so it helps to think about where you will use the pair.
Warm white post lights may suit a relaxed seating area where you want a softer-looking setting. Neutral white is worth trying if you prefer a less warm appearance. Cool white offers another option for those who favour a cooler tone.
There are no color-temperature numbers in the record. If you are trying to match existing lights exactly, the names alone do not confirm a precise match.
Use the settings to compare the tones in your own space after dark. Nearby walls, fencing and other lamps can change how a white light appears.
Understand the brightness and runtime claims
Each white tone has two brightness settings, 50% and 100%. This gives you a way to change the output without changing the light color.
The supplier quotes more than 12 hours of lighting at full brightness and more than 20 hours at half brightness after 6 to 8 hours of solar charging. Those figures depend on charging conditions. They should not be read as guaranteed results through every season or stretch of rain.
No lumen output is provided. A percentage setting tells you how the two modes compare, but it does not tell you how bright the light will look beside another product.
For that reason, choose these as post-mounted outdoor lights rather than assuming they can light a whole yard. If you need clear visibility at steps, gates or uneven ground, assess that need separately.
Decide where a two-pack makes sense
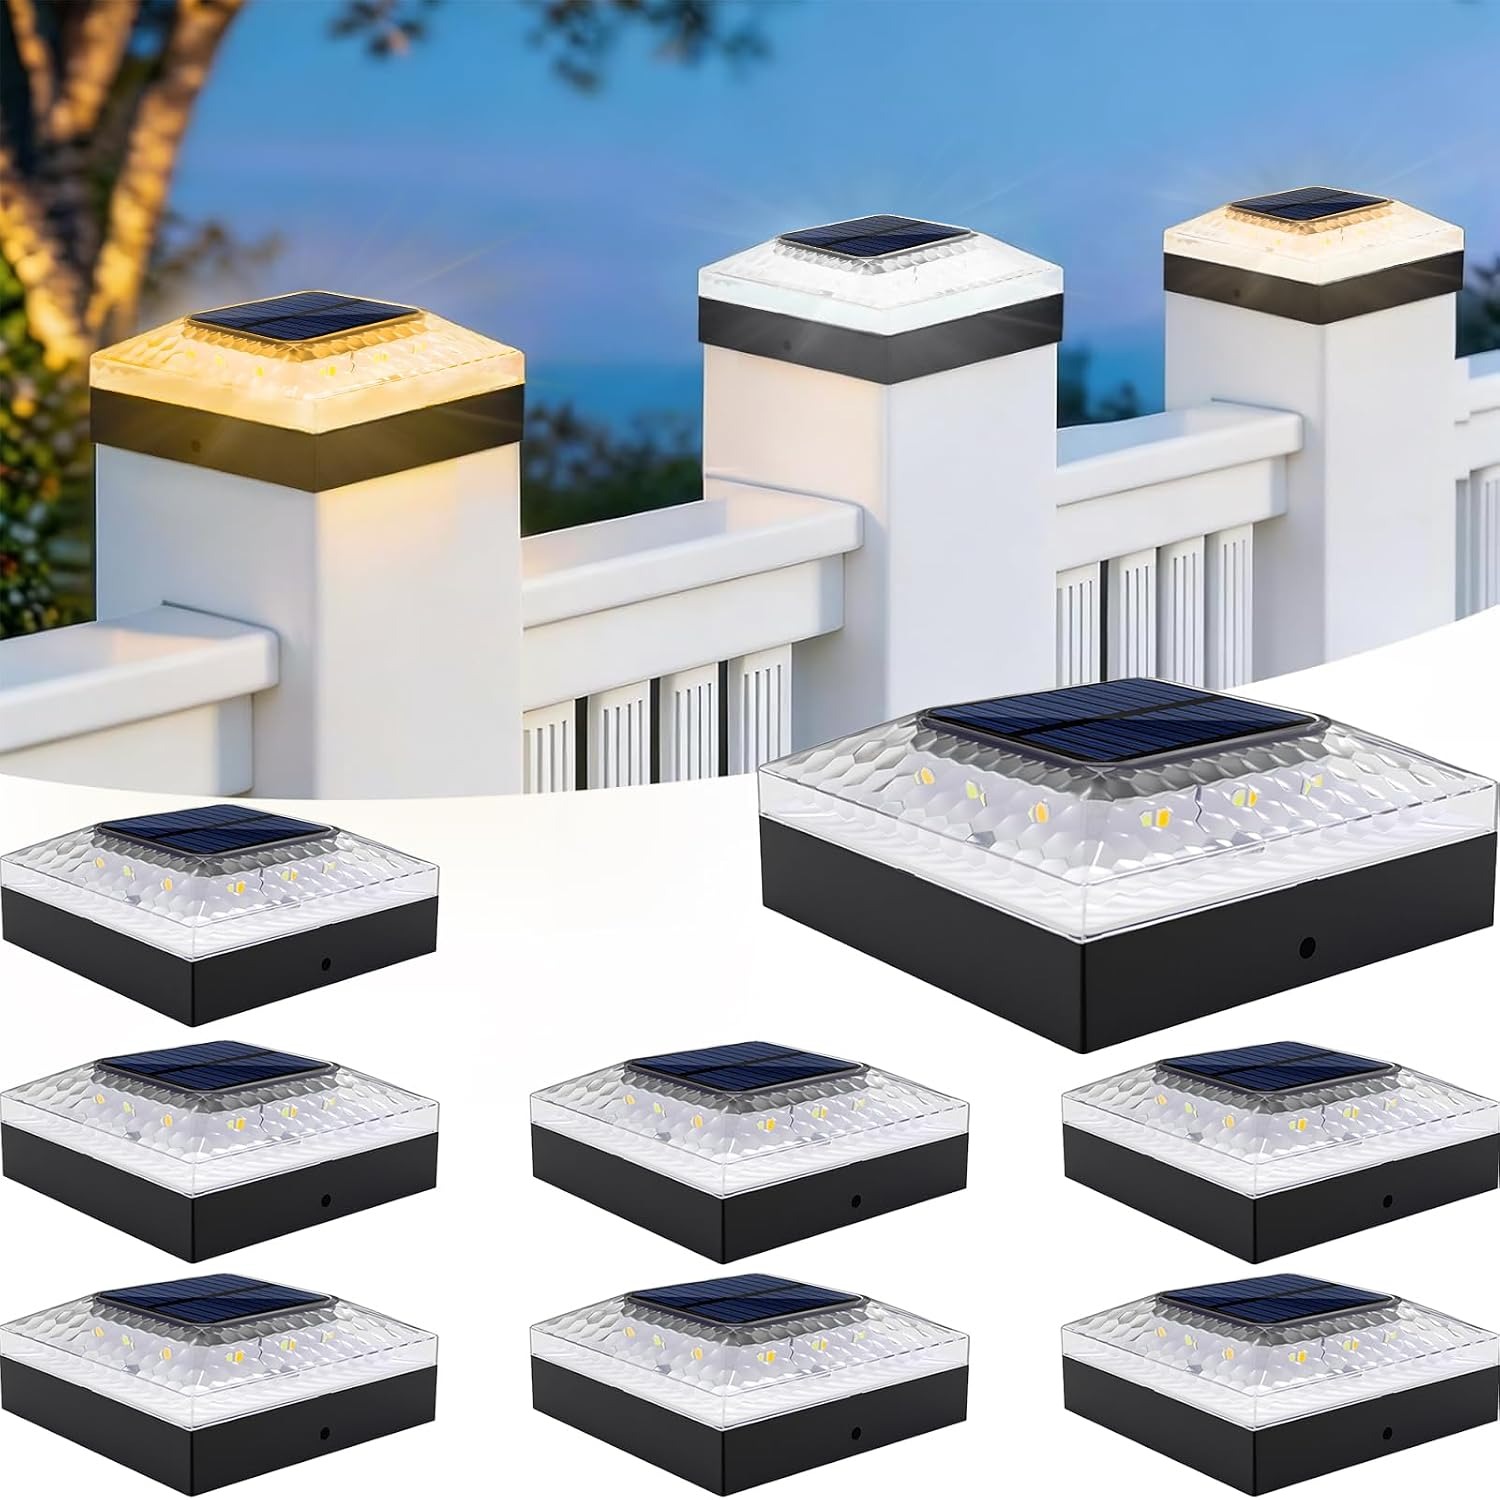
Two matching lights can suit a pair of posts at a deck entrance or selected points along a fence. They can also provide a starting point for solar patio lighting where suitable posts already exist.
Think about the view from both inside and outside the house. A pair that looks balanced from the garden may sit in very different light conditions. One could receive open sun while the other stays under foliage.
If you are planning a longer run of solar fence lighting, count the posts you want to light before ordering. This product contains two lights. Do not assume one pair will provide continuous coverage along a long fence or pathway, since no coverage distance is stated.
Know what the housing details mean
The product details describe a modern black striped finish. The housing and shade are listed as ABS, short for acrylonitrile butadiene styrene. The supplier also describes the material as UV-resistant.
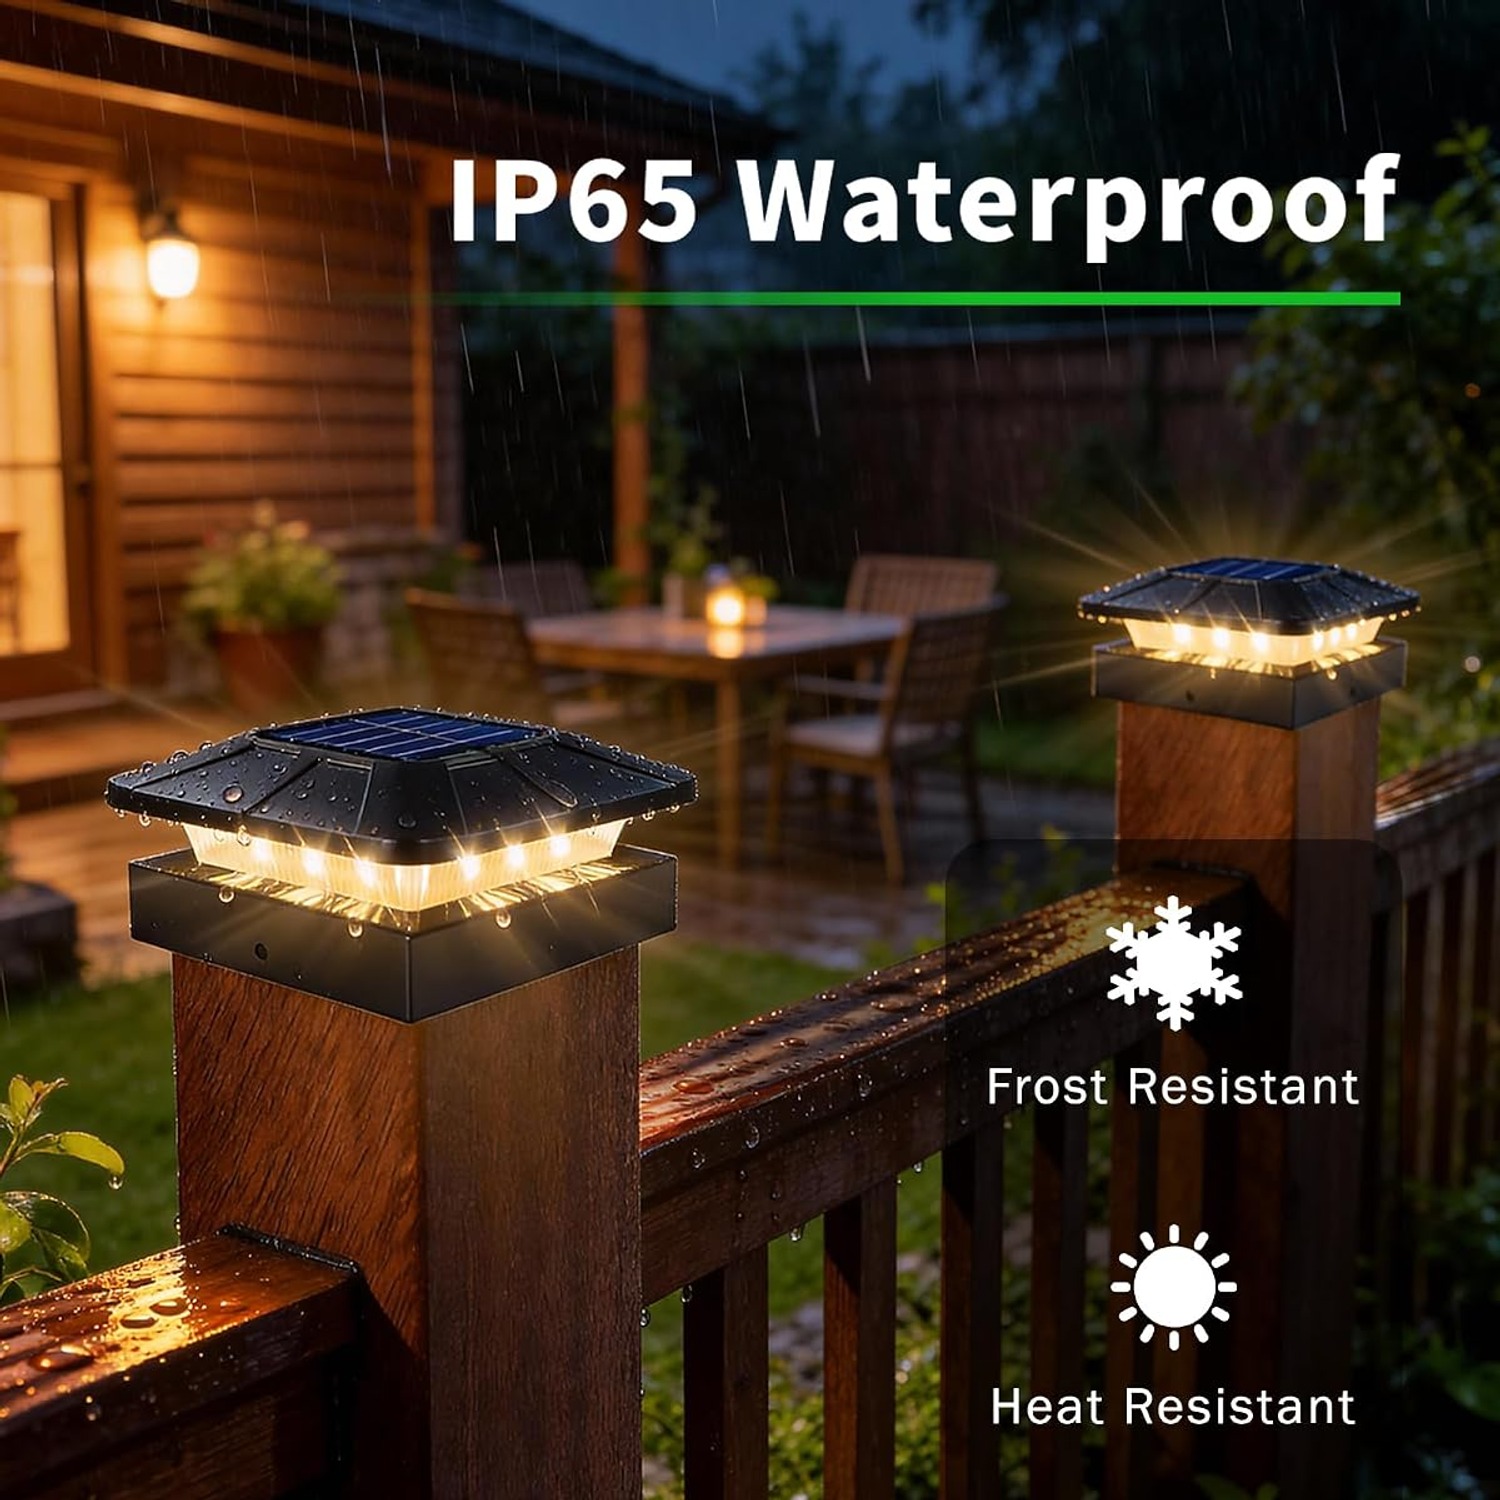
The stated protection level is IP65, and the listed operating range is -20°C to 60°C. These details support its intended outdoor use, but they do not remove the need for sensible placement and care.
Keep the difference between weather protection and charging in mind. A light may be designed for outdoor conditions yet still collect too little solar energy during prolonged dull weather. Reduced runtime after rain is not, by itself, proof that water has entered the housing.
Do not submerge the lights or use harsh cleaning methods based on the waterproof wording.
Plan the mounting before making holes
The record states that assembly is required. It describes screw fixing, but it does not include a complete list of supplied hardware or tools.
Read the instructions that arrive with the lights before starting. Confirm the correct mounting method for your post size and check that the post is sound enough to hold the fitting securely. Vinyl and wood posts may need different attention when choosing suitable fixing points.
The supplier says the push button is reached by twisting the lamp body off clockwise. Follow the supplied directions rather than forcing any part that does not move as expected.
Set aside time to check both lights before completing the installation. Confirm fit, access to the controls and the intended orientation of each panel.
Keep care simple and regular
Dirt on the panel can reduce the sunlight reaching it. Wipe it with a soft, damp cloth when dust, leaves or other debris build up. Avoid abrasive pads and cleaners that could scratch the surface.
Check nearby plants now and then. Growth that did not block the panel at installation may shade it later. Also inspect the mounting to make sure the light remains secure.
If performance drops, start with the easy checks. Look at panel cleanliness, recent weather and the brightness setting. Then consider whether a new nearby light could be affecting the sensor.
Battery replacement details are not supplied in this record. If you need help beyond routine care, seek product-specific instructions rather than opening sealed parts on guesswork.
The short version
This ROMANJOY two-pack suits buyers looking for solar lights for vinyl posts or wood posts with compatible dimensions. It offers three white tones, two brightness levels and automatic dusk-to-dawn control without a wired power connection.
The strongest buying decision starts with a tape measure and a daylight check. Confirm the base fit, allow for the stated gap on 3.5-inch posts and keep runtime expectations tied to available sunlight.
If those points suit your space, the pair offers a straightforward way to add matching lights to outdoor posts. Check delivery and return terms before ordering, and verify the fit before permanent installation.