
The complete guide
Choosing a Solar Shed Light for Your Space
A dark shed can turn a small job into a frustrating search. You open the door for a tool, then struggle to see the shelf. A covered garage or porch can have the same problem, even when there is plenty of daylight outside.
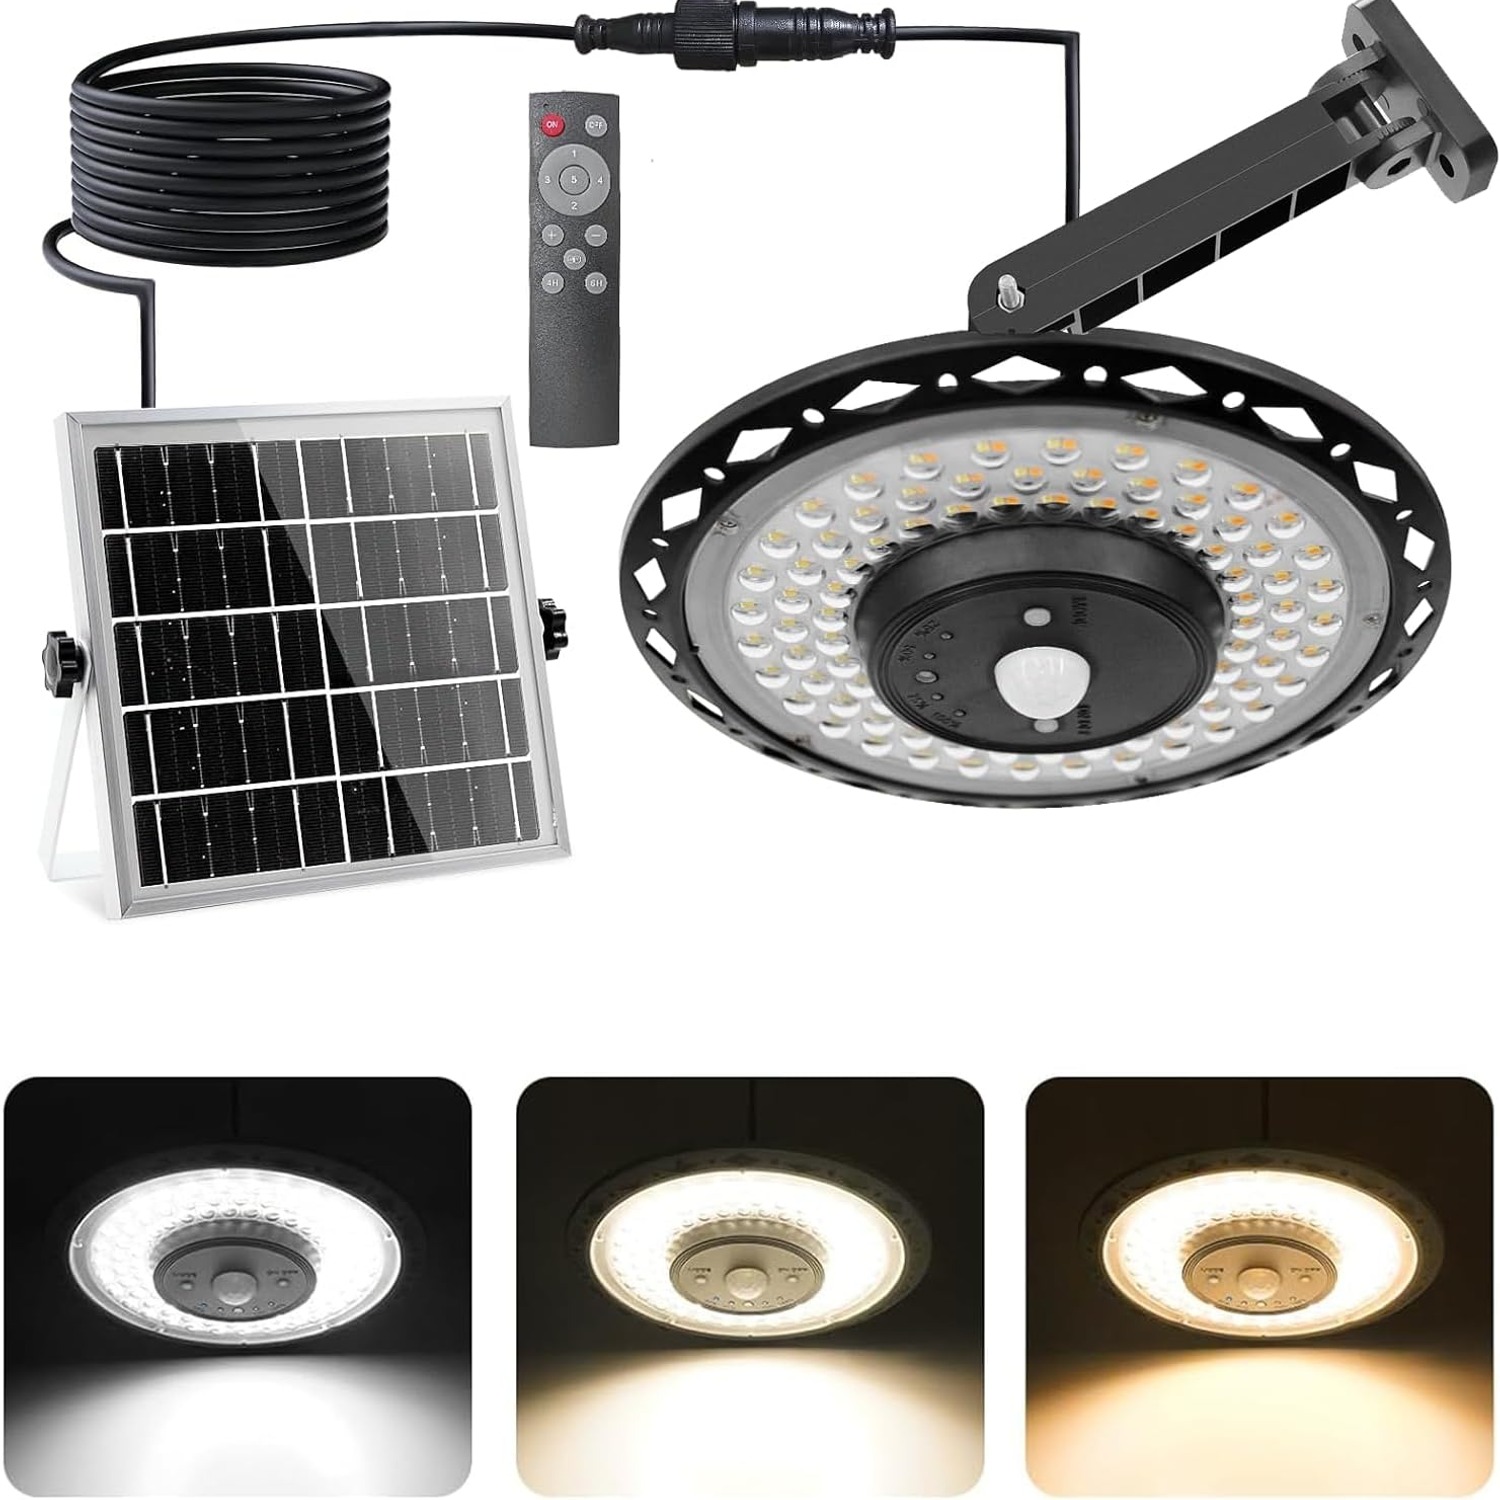
A solar shed light with a separate panel offers a useful layout for these spaces. The panel goes where it can receive sunlight. The pendant goes where you need light. You do not have to choose one position that serves both jobs.
The CREATESTAR model adds motion sensing, adjustable brightness and several white-light settings. Whether it suits your space depends on the panel position, cable route and the way you intend to use the room. Those are worth checking before focusing on the maximum brightness figure.
Start with the job you need the light to do
Think about your usual visit to the space. Are you collecting something and leaving, or staying to work? A short trip to a storage shed has different lighting needs from an evening spent sorting equipment.
For quick visits, motion-triggered lighting may be the setting you use most. For longer tasks, constant lighting may be more useful. This product offers both, so you can choose around your routine rather than rely on a single operating mode.
Also consider what needs to be visible. Lighting the entrance is not the same as lighting a bench at the back. Shelves, stored boxes and roof beams can interrupt the path of light. Start with your main task area, then consider the rest of the room.
How the separate panel design works
The main advantage of this solar pendant light is its split design. The panel and pendant do not need to share a mounting spot. That matters when the place that needs light sits under a roof.
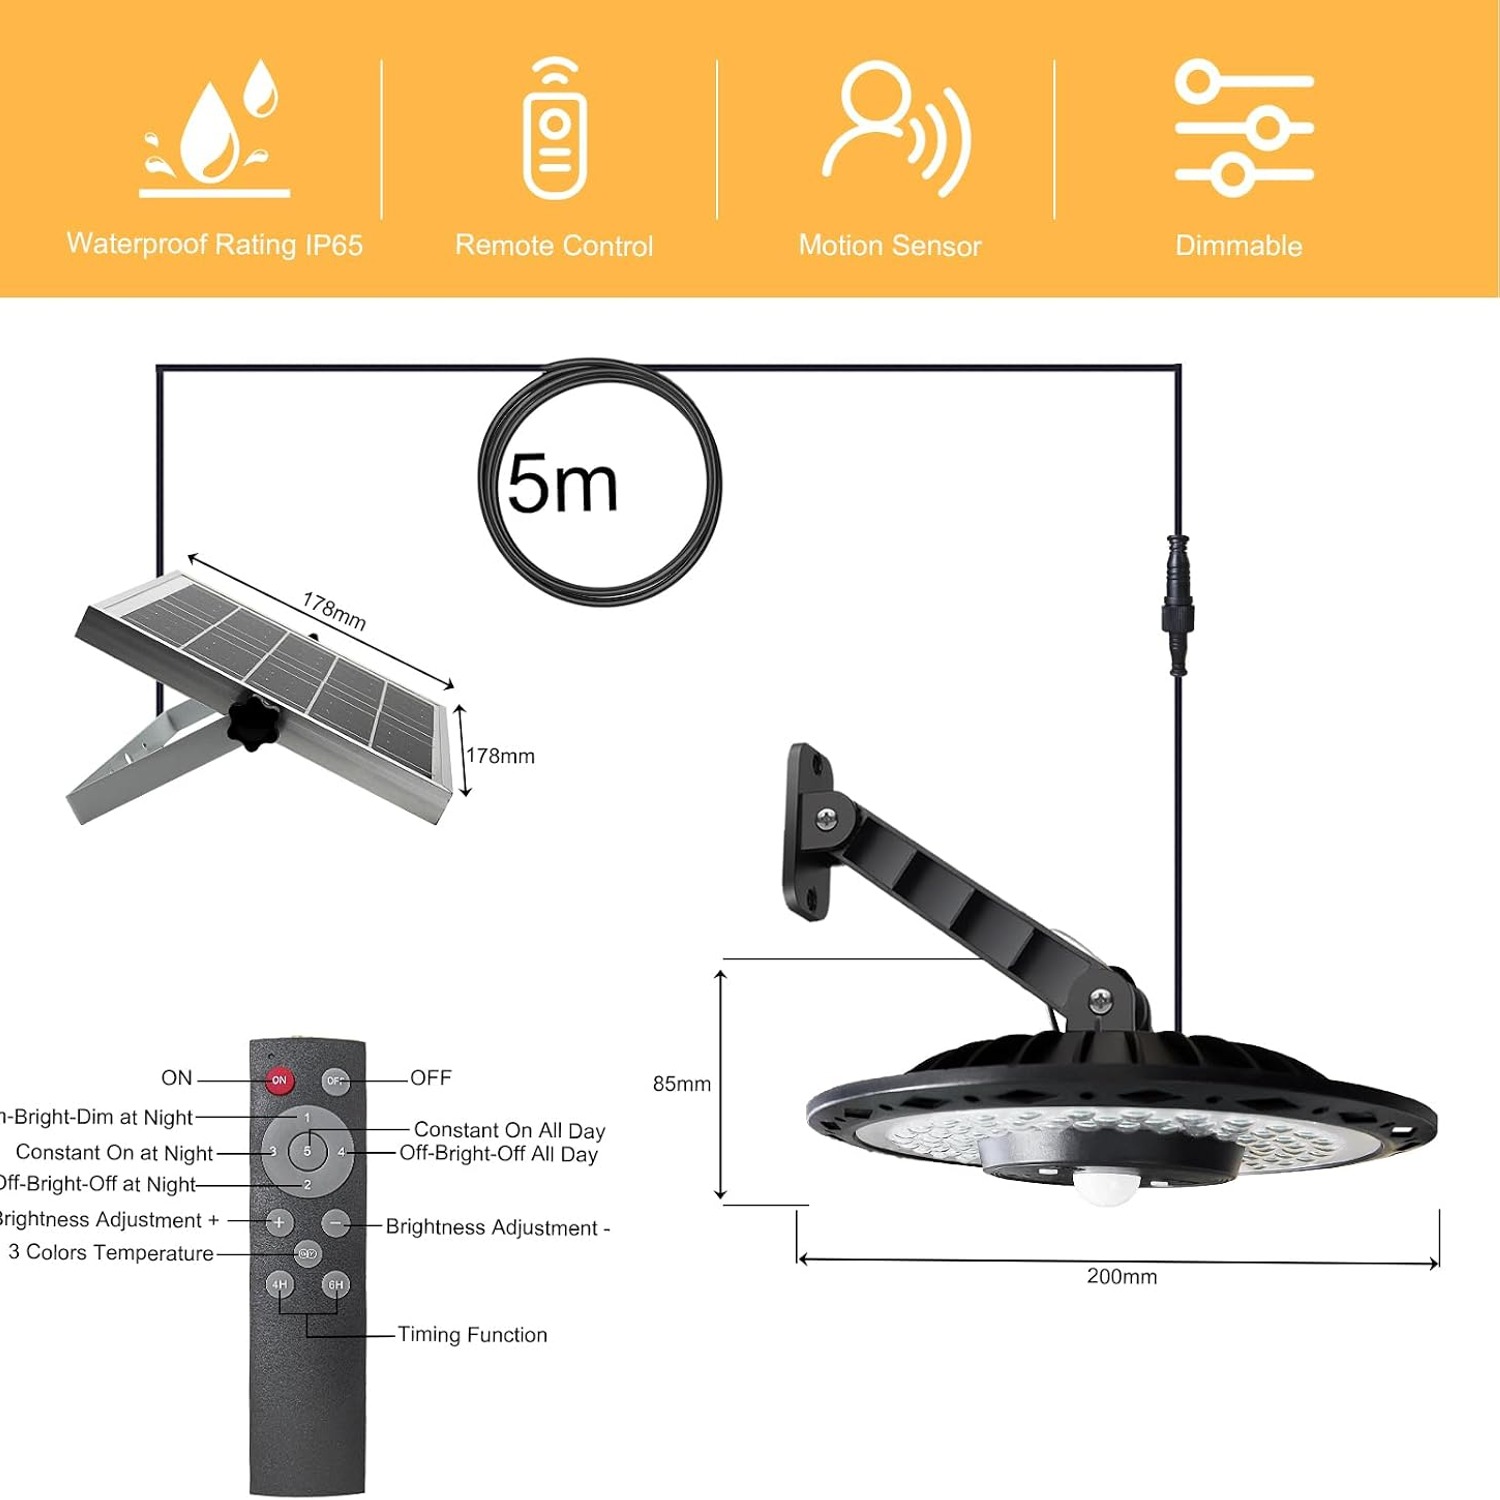
A 5 m connecting cable links the parts. Measure the route the cable will actually follow, not just the straight distance between two points. A route around a doorway or beneath a roof edge can use more cable than expected.
Keep the route clear of door hinges, sharp edges and places where equipment could catch it. Do not assume you can add an extension cable, since approved extensions are not specified in this record. If your planned route exceeds the supplied length, confirm your options before buying.
Choose a panel position before a pendant position
It is tempting to pick the light position first. With solar powered shed lighting, it helps to begin outside. Look for a practical panel location that receives sunlight and allows a safe cable route back to the pendant.
Watch for shade from trees, fences and nearby buildings. A spot that looks bright during one visit may be shaded later. Leaves and dirt can also collect on a panel, so choose somewhere you can inspect and clean safely.
Once you have a workable panel position, check where the pendant can sit within reach. This simple order can prevent a common problem: finding a good place for the light but no suitable place for its power source.
Understand the 3000-lumen figure
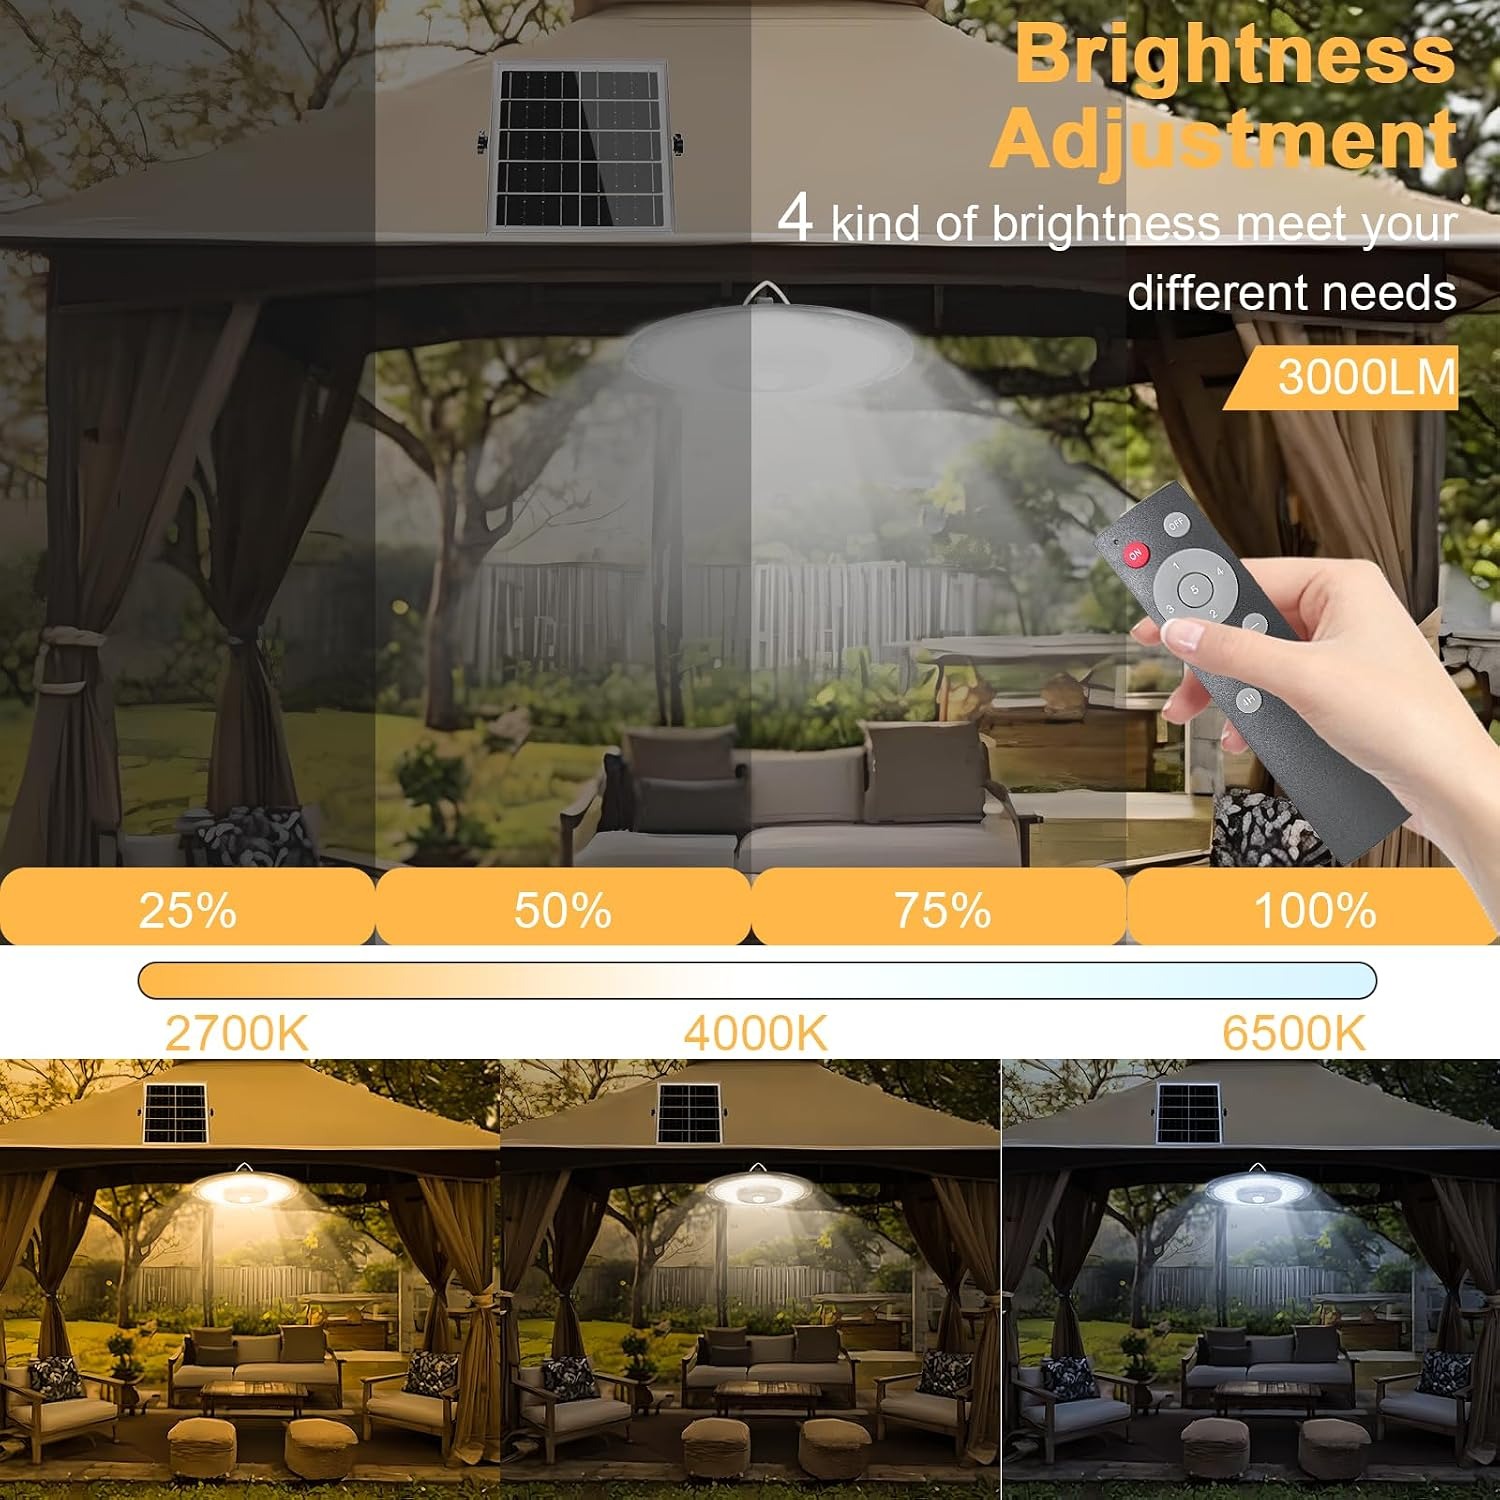
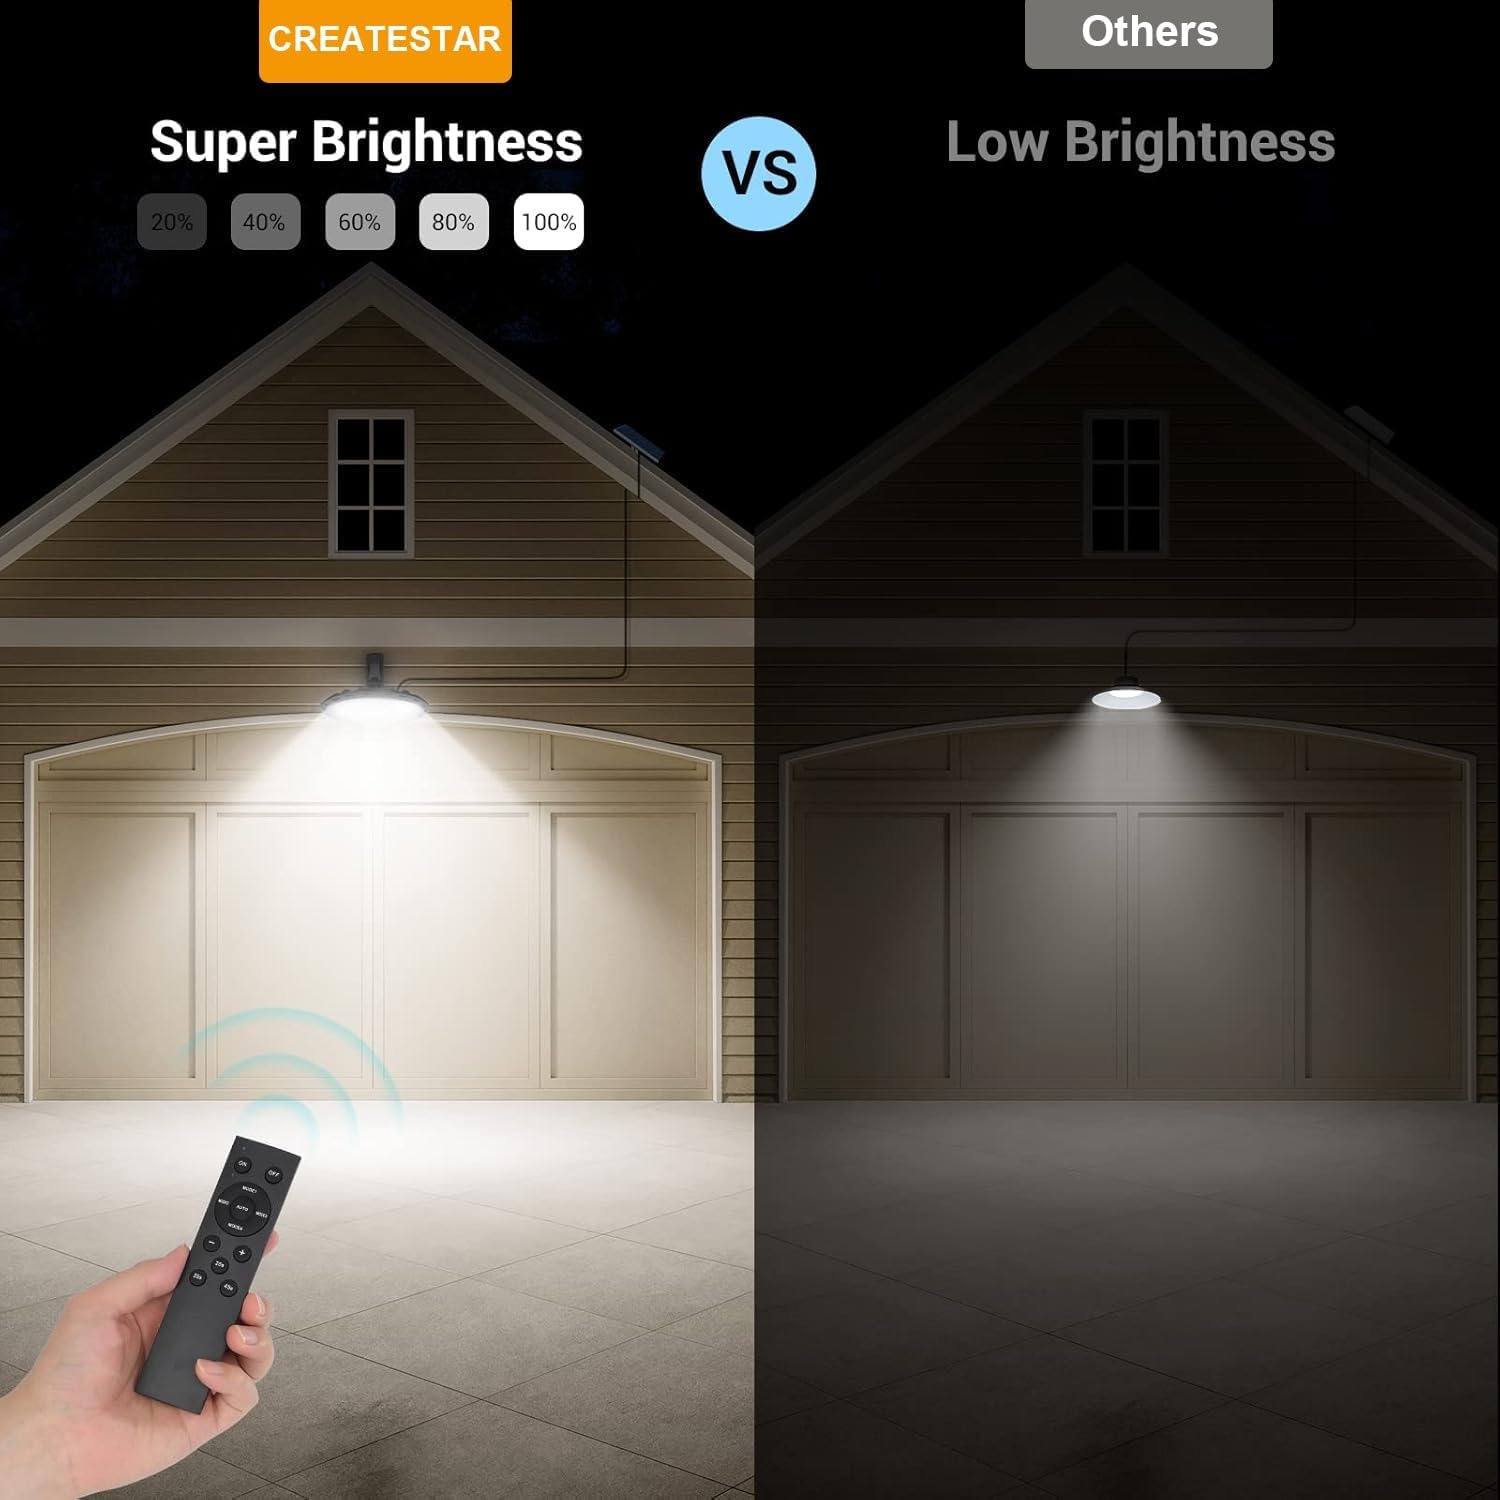
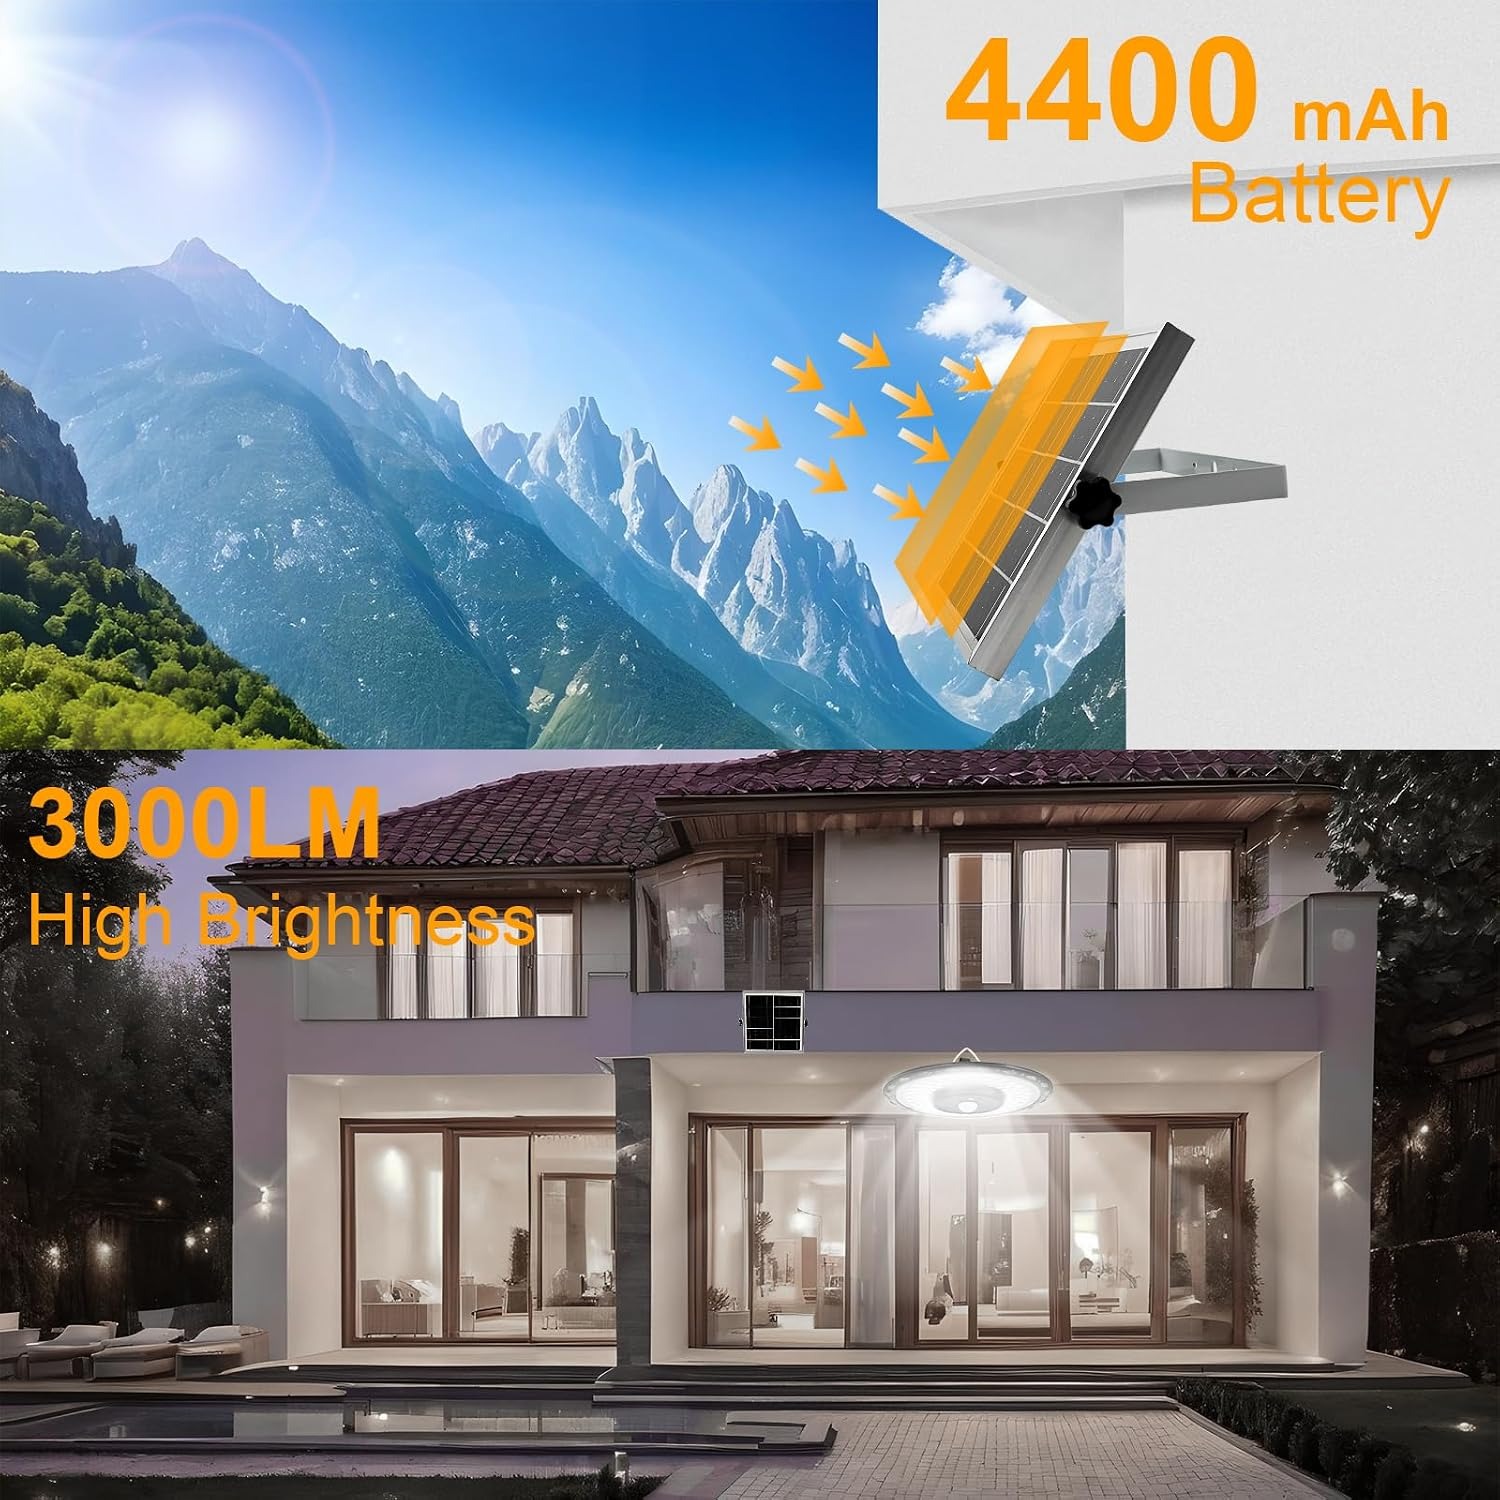
The listing gives a maximum light output of 3000 lumens from 180 LED light sources. That is an output figure, not a promise that every corner of every shed will be equally bright.
Room shape, mounting height and obstacles all affect what you can see. A pendant above an open floor has a different job from one above tall shelves. No room-size coverage guide or measured light distribution is supplied here.
Brightness is adjustable, which gives you options after installation. A lower setting may be enough for finding stored items. A detailed task may call for more light. Test the settings in the actual space rather than deciding from the output number alone.
Pick a white-light setting you like
This adjustable color temperature light offers 3000 K, 4000 K and 6500 K settings. They are described as warm white, natural white and cool white.
Warm white may be a comfortable choice for a porch where you sit in the evening. Natural or cool white may suit your preference when sorting tools or reading labels. These are choices about the appearance of the light, not separate brightness ratings.
Try the settings in the room where you will use them. Wall colors and nearby lighting can change how each option looks. The useful setting is the one that makes your space comfortable and easy to see.
Match the motion mode to your routine
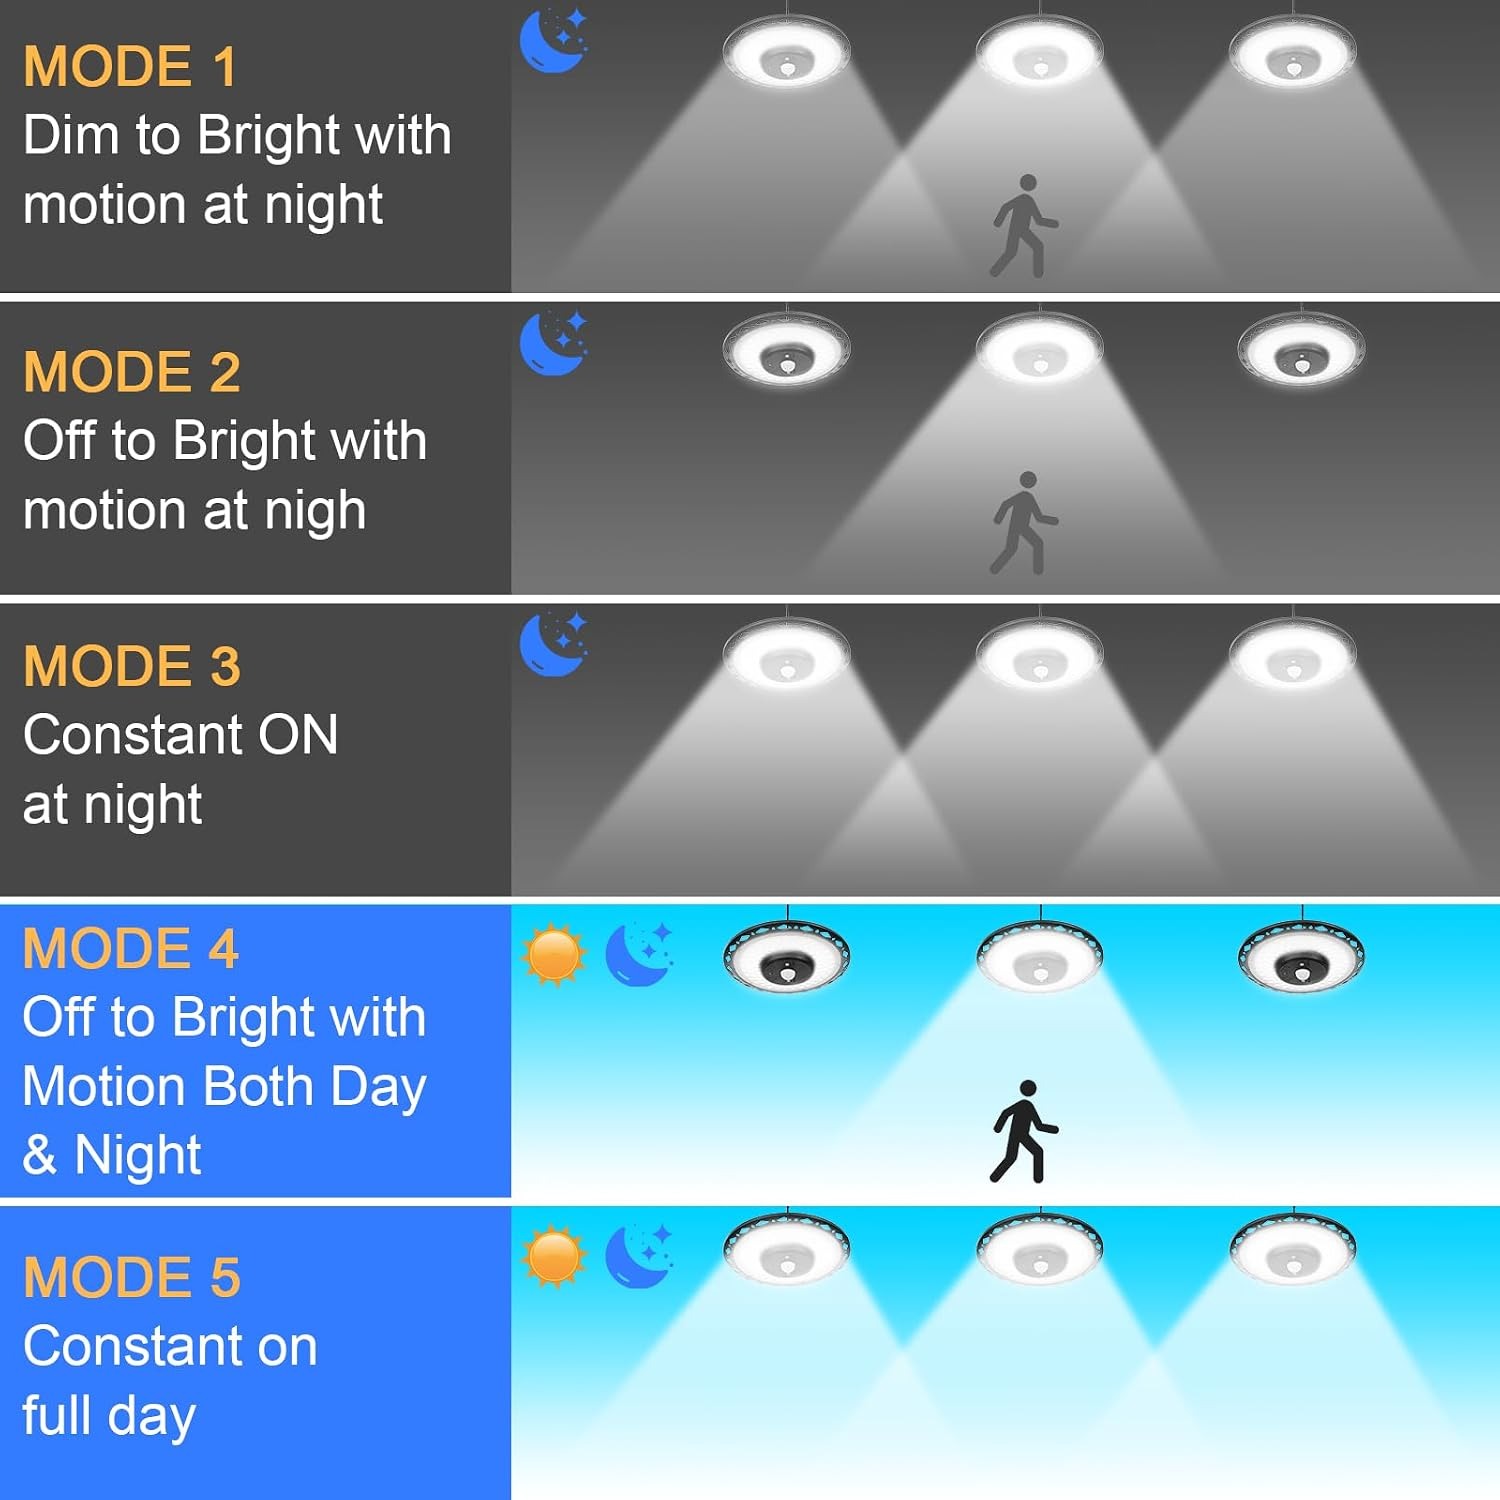
The light has five listed modes. At night, it can change from dim to bright when motion is detected, switch from off to bright, or provide constant lighting. Two further modes offer motion-triggered or constant lighting during the day as well.
Daytime operation is worth noting for indoor solar lighting. A windowless shed may need light at midday, so a night-only setting would not suit every visit.
Motion sensor range and detection angle are not supplied. Before fixing everything in its final position, follow the instructions and test how the sensor responds to your usual approach. For a garage, check the route from the door to the area you use most.
Treat timer settings and runtime as different things
The four-hour and six-hour timers let you select a lighting period. They do not confirm how long the battery will power every setting after every charge.
Battery capacity, charging time and guaranteed runtime are not specified in this record. Avoid planning around an assumed all-night output, especially at maximum brightness. If a particular operating time is essential, ask for verified details first.
A solar light with timer settings can still be useful for managing evening use. Just keep the setting you select separate from a promise about stored power. That distinction helps you compare products more fairly.
Check mounting and weather exposure
The listing describes suspended mounting or wall mounting with a bracket. The item weighs 950 g. Choose a sound mounting point and suitable fixings, and follow the supplied installation instructions.
Confirmed fixture dimensions are not available here. That matters if you want to fit the pendant beneath a low beam or inside a narrow space. Ask for verified measurements before committing to a tight location.
The stated protection rating is IP65. It does not mean the fitting can be submerged, pressure washed or installed without regard to its instructions. Check the guidance for the light, panel and connections rather than assuming every part has identical exposure limits.
Consider the whole space, not just the product
Sheds and garages are listed uses, along with barns, patios, porches and gazebos. The separate panel design makes the product worth considering for covered locations with nearby access to sunlight.
For a solar workshop light, look closely at shadows around your working position. Your body or a shelf could block light from reaching a small task. Do not assume a single overhead pendant replaces every other light you may need.
For solar patio lighting, think about how the pendant looks from where people sit. For a barn, check whether one light reaches the areas you use. The listing names these locations, but it does not provide a coverage plan for each one.
Resolve power and accessory questions before fitting
The record clearly lists solar power, but some scraped technical details also mention electric charging, 220 V AC and an E27 base. Those entries do not provide a clear connection plan for this pendant.
Do not infer that it should be connected to mains electricity or fitted into a lamp holder. Check the supplied instructions and seek confirmation if you need another charging method.
The complete accessory list is also not provided. If your installation depends on a particular bracket, fixing or control device, confirm that item before ordering. A remote control is not confirmed, while push-button controls are listed.
Keep care simple and regular
A panel covered with dirt or leaves needs attention. Inspect it from a safe position and wipe it gently with a soft damp cloth when required. Avoid abrasive cleaners and pressure washing.
Switch the light off before cleaning or checking its fittings. Look for loose mounting points, cable damage or places where the cable is rubbing. Follow the product instructions if anything needs repair.
Keep access in mind during installation. A location that is easy to reach safely makes routine care less of a chore. Also check delivery and returns terms before ordering, especially if you plan to install the light soon after arrival.
The short version
This CREATESTAR solar shed light combines a separate panel, a 5 m cable, adjustable brightness and motion or constant lighting modes. Three color temperatures and two timer settings give you ways to adapt it to your routine.
Start with a sunny panel location, then measure the cable route and check the mounting space. Confirm any missing details that matter to your installation, particularly dimensions, runtime and power connections. If those checks suit your plans, the split-panel layout may be a useful way to bring light into a covered space.