
The complete guide
How To Choose And Place Solar Bollard Lights In Your Garden
The dark stretch every garden seems to have
There is almost always one part of the outside of a house that nobody thought about. The front path curves past a hedge and disappears. There is a single step down to the lawn that catches the same guest every time. The bins live around the side where the porch light does not reach, so every Tuesday night involves a phone torch held in your teeth.
Running mains power out there is a real job. Trench, cable, transformer, a sparky, a quote. For a path edge, that is a lot of effort to solve a small problem. Solar bollard lights exist for exactly this gap. You push them into the soil, they charge themselves during the day, and they come on when the light drops. No trench, no switch, no bill.
How a solar bollard light actually works
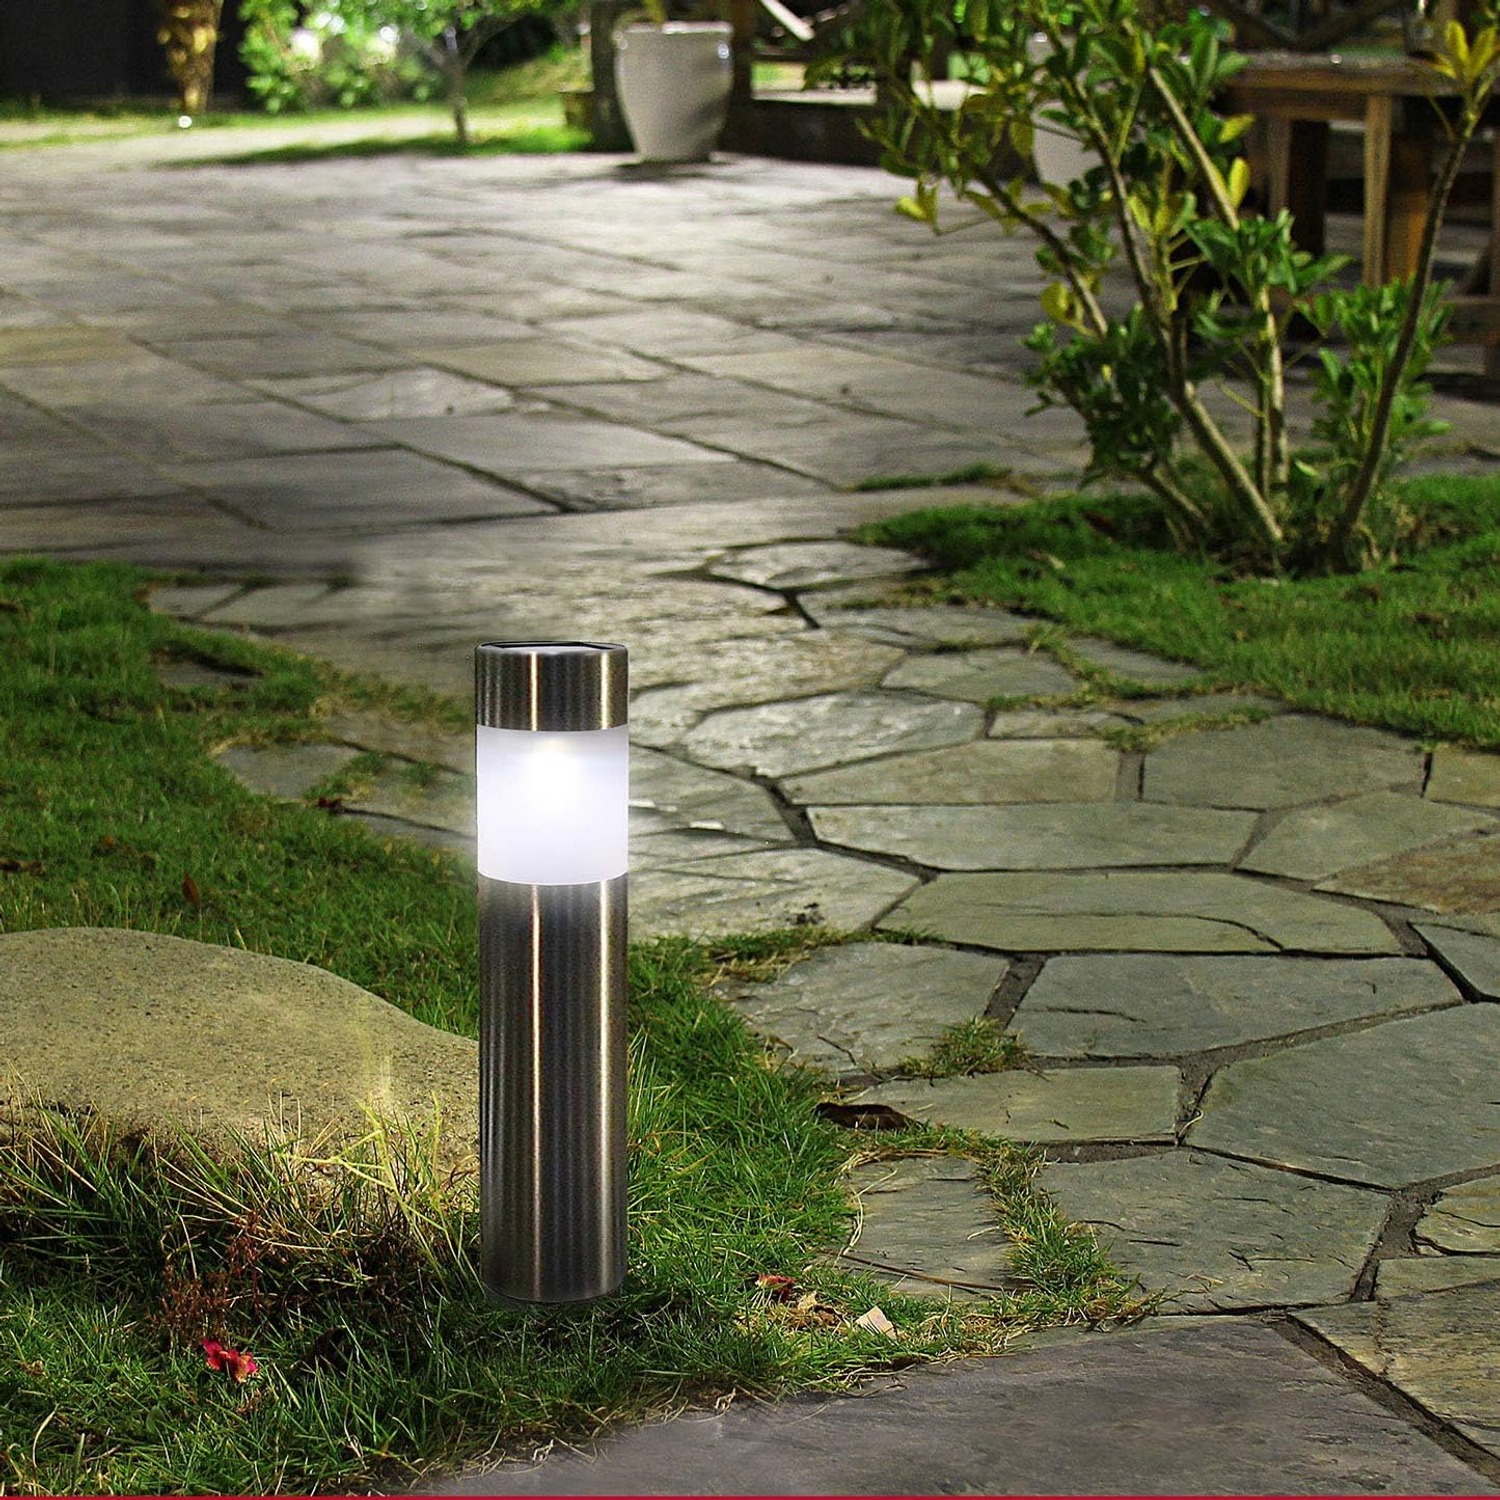
The idea is simple and the hardware is simple with it. A small photovoltaic panel sits on top of the post. Through the day it converts sunlight into a trickle of current that charges a rechargeable battery inside the unit. When daylight fades, a sensor picks up the drop and switches on the LED. In the morning it switches off and starts charging again.
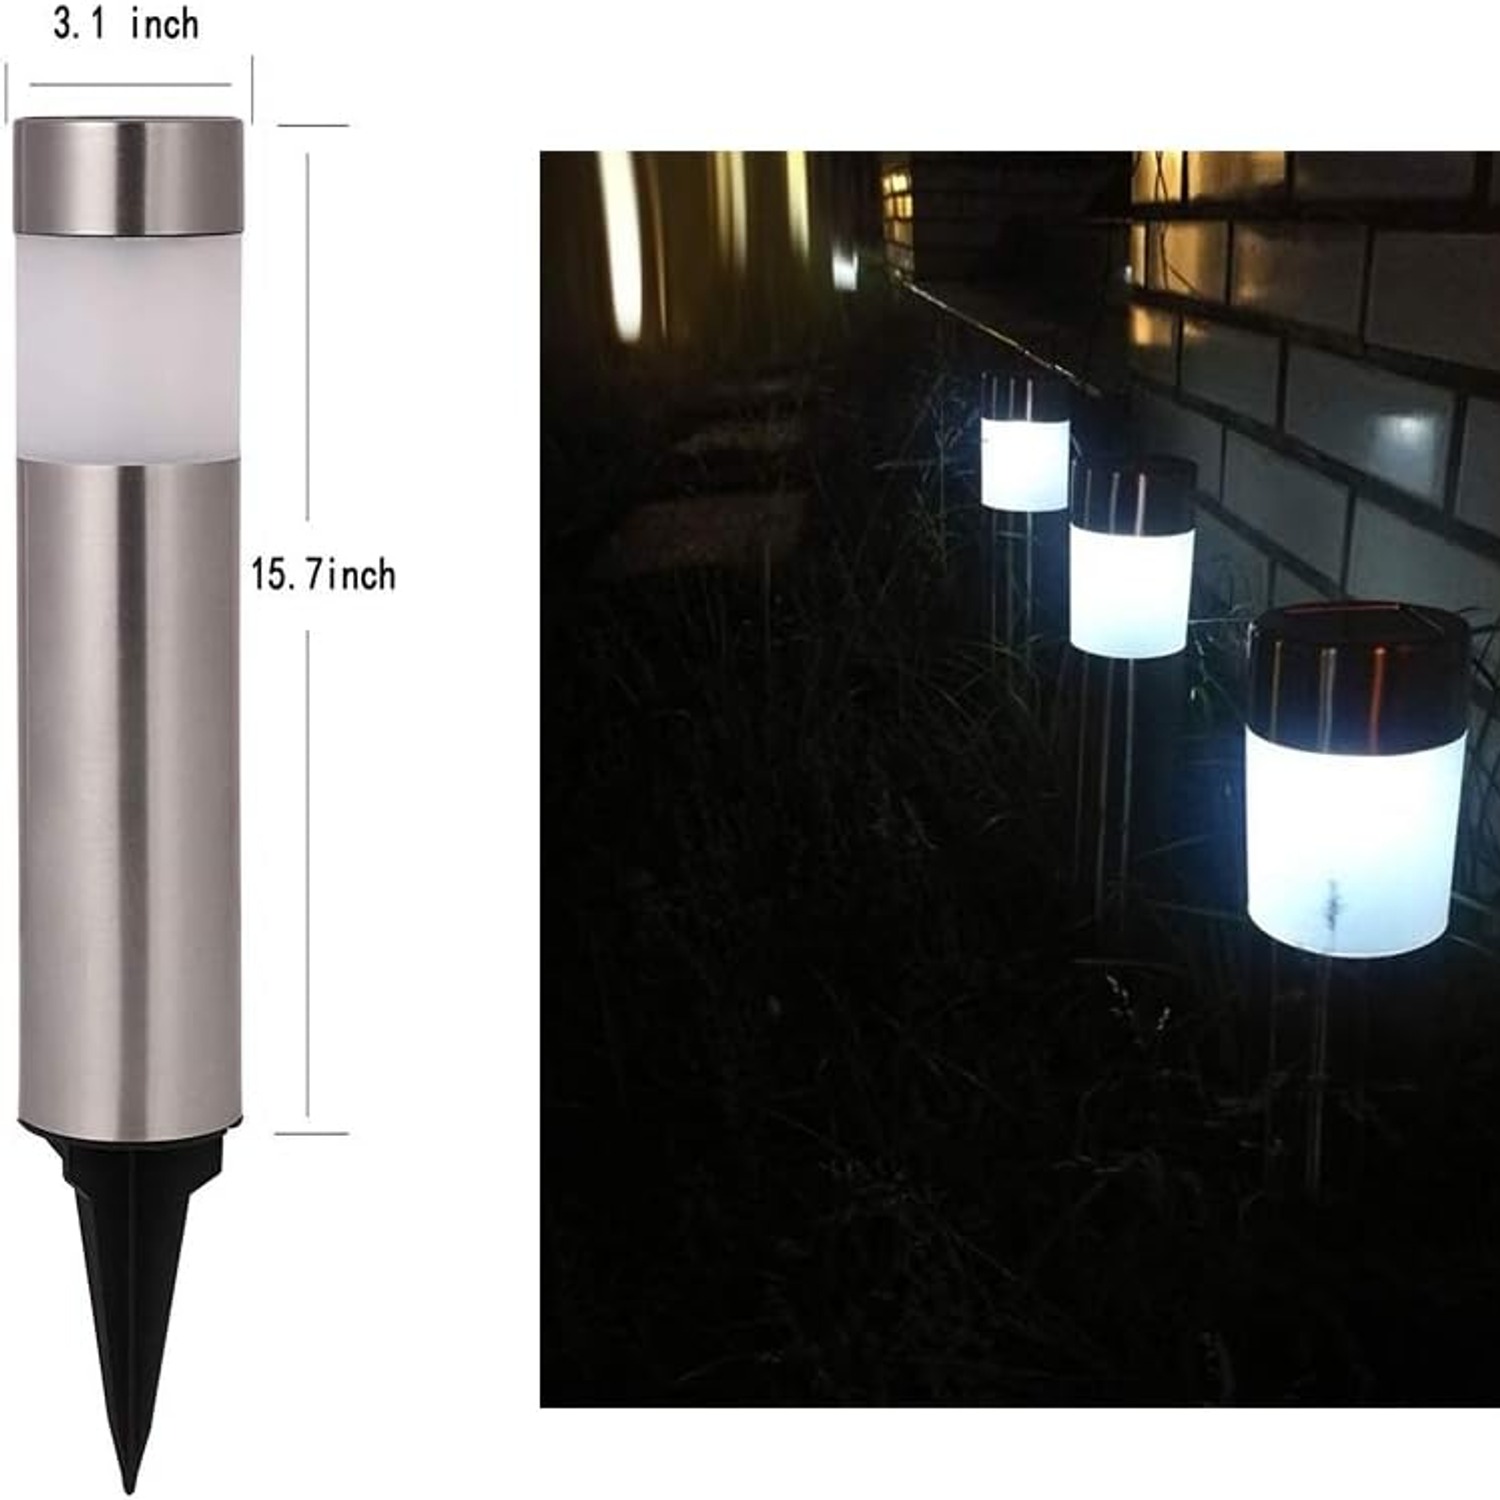
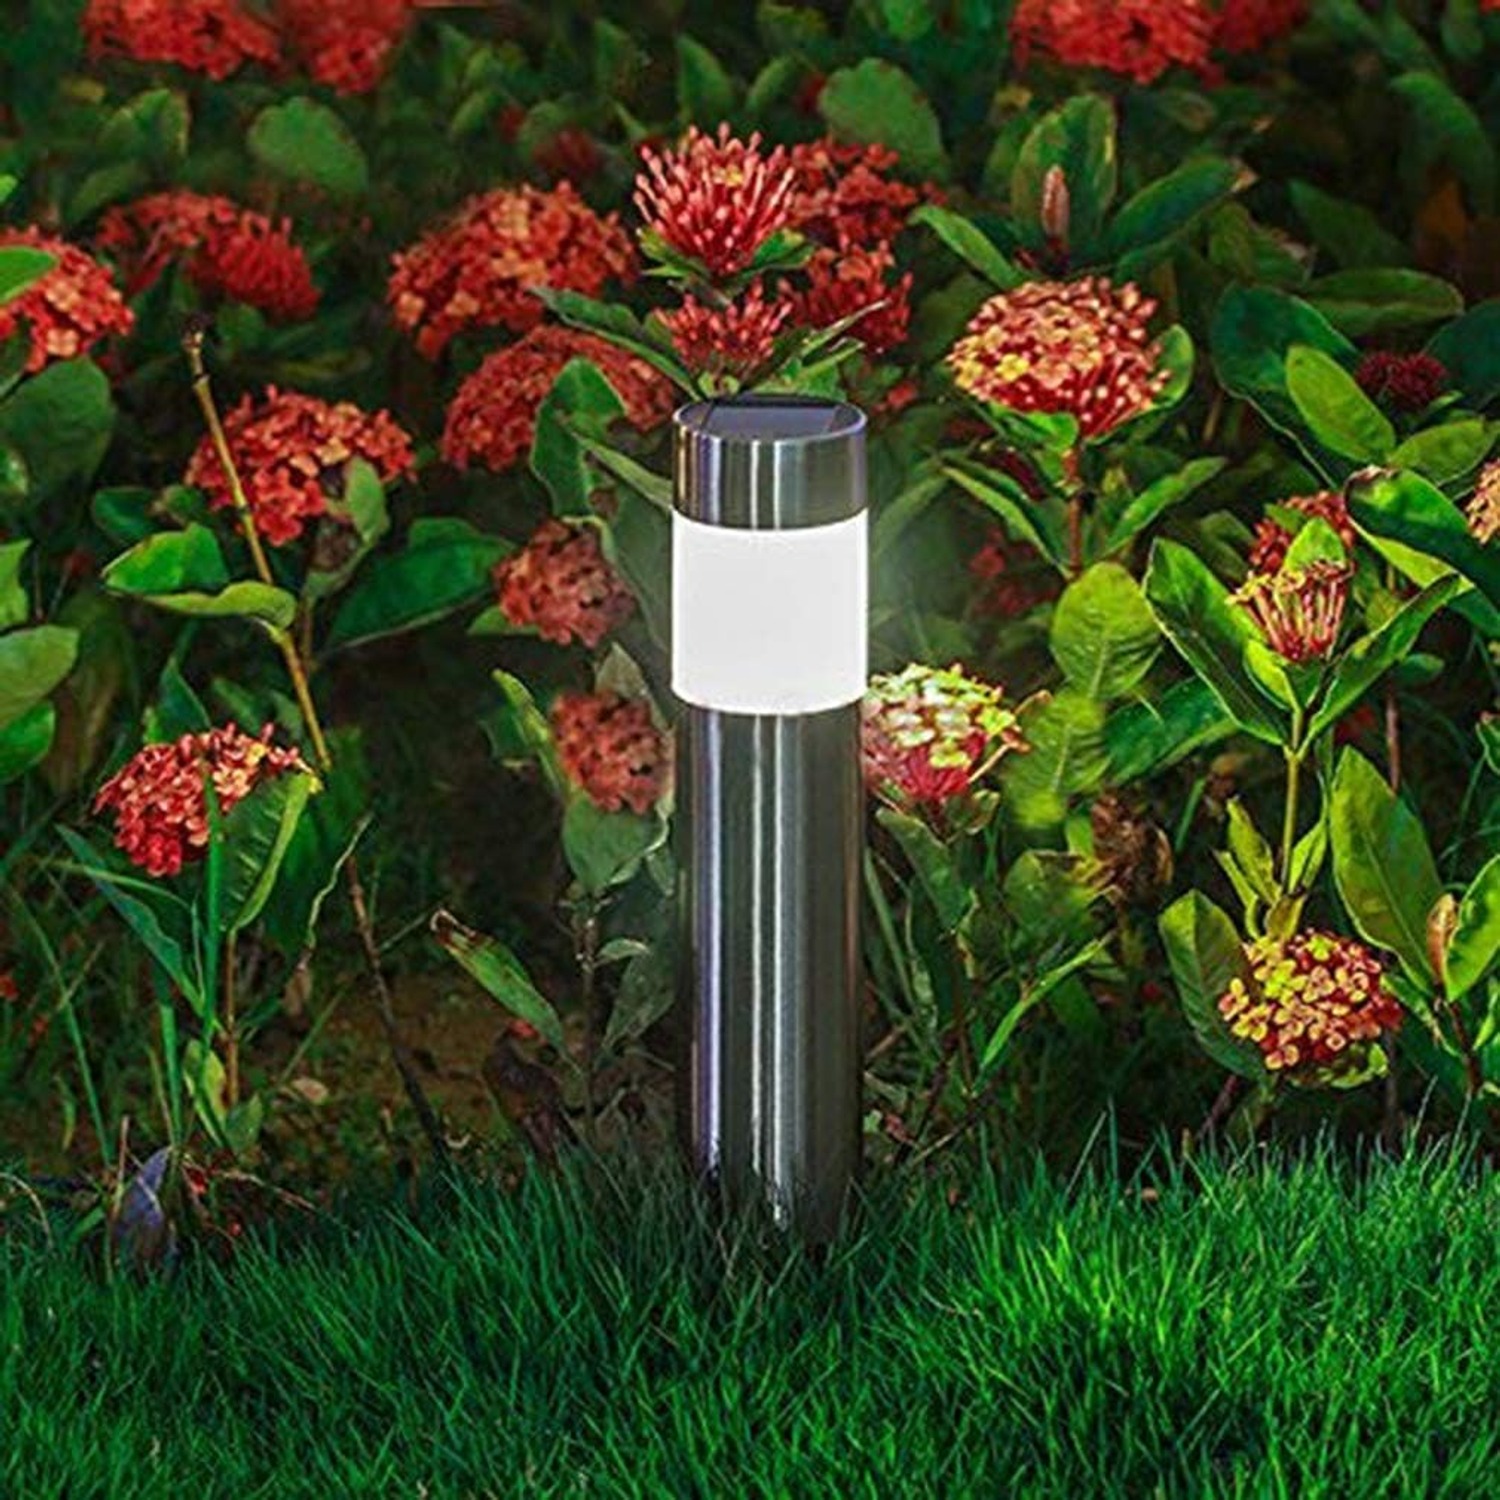
In this set each light carries one warm white LED rated at 6 lumens, running at 100 milliwatts and 2 volts, with a color temperature of 3000 Kelvin. Those are small numbers and that is intentional. Six lumens is a marker glow. It tells your eye where the edge of the path is and where that step lives. It does not try to light the garden like a stadium, which is a good thing at eleven at night when the neighbors are asleep.
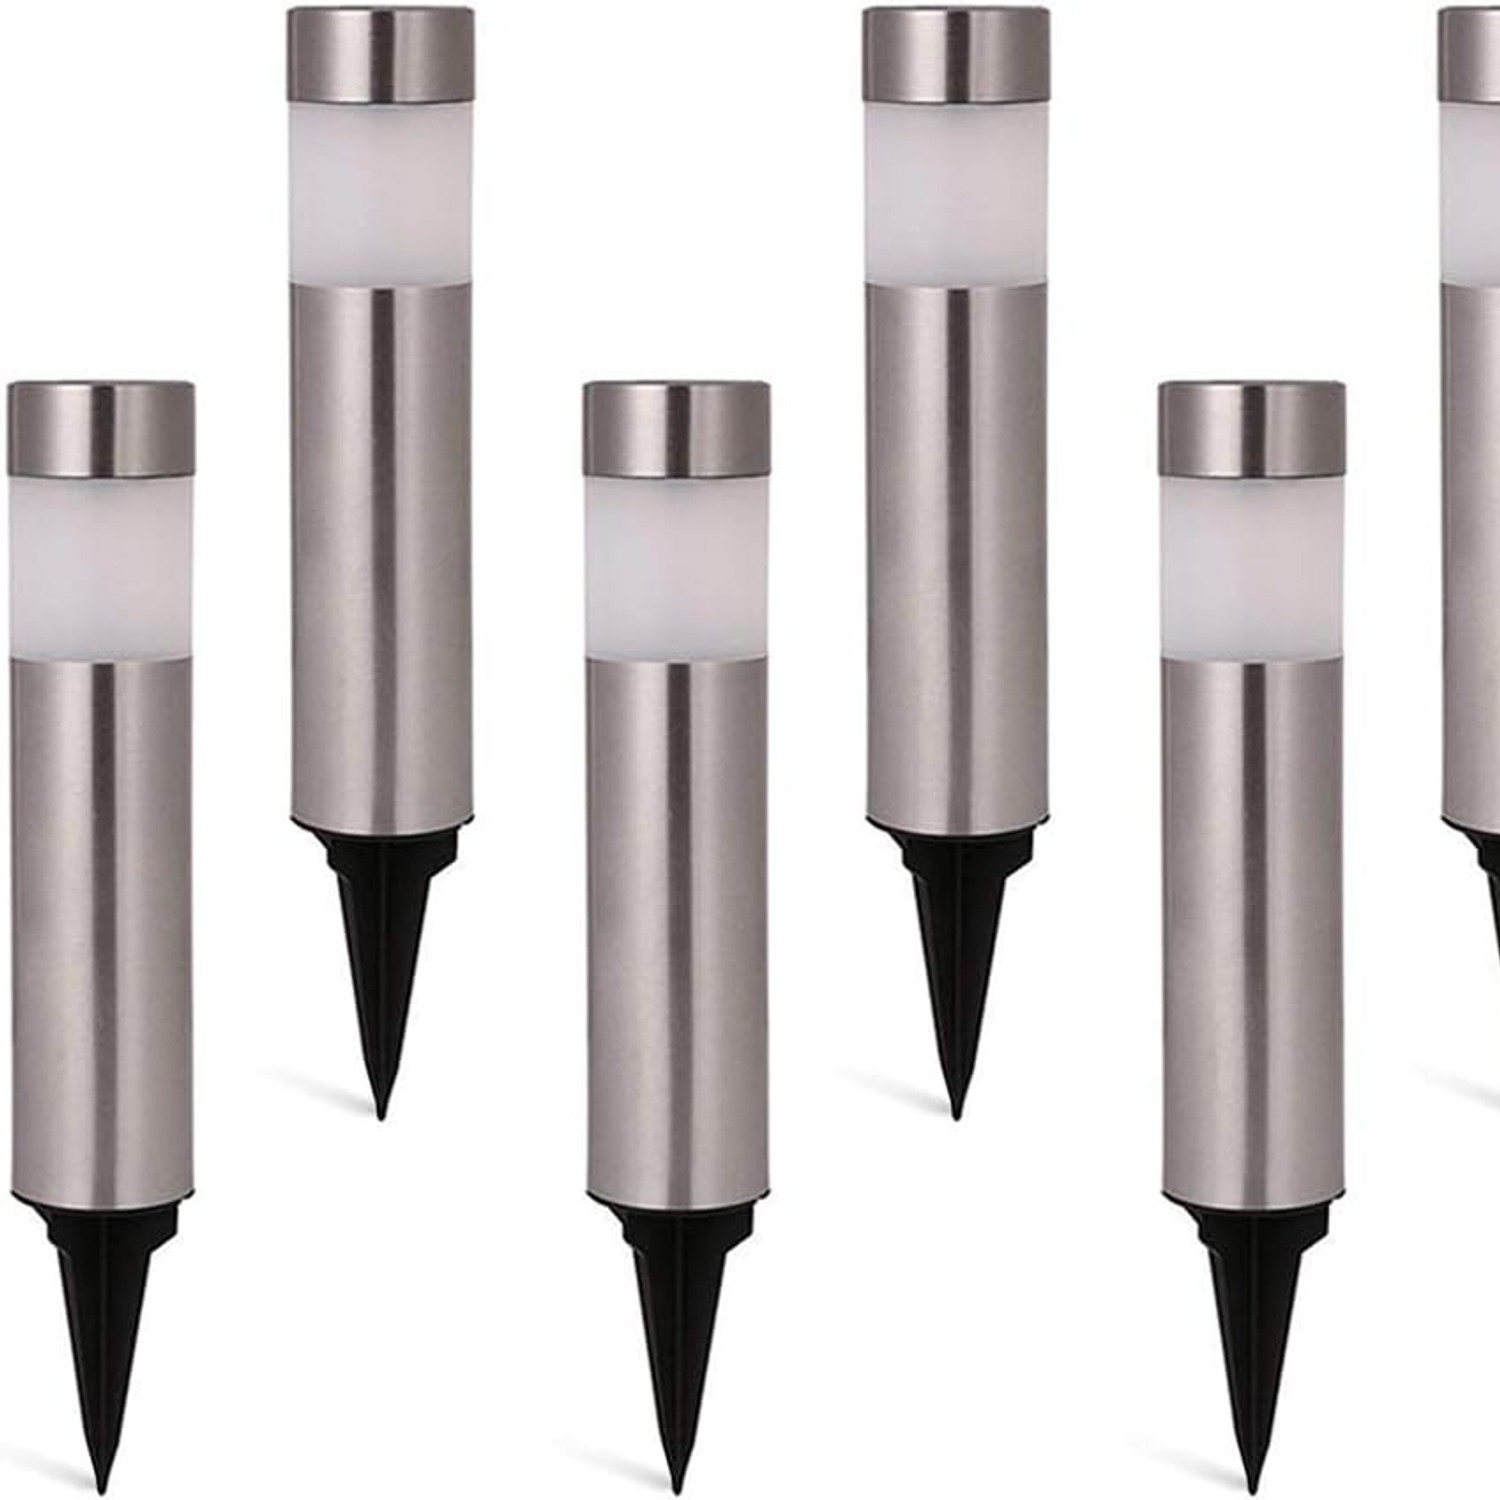
The posts stand 40.6 cm high on a 7.6 cm square base, built from stainless steel and plastic with an oil rubbed finish and a silver shade. They are listed as water resistant and made for outdoor use. There is a slide switch and a push button on the unit, so you can turn an individual light off whenever you want.
Who these suit
They suit anyone who wants a dark path marked without calling a tradesperson. That is the honest short answer. Renters like them because nothing is permanent and the whole set lifts out of the ground on moving day. New homeowners like them because they are a quick win in a garden that still needs a lot of work. Gardeners like the low output because it does not wash out planting or kill the look of a border at night.
They suit people with sun, too, and that part matters. Solar lighting lives or dies on how much direct daylight the panel gets. A sunny front garden is ideal. A north facing strip under a dense tree is not, no matter how good the light is.
They are not the right answer if you need to properly illuminate a work area, a long driveway at vehicle speed, or a security zone. Those jobs want a brighter fixture, usually mains or a dedicated solar floodlight with a bigger panel. Think of these as edge markers that happen to look smart.
Picking the right spot
Walk the route first, at night, the way a visitor would. Note where you slow down, where you reach for a rail, where you guess. Those are your positions. Lighting is more useful at decision points than it is spread evenly for the sake of symmetry.
Then check the same spots in the middle of the day. Is the sun actually hitting them? A spot that looks open at eight in the morning can be in full shade by two. Fences, eaves, hedges and parked cars all cast longer shadows than people remember. If a decision point sits in permanent shade, place the light at the nearest sunny position that still does the job.
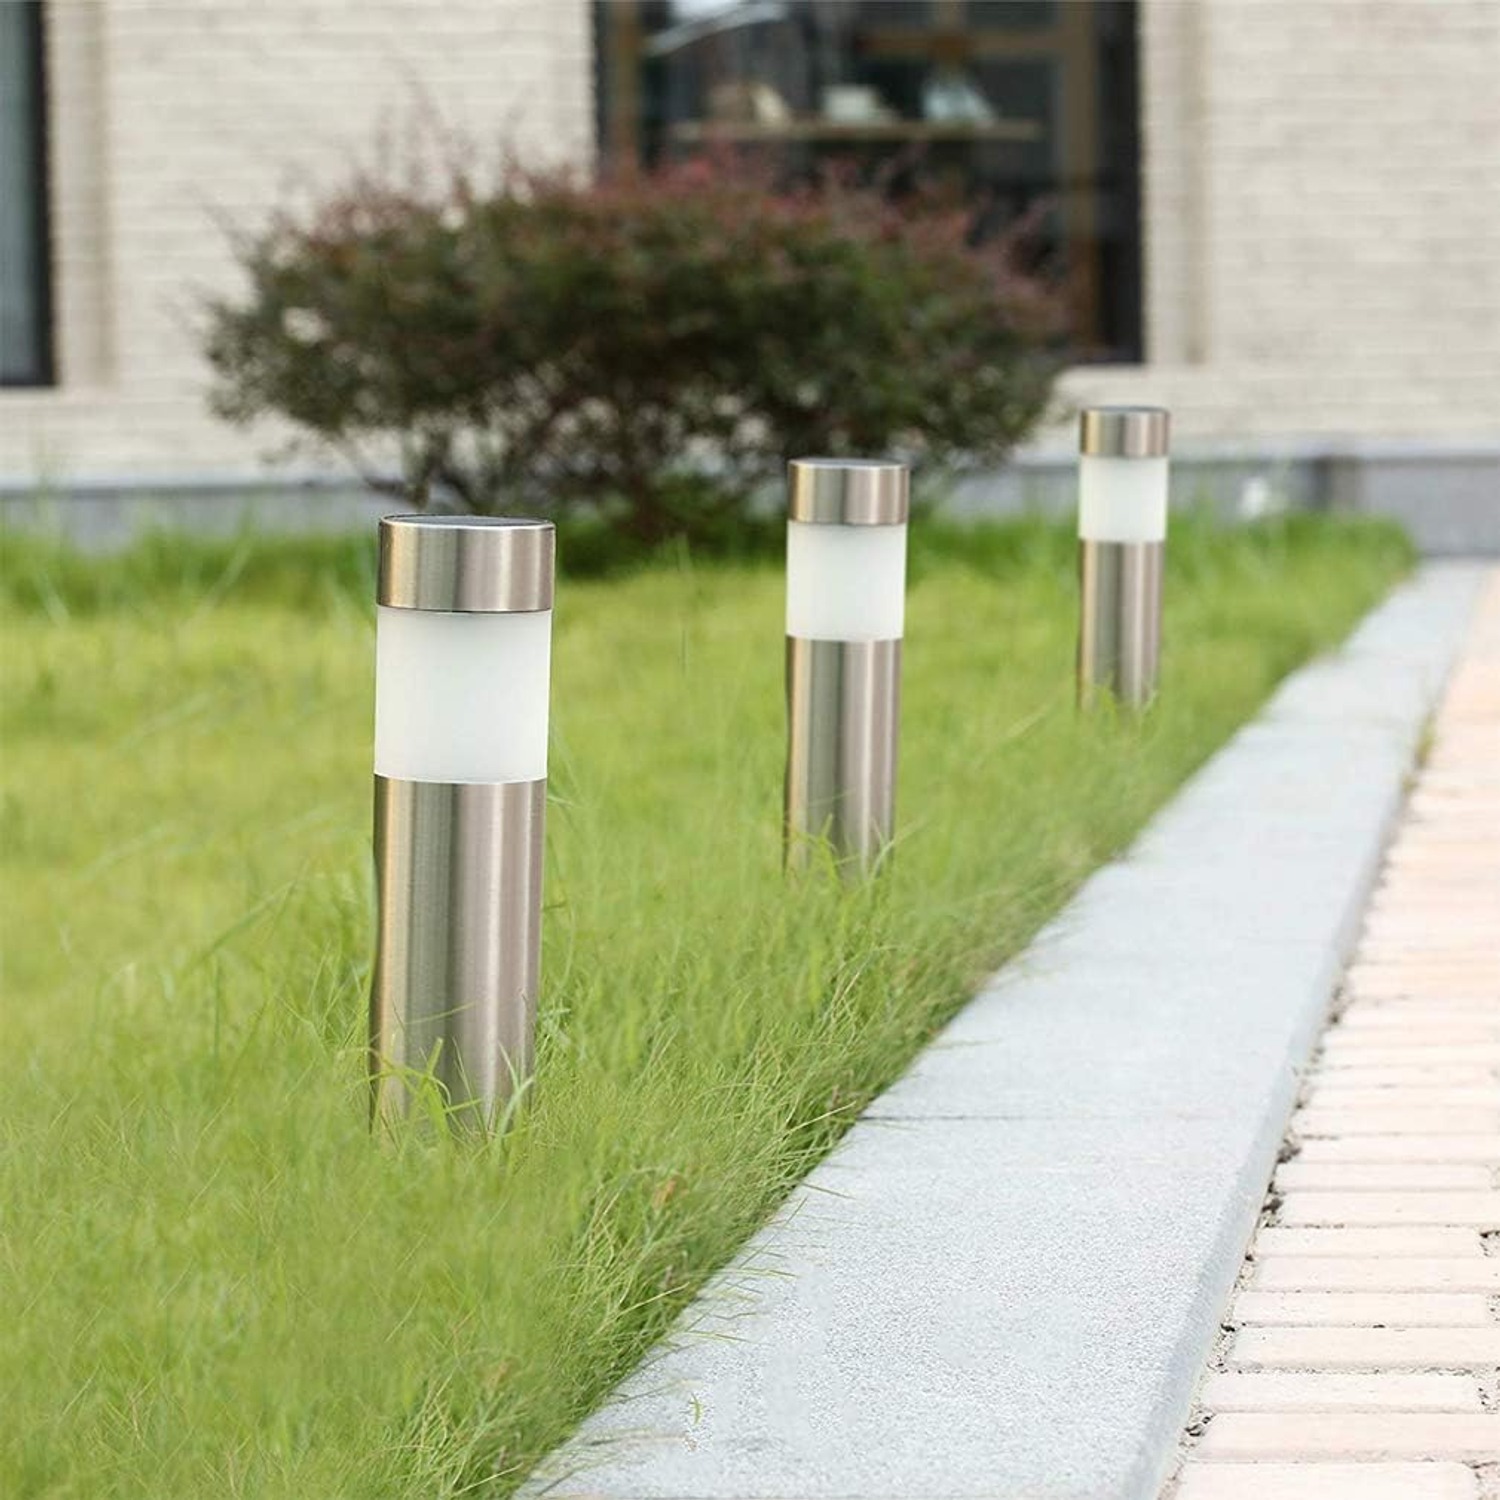
Spacing of roughly 1.2 to 1.8 meters between lights works for most paths. With six units that gives you around seven to nine meters of marked edge. One side of the path is usually enough. If you want to cover both sides, stagger them rather than running two mirrored rows, which looks more like an airfield than a garden.
Getting them into the ground
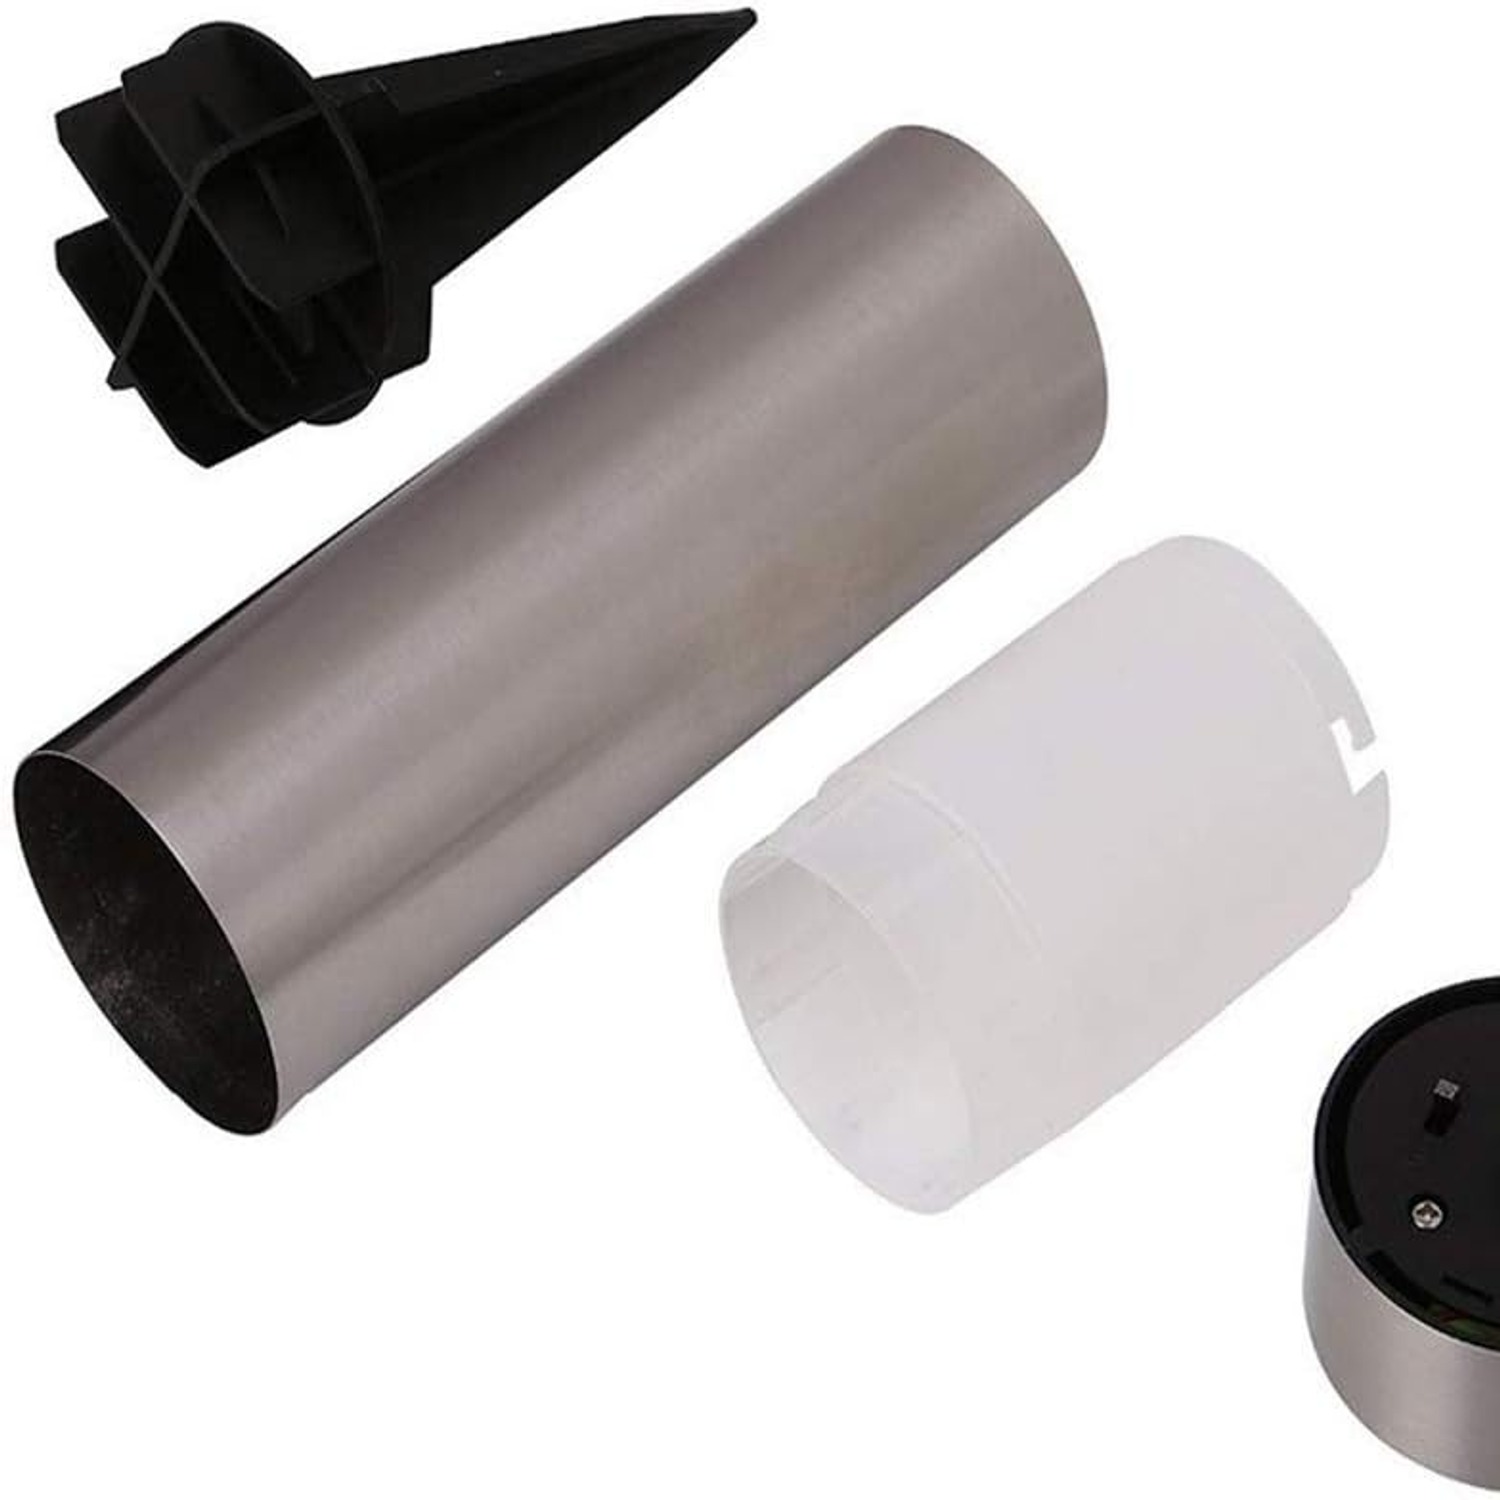
Before anything else, pull the ground spike out of the metal tube. On this style of light the spike is stored inside the post for shipping, and a surprising number of people try to push the whole assembly into the lawn without finding it first.
If your soil is dry and packed, water it and wait. Twenty minutes of soaking makes the difference between a spike sliding in and a spike snapping. For stony ground, drive a screwdriver or a thin metal rod in first to open a channel, then slide the light into it. Press straight down with your palm on the base of the post, not on the shade or the solar panel.
Before the first night, switch the light on and give it a full day of sun. A battery charging from empty always gives you the weakest result, so do not judge the set on night one.
Keeping them working
Almost every complaint about outdoor solar lighting traces back to the panel. A film of dust, a smear of pollen, a fallen leaf, a bird dropping. Any of those will cut charging hard, and the owner assumes the battery has died. A soft damp cloth over the top of each light every few weeks is the whole maintenance routine for stainless steel path lights.
The rest is awareness. Keep sprinkler heads from spraying straight onto them. Trim back growth that creeps over the panel through spring. Mow with a bit of clearance, since a trimmer cord will mark a shade. If a light is going to sit unused over a long dark period, switch it off and store it somewhere dry rather than leaving a flat battery sitting outside all winter.
Expect seasonal variation. Short days mean less charge and shorter run times, and that is physics rather than a fault. If one position in your garden loses sun entirely in winter, moving that light a couple of meters for a few months is a reasonable fix.
How many to buy
Measure the run you want to mark, in meters. Divide by one and a half. That is roughly how many lights you need. Six covers a standard front path or one side of a medium garden bed. A long driveway or a wrap around path often wants two sets.
If you do buy two sets, buy them together. Matching finish and matching brightness across every light in a run looks far better than a patchwork added over a couple of seasons.
The short version
Six stainless steel posts, each with a warm white LED at 6 lumens and 3000 Kelvin, charged by a solar panel on top and powered by an included rechargeable battery. Water resistant, ground mounted, a little assembly and no wiring at all.
Put them where the path makes you hesitate in the dark. Put them where the sun actually lands. Wipe the panels now and then. Do that and the set will quietly handle the walk from the gate to the door every evening without you thinking about it again.